From One to Many: Unlocking the Secrets of Glochidion billardierei Propagation
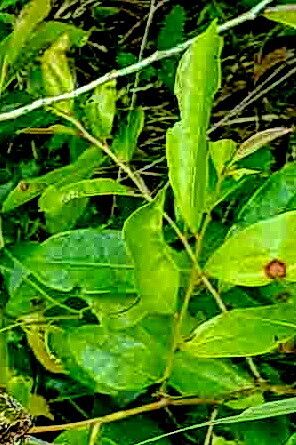
The captivating Glochidion billardierei, with its cascading foliage and charming white blooms, is a popular choice for gardeners seeking a touch of tropical charm in their landscapes. But did you know that you can easily expand your collection of this stunning plant? This article will guide you through the fascinating world of Glochidion billardierei propagation, empowering you to share the beauty of this species with others or simply grow your own lush haven.
Understanding the Methods
There are two primary methods for propagating Glochidion billardierei:
- Cuttings: This is the most common and widely successful method. Taking cuttings involves snipping a healthy stem from the mother plant and nurturing its growth until it develops its own root system.
- Seeds: While possible, seed propagation is less commonly employed for Glochidion billardierei. This method involves collecting mature seeds from the plant’s fruit pods and sowing them in a suitable growing medium.
Harnessing the Power of Cuttings
For the most straightforward and reliable approach, opt for the cutting method. Follow these crucial steps:
- Select your cutting: Identify a healthy, non-flowering stem with several nodes. These “nodes” are the points on the stem where leaves grow. Aim for a stem length of 4-6 inches (10-15 cm).
- Prepare the cutting: Using a sharp, clean pair of pruning shears, make a precise cut just below a node. Remove the leaves from the bottom inch or two of the stem.
- Root hormone (optional): Dipping the cut end into a rooting hormone powder can encourage faster root development. Though not essential, it can be beneficial.
- Planting medium: Choose a well-draining, sterile potting mix formulated for cuttings. Fill a small pot or tray with this mixture.
- Plant the cutting: Gently insert the cut end of the stem into the potting mix, ensuring that at least one node is buried.
- Mist and cover: Mist the cutting and the surrounding area to keep the soil moist. For optimum humidity, cover the pot with a plastic bag or dome. This creates a mini-greenhouse, fostering root growth.
- Patience is key: Keep the potting mix adequately moist and maintain an environment with bright, indirect light. Resist the urge to disturb the cutting. Within a few weeks, you should see signs of new growth, indicating that root development is underway.
- Time for transplantation: Once the cutting shows robust growth and has established a strong root system, you can carefully transplant it into a larger pot or directly into your garden bed. Ensure the soil remains consistently moist while the plant adjusts to its new environment.
Embarking on the Seed Journey
While less common, seed propagation offers a unique experience. Here’s a simplified guide:
- Harvest mature seeds: Collect the mature seeds from the fruit pods of your Glochidion billardierei plant.
- Prepare the seeds: Remove any excess pulp or fruit debris from the seeds.
- Planting medium: Sow the seeds in a seed tray or pot filled with a well-draining seed-starting mix.
- Planting depth: Only lightly cover the seeds with the potting mix.
- Moist environment: Maintain consistent moisture in the potting mix, as seeds require moisture to germinate.
- Light and temperature: Ensure the seeds receive bright, indirect light and maintain a warm temperature (around 70-75 degrees Fahrenheit).
- Patience and nurturing: Keep the seeds moist, and be patient. Germination can take anywhere from a few weeks to several months. Once seedlings emerge, thin them out to give each plant sufficient space to grow.
Remember: Regardless of your choice method, cultivating Glochidion billardierei successfully necessitates a well-draining soil and a bright, indirect light environment. Avoid overwatering, as this can lead to root rot.
With a little care, you can enjoy the rewarding experience of multiplying your Glochidion billardierei, filling your space with its exotic beauty or sharing the joy of this remarkable plant with others. Happy propagating!