Unlocking the Amazon: Propagating Your Very Own Glycydendron amazonicum
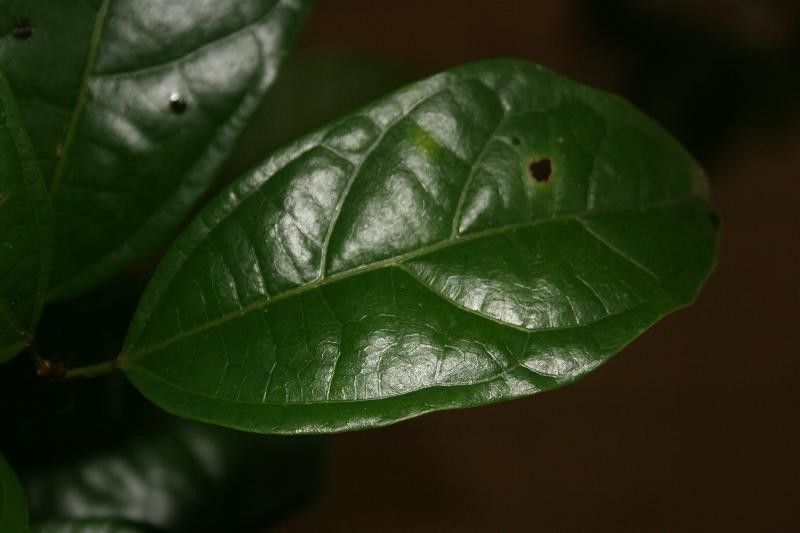
The Glycydendron amazonicum, also known as the “Amazonian Grape Tree” for its clusters of vibrant purple berries, is a tropical treasure gaining popularity amongst houseplant enthusiasts. Native to the humid, sun-dappled understory of the Amazon rainforest, this climbing shrub boasts lush, glossy foliage and an air of exotic elegance. But how do you bring this piece of the Amazon into your home?
While relatively low-maintenance once established, propagating a Glycydendron amazonicum requires a touch of patience and a dash of green thumb magic. But fear not, aspiring plant parents! This guide will equip you with the knowledge to successfully propagate your own Amazonian Grape Tree.
Propagation Methods: Seed vs. Cuttings
There are two primary methods for propagating Glycydendron amazonicum:
Seed Propagation: This approach, while offering a sense of accomplishment, is notoriously slow and unreliable. Amazonian Grape Tree seeds have a notoriously low germination rate and can take several months to sprout.
- Stem Cuttings: This method is highly favored for its higher success rate and relatively faster results.
This guide will focus on the more efficient method: propagating Glycydendron amazonicum from stem cuttings.
Propagating Glycydendron amazonicum from Stem Cuttings: A Step-by-Step Guide
What You’ll Need:
- Sharp, sterilized pruning shears or scissors
- Rooting hormone (optional, but recommended)
- Small pots or seed trays
- Well-draining potting mix
- Plastic wrap or a humidity dome
- Indirect sunlight
Instructions:
Taking the Cutting: Select a healthy, non-flowering stem from your Glycydendron amazonicum. Look for a stem segment that’s about 4-6 inches long with at least two nodes (the slightly swollen points where leaves emerge). Using your sterilized shears, make a clean cut just below a node.
Preparing the Cutting: Remove the leaves from the lower half of the cutting to prevent them from rotting in the soil. If desired, dip the cut end in rooting hormone to encourage faster root development.
Potting the Cutting: Fill your pots or seed trays with a well-draining potting mix. Make a small hole in the center of each pot and gently insert the bottom portion of the cutting into the soil, ensuring at least one node is buried. Firm the soil around the cutting to secure it.
Creating a Humid Environment: Glycydendron amazonicum thrives in humidity. To mimic its natural environment, mist the cutting and cover the pot with a plastic wrap or humidity dome. This will help to retain moisture and create a mini greenhouse effect.
Providing the Right Conditions: Place your cuttings in a warm location with bright, indirect sunlight. Avoid direct sunlight, as it can scorch the delicate leaves.
Patience is Key: Keep the soil consistently moist but not waterlogged. It can take several weeks or even months for roots to develop. You can gently tug on the cutting after a few weeks. Resistance indicates root development.
- Transplanting: Once your cuttings have developed a strong root system and are showing signs of new growth, you can transplant them into individual pots filled with well-draining potting mix.
Tips for Success:
- Select healthy, vigorous stems for cuttings.
- Use a sterilized blade to prevent the spread of diseases.
- Choose a well-draining potting mix to prevent root rot.
- Maintain a consistently humid environment.
- Be patient! Rooting can take time.
Propagating your own Glycydendron amazonicum is a rewarding experience that allows you to multiply your plant collection while deepening your connection to nature. With a little patience and these helpful tips, you can unlock the secrets of this Amazonian gem and enjoy its captivating beauty for years to come.