Unveiling the Mystery: Propagating the Exotic Gnetum Edule
Gnetum edule, also known as belinjo or melinjo, is a fascinating plant with a unique history and a delicious nutty flavor. Native to Southeast Asia, this tropical treasure holds a special place in traditional cuisines, particularly in Indonesian dishes like “sayur asem” (sour soup) and “emping” crackers.
If you’re intrigued by this exotic plant and eager to grow your own, you’re in for a challenge – but a rewarding one nonetheless! Propagating Gnetum edule isn’t as straightforward as sowing seeds of common vegetables, but understanding its biology and a bit of patience will go a long way.
The Gnetum Edule Enigma: Seeds vs. Cuttings
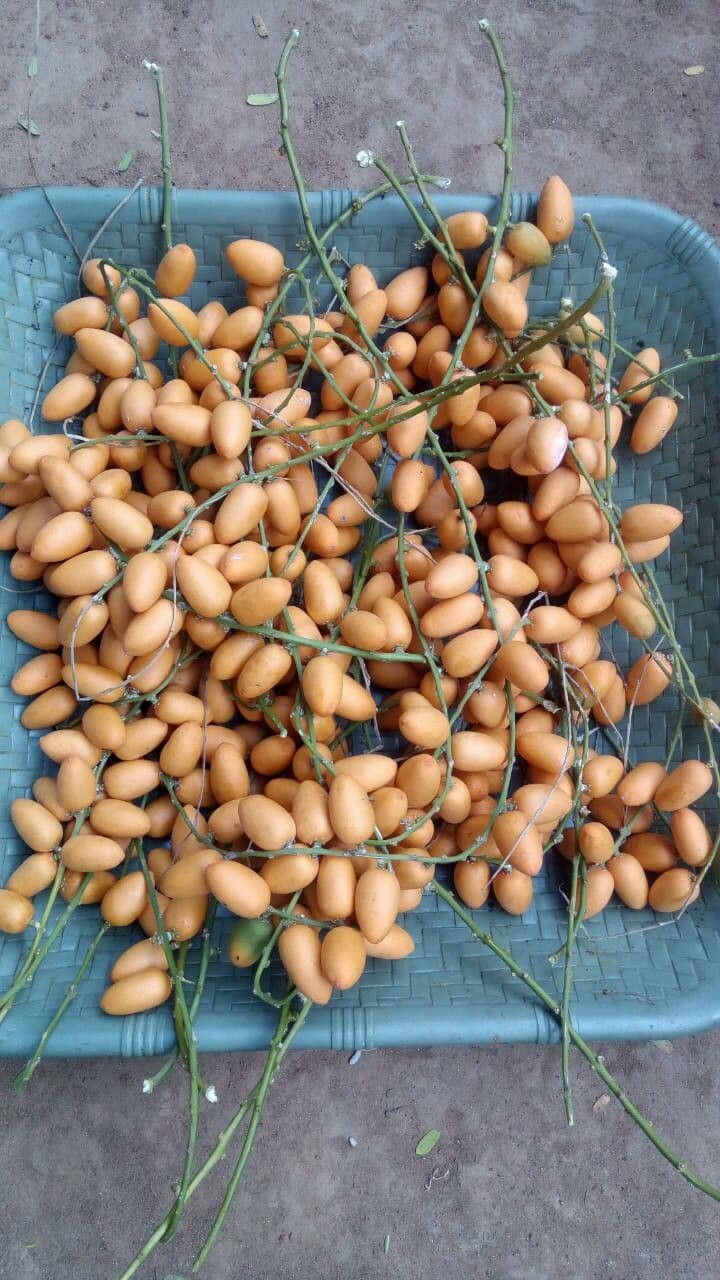
Gnetum edule is a gymnosperm, belonging to a primitive group of seed-bearing plants that predate flowering plants. Unlike most gymnosperms, like pine trees, which have cones, Gnetum edule produces fleshy, fruit-like structures that enclose their seeds. Now, here’s the catch: these “fruits” aren’t actually fruits in the botanical sense. They are modified cones that mimic fruits to attract animal dispersers.
This unusual reproductive biology makes propagation a bit tricky. While Gnetum edule does produce seeds, they are often slow and unreliable to germinate.
So, what’s the alternative? Cuttings!
Propagating Gnetum edule through cuttings, while still requiring patience, tends to be more successful than growing from seed.
Mastering Cuttings: Your Step-by-Step Guide
- Timing is Key: Take cuttings during the plant’s active growing season, ideally in late spring or early summer.
- Choose Wisely: Select healthy branches that are semi-hardwood, meaning they are mature but still have some flexibility. The cutting should be about 6-8 inches long with a few nodes.
- Clean Cut: Using sterilized pruning shears, make a clean cut just below a node (where the leaf attaches to the stem). Remove leaves from the lower half of the cutting.
- Hormone Boost: Dip the cut end in rooting hormone powder to encourage root development.
- Potting Mix Prep: Prepare a well-draining potting mix using a combination of peat moss, perlite, and vermiculite. Moisten the mix thoroughly.
- Planting: Gently insert the cutting into the potting mix, burying at least two nodes below the surface.
- Humidity is Crucial: Cover the pot with a clear plastic bag or a propagation dome to create a humid environment.
- Patience is a Virtue: Place the pot in a warm, shaded area, away from direct sunlight. Keep the soil consistently moist but not waterlogged.
- Root Formation: It might take several weeks or even months for roots to develop. Gently tug on the cutting after a couple of months. Resistance indicates root formation.
- Transplant Time: Once the cutting has developed a strong root system, carefully transplant it to a larger pot or directly into the ground (if your climate permits).
A Labor of Love: Nurturing Your Gnetum Edule
Propagating Gnetum edule might require some effort, but the satisfaction of growing this unique plant from a cutting is truly rewarding. Remember to provide your plant with well-draining soil, filtered sunlight, and regular watering, and soon, you’ll be enjoying the exotic flavors of Gnetum edule from your own garden!