Unlocking the Secrets of Canary Island Daisy Propagation: A How-To Guide for Gorgeous Blooms
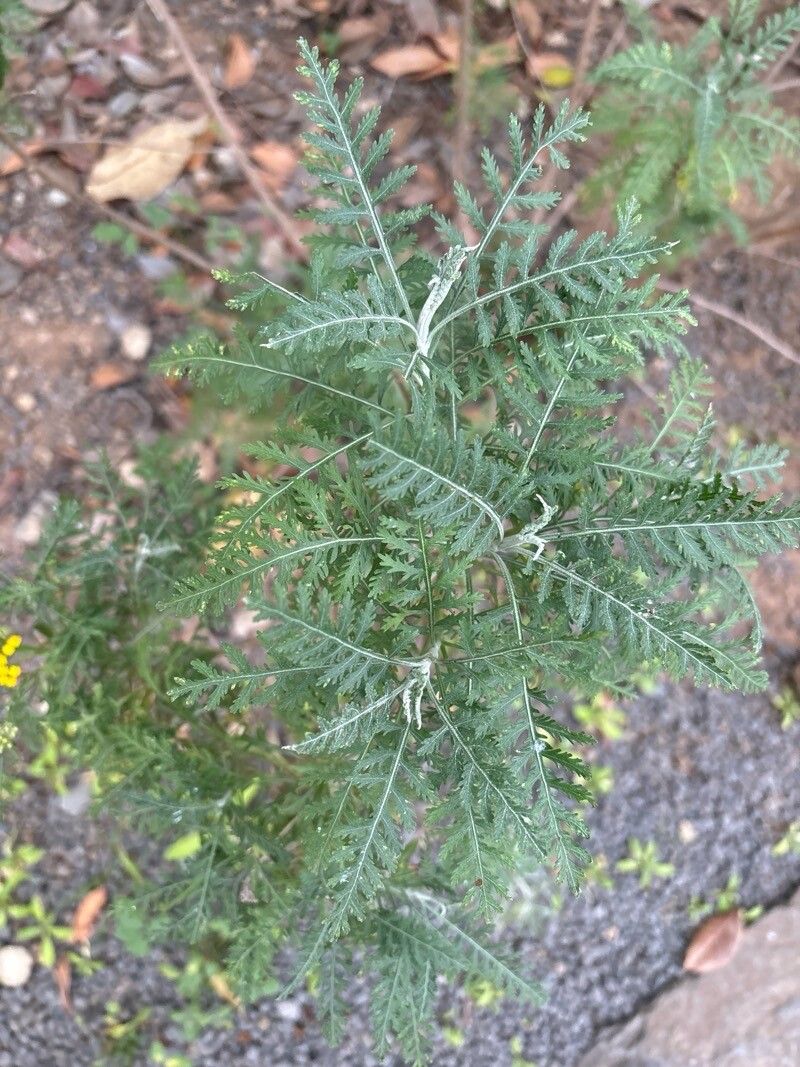
The Canary Island Daisy, or Gonospermum canariense, is a charming evergreen shrub prized for its cheerful, daisy-like flowers and feathery, silver-green foliage. Native to the Canary Islands, this resilient plant brings a touch of sunshine to gardens even in cooler climates. While readily available in nurseries, propagating your own Canary Island Daisy can be a rewarding experience.
This guide delves into two effective methods – taking cuttings and sowing seeds – to help you multiply your daisy bounty.
Method 1: Propagating Canary Island Daisy from Cuttings
Timing is Key: Spring and early summer offer the ideal conditions for successful propagation from cuttings. This period coincides with active growth, giving your cuttings the best chance of rooting.
Here’s What You Need:
- Sharp, sterilized pruning shears or a knife: This ensures clean cuts and minimizes the risk of disease.
- Rooting hormone (optional, but recommended): This promotes faster and healthier root development.
- Small pots filled with well-draining potting mix: A blend formulated for cuttings or seed starting works best.
Let’s Get Started:
- Select Healthy Stems: Choose non-flowering stems that are young and vigorous, around 4-6 inches long.
- Prepare the Cuttings: Make a clean cut just below a leaf node (the point where leaves emerge). Remove the lower leaves, leaving 2-3 pairs at the top.
- Hormone Boost (Optional): Dip the cut end of each stem in rooting hormone, following the product instructions.
- Plant the Cuttings: Insert each cutting into a pre-moistened pot. Gently firm the soil around the base.
- Create a Humid Environment: Cover the pot with a clear plastic bag or use a propagator to retain moisture. Ensure good ventilation to prevent rot.
- Patience is Key: Place the cuttings in a warm, bright spot, but out of direct sunlight. It takes about 4-8 weeks for roots to develop. Gently tug on a cutting to check for resistance, indicating root formation.
- Gradually Harden Off: Once rooted, gradually acclimate the cuttings to outdoor conditions before transplanting them into larger pots or your garden.
Method 2: Propagating Canary Island Daisy from Seeds
The Best Time to Sow: Start seeds indoors in late winter or early spring.
What You Need:
- Seed starting mix: Choose a fine, sterile mix.
- Seed trays or small pots: Ensure good drainage.
- Warm, bright location: A sunny windowsill or under grow lights works well.
Let’s Begin:
- Sow the Seeds: Sprinkle the seeds evenly over the moistened seed starting mix. Cover lightly with soil.
- Keep it Cozy: Mist the soil regularly to keep it consistently moist but not waterlogged.
- Be Patient: Germination typically takes 2-4 weeks.
- Thin Out: When seedlings have a few sets of true leaves, thin out weaker ones, leaving the strongest to thrive.
- Transplant Time: Once the seedlings are large enough to handle, transplant them into individual pots or outdoors after the danger of frost has passed.
A Final Word
Propagating your own Canary Island Daisies is a deeply satisfying experience that allows you to expand your garden with minimal cost and effort. By following these simple steps, you’ll be rewarded with beautiful, sun-kissed blooms for years to come. So why not try your hand at propagation and experience the joy of nurturing new life from your existing plants?