
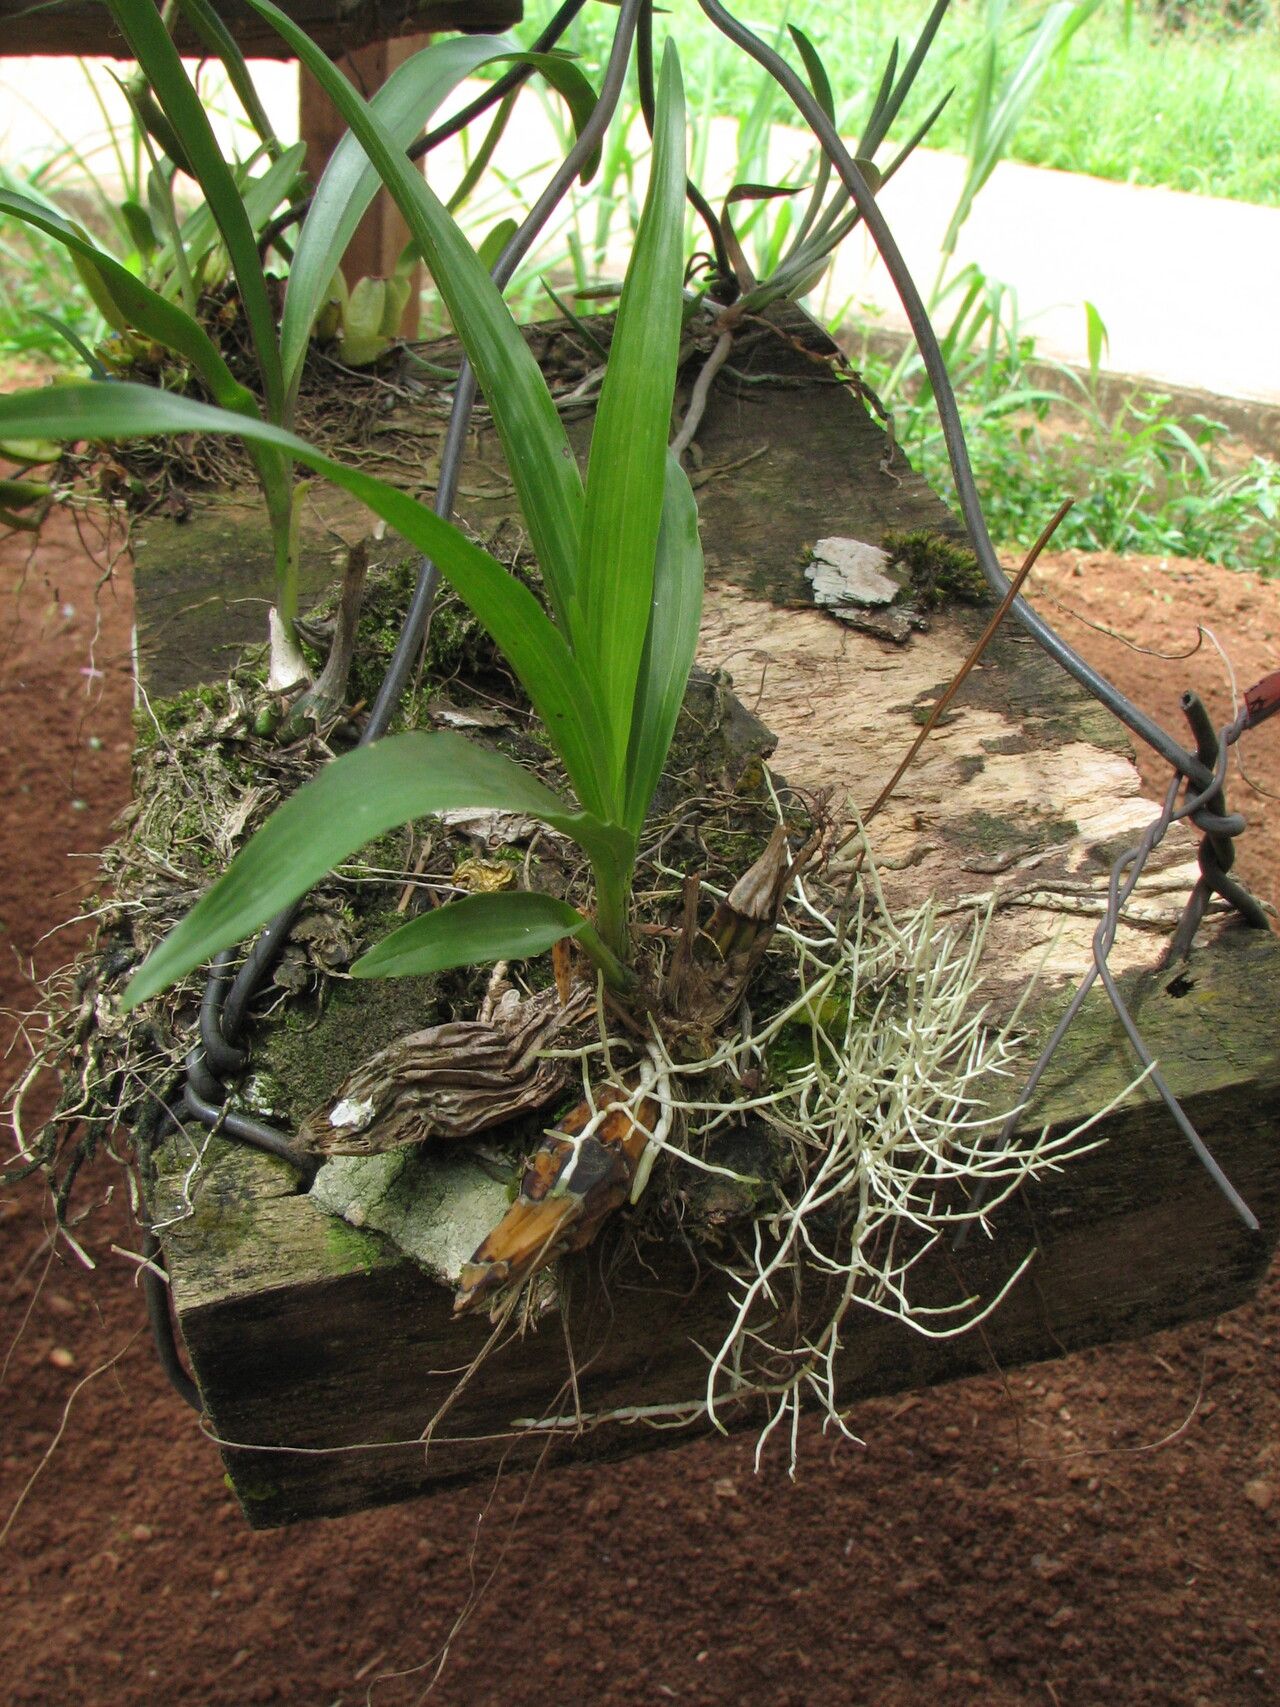
Unlocking the Secrets of Graphorkis Lurida Propagation: A Guide for Orchid Enthusiasts
The Graphorkis lurida, with its uniquely charming, almost sinister blooms, is not your typical flamboyant orchid. This fascinating species, native to Madagascar and Comoros, possesses a subtle beauty that captivates true orchid aficionados. But while its care requirements are relatively straightforward, many enthusiasts find themselves puzzled when it comes to propagation.
This guide delves into the intricacies of multiplying your Graphorkis lurida collection, unraveling the secrets to success and helping you cultivate these botanical gems.
Propagation Methods: Separating Fact from Fiction
Unlike many orchids readily propagated through keikis (plantlets), Graphorkis lurida primarily multiplies through division. This means separating mature plants with multiple growths, effectively creating new individual orchids. While some sources might mention seed propagation, this method is best left to experienced growers and laboratories due to its complexity and low success rates.
Timing is Key: When to Divide Your Orchid
The optimal time to divide your Graphorkis lurida is during spring, just as the plant begins its active growth phase. This timing allows the divisions ample time to establish themselves before the cooler months. Avoid dividing during flowering or when the plant is dormant, as this can stress the orchid and hinder its recovery.
Step-by-Step Division Guide:
Before you begin, gather the following:
- Sterilized tools: A sharp, sterilized knife or pruning shears, and rubbing alcohol.
- New pots: Choose pots slightly larger than the divisions.
- Appropriate potting medium: A well-draining mix suited for epiphytic orchids, such as bark chips, perlite, and sphagnum moss.
Now, follow these steps:
- Unpot the orchid: Gently remove the Graphorkis lurida from its pot, being careful not to damage the roots.
- Inspect the rhizome: Identify the points where the plant naturally divides, usually with at least three healthy pseudobulbs per division.
- Make the cut: Using your sterilized tool, carefully separate the rhizome at the chosen division points.
- Treat the wounds: Sprinkle a small amount of cinnamon or activated charcoal on the cut surfaces to prevent fungal infections.
- Pot the divisions: Place each division in its new pot, ensuring the base of the pseudobulbs sits slightly above the rim of the pot. Fill the remaining space with potting mix, gently firming it around the roots.
- Water sparingly: Wait a few days before watering the newly potted divisions. Once new growth emerges, resume regular watering based on your environment and the plant’s needs.
Patience is a Virtue: Post-Division Care
After division, provide your Graphorkis lurida with bright, indirect light and humidity levels around 60-70%. Avoid overwatering, allowing the potting mix to dry slightly between waterings. It might take several months for the divisions to fully establish themselves and resume blooming.
Conclusion:
Propagating your Graphorkis lurida might seem daunting at first, but with the right knowledge and a dash of patience, it’s a rewarding experience. By following these guidelines, you can increase your collection of this unique orchid and continue to enjoy its subtle beauty for years to come.