Unlocking the Secrets of Grewia tephrodermis: A Propagation Guide
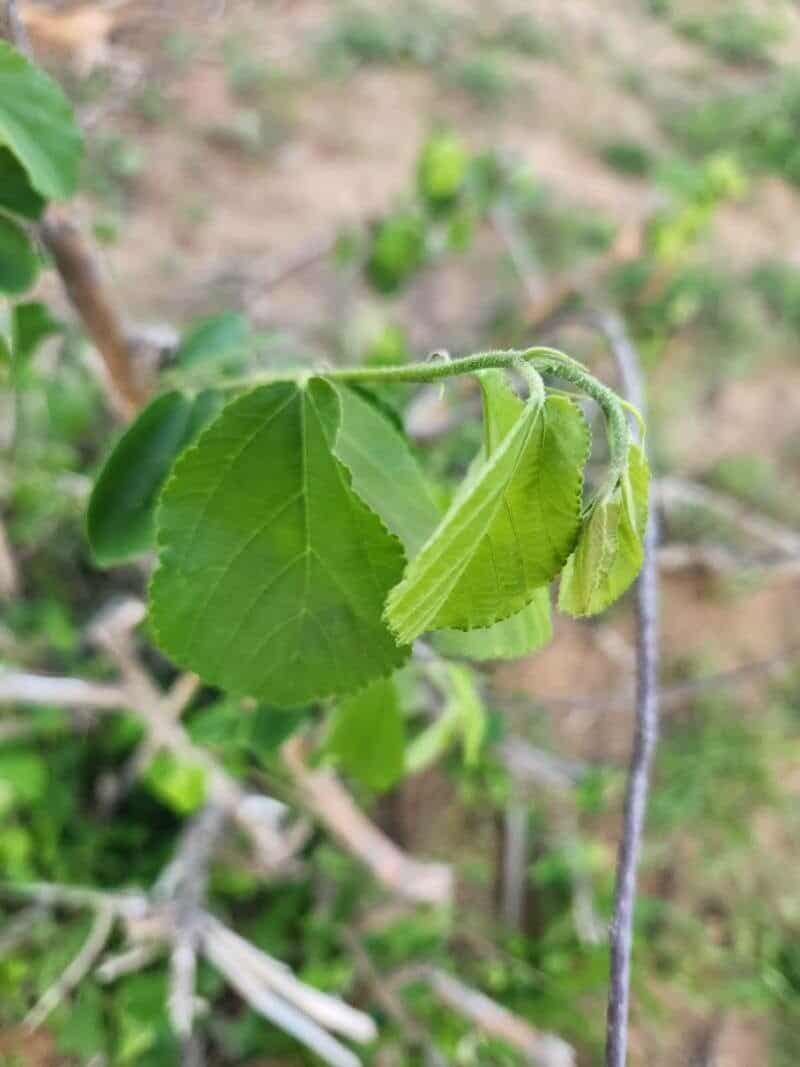
Grewia tephrodermis, also known as the grey-barked grewia, is a captivating plant with its delicate flowers and unique greyish bark. Native to Africa, this adaptable species thrives in various environments and holds excellent potential for landscaping and conservation efforts.
If you’re captivated by Grewia tephrodermis and eager to propagate this beautiful plant, you’ve come to the right place! This guide delves into the techniques that will empower you to grow Grewia tephrodermis and contribute to its presence in gardens and natural landscapes.
Two Paths to Propagation:
Grewia tephrodermis can be propagated through two primary methods: seeds and cuttings. Each technique comes with its own set of rewards and challenges, allowing you to choose the approach that aligns best with your resources and gardening expertise.
1. Seed Propagation: A Journey of Patience and Reward
Propagating Grewia tephrodermis from seed is an exciting endeavor, offering the satisfaction of witnessing a plant’s entire lifecycle. However, patience is key, as this method requires more time compared to cuttings.
Steps for Seed Propagation:
a. Seed Collection and Preparation: Source seeds from reputable suppliers or collect them from mature Grewia tephrodermis plants. Before sowing, soak the seeds in warm water for 24 hours to enhance germination rates.
b. Sowing the Seeds: Use a well-draining seed-starting mix, and sow the seeds at a depth of about 1/4 inch. Mist the soil gently to avoid disturbing the seeds.
c. Providing Optimal Conditions: Place the seed tray in a warm, brightly lit location, but away from direct sunlight. Maintaining consistent moisture is crucial for successful germination.
d. Transplanting the Seedlings: Once the seedlings develop a few sets of true leaves (around 4-6 weeks), transplant them into individual pots filled with well-draining potting mix.
2. Propagation through Cuttings: A Faster Route to Success
For those seeking quicker results, propagating Grewia tephrodermis through cuttings is an excellent approach. This method takes advantage of the plant’s ability to develop roots from stem segments.
Steps for Cutting Propagation:
a. Taking the Cuttings: Using a sharp, sterilized knife or pruning shears, take cuttings that are about 4-6 inches long from healthy, non-flowering branches.
b. Preparing the Cuttings: Remove the leaves from the lower third of the cutting, leaving 2-3 leaves at the top. You can dip the cut end in rooting hormone to stimulate root development, though it’s not always essential.
c. Planting the Cuttings: Insert the cuttings into a well-draining potting mix, burying at least one node (the bump where leaves emerge) below the soil surface.
d. Encouraging Root Development: Maintain a warm and humid environment by covering the cuttings with a plastic bag or humidity dome. Ensure the soil remains consistently moist but not waterlogged.
e. Transplanting the Rooted Cuttings: After about 4-8 weeks, your cuttings should have developed roots. Gently tug on the cutting – if you feel resistance, it’s a good indication that roots have formed. Once rooted, transplant them into individual pots or directly into your garden.
Caring for Your Grewia tephrodermis:
Whether you choose to propagate through seeds or cuttings, providing the right care is crucial for your Grewia tephrodermis to flourish. Ensure they receive ample sunlight, well-draining soil, and regular watering, especially during dry periods.
Propagation allows you to not only multiply your Grewia tephrodermis but also contributes to the conservation of this captivating species. With a bit of patience and care, you can successfully propagate Grewia tephrodermis and enjoy its unique beauty for years to come.