Unlocking the Secrets: How to Propagate Gymnanthemum amygdalinum (And Why You Should!)
Gymnanthemum amygdalinum may be a mouthful to say, but this incredible plant, also known as the “Destroyer of Sugar,” offers a wealth of potential health benefits. Used in traditional medicine for centuries, this vine is gaining popularity for its reputed ability to regulate blood sugar levels. Whether you’re looking for a natural way to manage your health or simply want to add a beautiful and fascinating plant to your collection, propagating Gymnanthemum amygdalinum is a rewarding experience.
And the best part? It’s incredibly easy!
This guide will walk you through the process, providing you with all the tools and knowledge you need to become a Gymnanthemum amygdalinum propagating pro.
Understanding the Plant
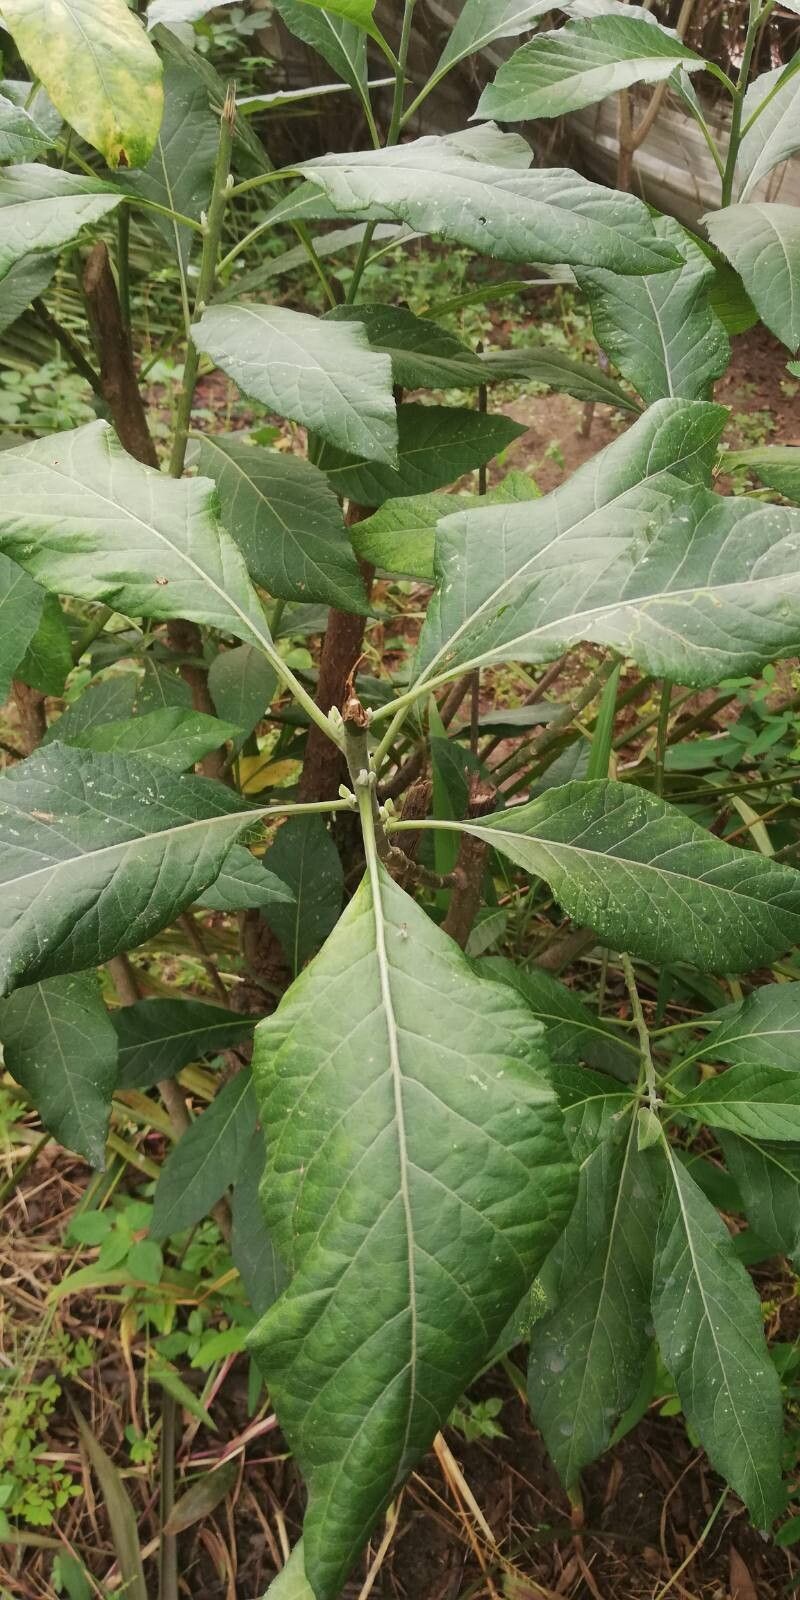
Before we dive into propagation, let’s get acquainted with this fascinating plant. Native to tropical regions of Asia and Africa, Gymnanthemum amygdalinum is a climbing vine characterized by:
- Glossy, dark green leaves: These leaves are arranged opposite each other on the stem and are oval-shaped with a pointed tip.
- Small, white flowers: Appearing in clusters, these delicate blooms add a touch of elegance to the plant.
- Fast growth rate: This vigorous grower can quickly climb and spread, making it ideal for trellises or hanging baskets.
Two Paths to Propagation
Gymnanthemum amygdalinum can be easily propagated through two main methods:
1. Stem Cuttings:
This is the most common and straightforward approach. Here’s how:
 * **Take the cutting:**  Using clean, sharp shears, cut a 4-6 inch piece of stem from a healthy, mature plant. Ideally, choose a stem with at least two nodes (small bumps where the leaves emerge).
 * **Prepare the cutting:** Remove the lower leaves from the cutting, leaving only the top two or three leaves intact.
 * **Encourage root development:** Dip the cut end in rooting hormone (optional but recommended for faster results).
 * **Plant the cutting:**  Insert the cutting into a well-draining potting mix, ensuring that at least one node is buried.
 * **Provide a humid environment:**  Cover the pot with a clear plastic bag or cloche to create a mini greenhouse.
 * **Water regularly:** Keep the soil moist but not soggy.
 * **Be patient!:** Roots should develop within 2-4 weeks. Once you see new growth, you can transplant your new plant.
2. Layering:
This method involves encouraging roots to grow while the stem is still attached to the parent plant:
 * **Choose a flexible stem:** Select a healthy stem close to the ground.
 * **Wound the stem:** Gently scrape or make a small cut on the underside of the chosen section.
 * **Bury the wounded section:** Bend the stem down and bury the wounded part in a small pot filled with potting mix. Use a small rock or landscape pin to secure it.
 * **Keep the soil moist:** Water regularly to encourage root development.
 * **Separate the layer:** After a few weeks, check for root growth. Once established, you can sever the rooted section from the parent plant and you have a brand new Gymnanthemum amygdalinum!
Caring for Your New Plants
Once your new plants are established, they are relatively low-maintenance. Here are some tips:
- Sunlight: Provide them with bright, indirect sunlight.
- Water: Water when the topsoil feels dry to the touch.
- Humidity: As a tropical plant, they appreciate some humidity. Consider misting them occasionally.
- Fertilizer: Feed them with a balanced liquid fertilizer monthly during the growing season.
Propagating your own Gymnanthemum amygdalinum is not only simple but also incredibly rewarding. So why not give it a try? You’ll be amazed by the resilience and beauty of this beneficial plant, and you’ll have the satisfaction of knowing you grew it yourself.