Unveiling the Secrets: Propagating the Majestic Woolly Fern (Gymnocarpium dryopteris)
The Woolly Fern, formerly known as Gymnosphaera baileyana and now scientifically recognized as Gymnocarpium dryopteris, is a captivating plant with its delicate, triangular fronds and captivating texture. While often found gracing shaded woodlands, this easy-to-care-for fern can also bring a touch of wild elegance to your home garden. But how do you go about propagating this enchanting species? Let’s delve into the secrets of successfully multiplying your Woolly Fern.
Understanding the Woolly Fern’s Lifecycle
Before embarking on your propagation journey, it’s essential to understand a bit about the fern’s lifecycle. Unlike flowering plants that reproduce from seeds, ferns propagate through spores – tiny, dust-like particles found on the undersides of their fronds. These spores germinate into a heart-shaped structure called a prothallus, which produces both male and female gametes. Fertilization occurs when water, acting as a conduit, brings the gametes together. This union leads to the development of a new fern plant.
Propagation Methods
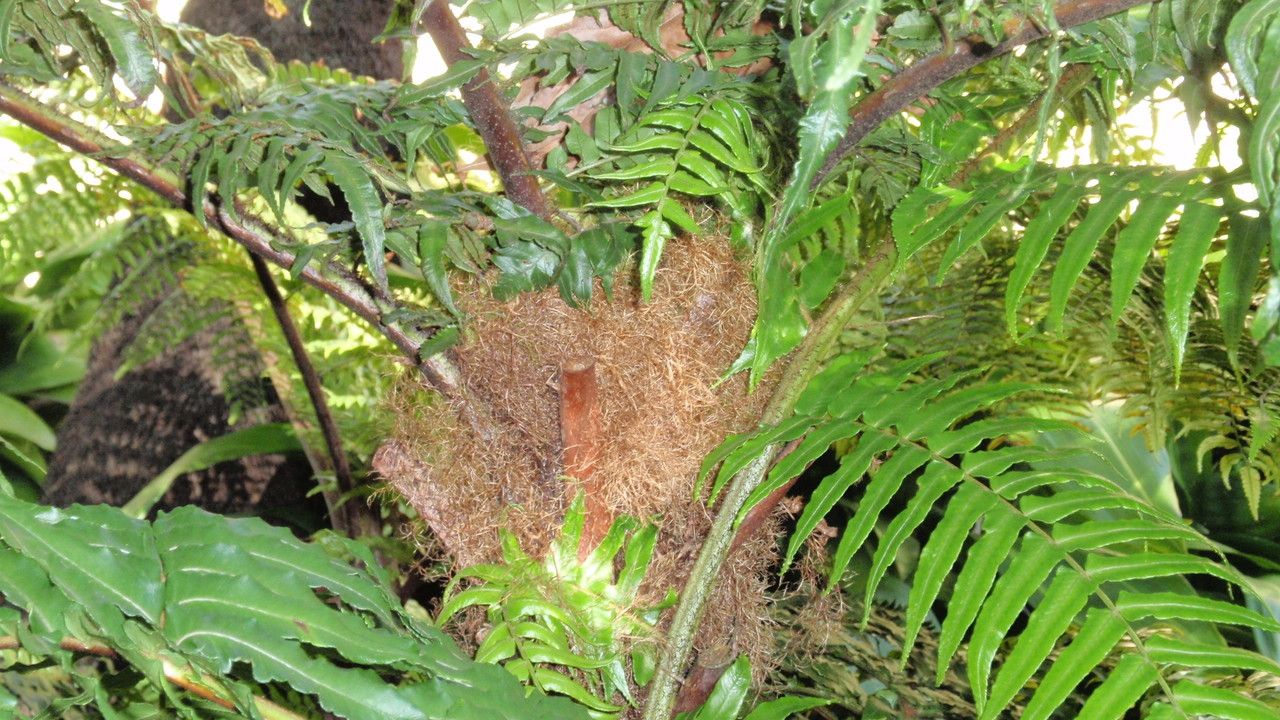
1. Spore Propagation:
- Timing: Late summer or early fall is ideal for spore collection, when the spore cases on the undersides of the fronds turn brown and release their contents readily.
- Collection: Carefully snip off a frond laden with mature spores and place it in a paper bag to dry. After a few days, gently tap the frond inside the bag to release the spores.
- Sowing: Fill a seed tray with a sterile seed-starting mix and mist it thoroughly. Sprinkle the spores evenly over the surface, taking care not to bury them.
- Environment: Cover the tray with a clear plastic lid or wrap it in plastic to create a humid environment. Place it in a warm, shaded location, avoiding direct sunlight.
- Patience: Germination can take anywhere from a few weeks to several months. Once the prothalli emerge, mist them regularly and ensure proper air circulation to prevent fungal growth.
- Transplanting: When the ferns are large enough to handle, carefully separate them and transplant them into individual pots filled with a well-draining potting mix.
2. Division:
- Timing: Early spring, just before new growth emerges, is the best time to divide your Woolly Fern.
- Process: Gently dig up the entire plant and carefully separate the rhizomes (underground stems) with a sharp knife. Ensure that each division has a healthy set of fronds and roots.
- Replanting: Plant the divisions in a shaded area with moist, well-drained soil, ensuring the crown is level with the soil surface. Water thoroughly and apply a layer of mulch to retain moisture.
Tips for Success
- Sterility: Spores are highly susceptible to contamination. Use sterile potting mix and trays, and sterilize your tools to prevent fungal growth.
- Patience: Fern propagation, particularly from spores, requires time and patience. Don’t be discouraged if you don’t see results immediately.
- Observation: Keep a close eye on your newly propagated ferns. Provide adequate moisture, humidity, and air circulation, and adjust your care regimen as needed.
Propagating your Woolly Fern is a rewarding experience, allowing you to expand your fern family or share these living treasures with others. Whether you choose the meticulous process of spore propagation or the simpler method of division, with a little patience and care, you’ll soon have a flourishing collection of these captivating ferns gracing your garden.