From One to Many: Propagating the Hardy Gymnosporia acuminata
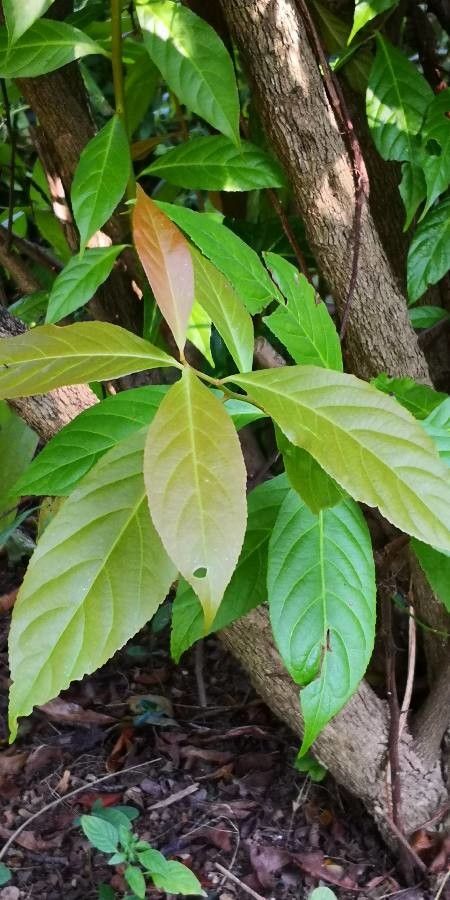
The Gymnosporia acuminata, with its glossy green leaves and striking reddish twigs, adds a unique touch to any garden. But what if you could easily share its beauty with friends or fill your own space with more of these lovely shrubs? Enter the world of propagation!
This helpful guide will demystify the process of multiplying your Gymnosporia acuminata, empowering you to create new plants from your existing one.
Understanding Propagation
Propagation is the art of creating new plants from existing ones. It’s like making copies, but with plants! For Gymnosporia acuminata, the most common and successful methods are:
- Cuttings: This involves taking pieces of stem and encouraging them to root.
- Seed propagation: Collecting seeds from ripe berries and nurturing them into seedlings.
Cuttings: A Simple and Effective Method
- Timing is key: The ideal time for taking cuttings is during the spring or early summer when the plant is actively growing.
- Choose your stems: Select healthy, non-flowering stems that are about 6-8 inches long. The stem should be semi-hardwood – neither young and soft nor completely mature and woody.
- The cut: Make a sharp, clean cut just below a node (where leaves grow) with a sharp knife or pruning shears. This encourages rooting.
- Preparing your cuttings: Remove the leaves from the bottom 2-3 inches of the stem, leaving a few leaves at the top. Dust the cut end with rooting hormone powder (optional but helpful).
- Planting: Dip the treated end of the cutting into a rooting medium like moist peat moss or a mix of perlite and vermiculite. You can use a small pot or a propagation tray.
- Create a humid environment: Cover the container with a clear plastic bag or dome to retain moisture. Place it in a bright location but out of direct sunlight.
- Patience is a virtue: Rooting can take several weeks to several months, depending on the time of year and conditions. Keep the rooting medium consistently moist.
- Time to transplant: Once roots have formed, gently remove the plastic covering and gradually acclimate the new plant to outdoor conditions.
The Art of Seed Propagation
- Harvesting seeds: Collect the ripe berries from your Gymnosporia acuminata in the late summer or fall. Remove the seeds from the fleshy fruit.
- Stratification: Many seeds require a period of cold stratification to break dormancy. This mimics the natural winter conditions and prepares them for germination. Place the seeds in a moist medium like vermiculite or planting mix and keep them in a refrigerator for several weeks.
- Sowing seeds: After stratification, plant the seeds in seedling trays or small pots filled with a well-draining seed starting mix.
- Germination: Keep the soil consistently moist but not soggy. Germination can take a few weeks to a couple of months.
Important Tips
- Water wisely: Ensure the potting medium is well-drained to avoid overwatering, which can cause root rot.
- Protect from pests: Keep an eye out for pests like aphids or spider mites that can harm your newly developing plants.
- Patience is key Successful propagation takes time and patience. Don’t be discouraged if rooting or germination doesn’t occur immediately. Just keep providing the right conditions, and you’ll be rewarded with healthy new plants.
By trying your hand at propagating your Gymnosporia acuminata, you can not only expand your garden’s beauty but also enjoy the rewarding experience of creating life from a single stem or seed. So, gather your tools, get your hands dirty, and let the journey of plant multiplication begin.