Taming the Bird’s Nest: A Guide to Propagating Hakea Cristata
The Hakea Cristata, affectionately nicknamed the "Bird’s Nest Hakea", is a fascinating Australian native known for its intriguing foliage and unique seed pods. If you’re captivated by this botanical oddity and want to welcome its charm into your garden, propagating your own is a rewarding endeavor. While it requires a touch of patience and the right know-how, successfully growing Hakea Cristata from seed is an achievable goal for any gardening enthusiast.
Understanding the Hakea Cristata:
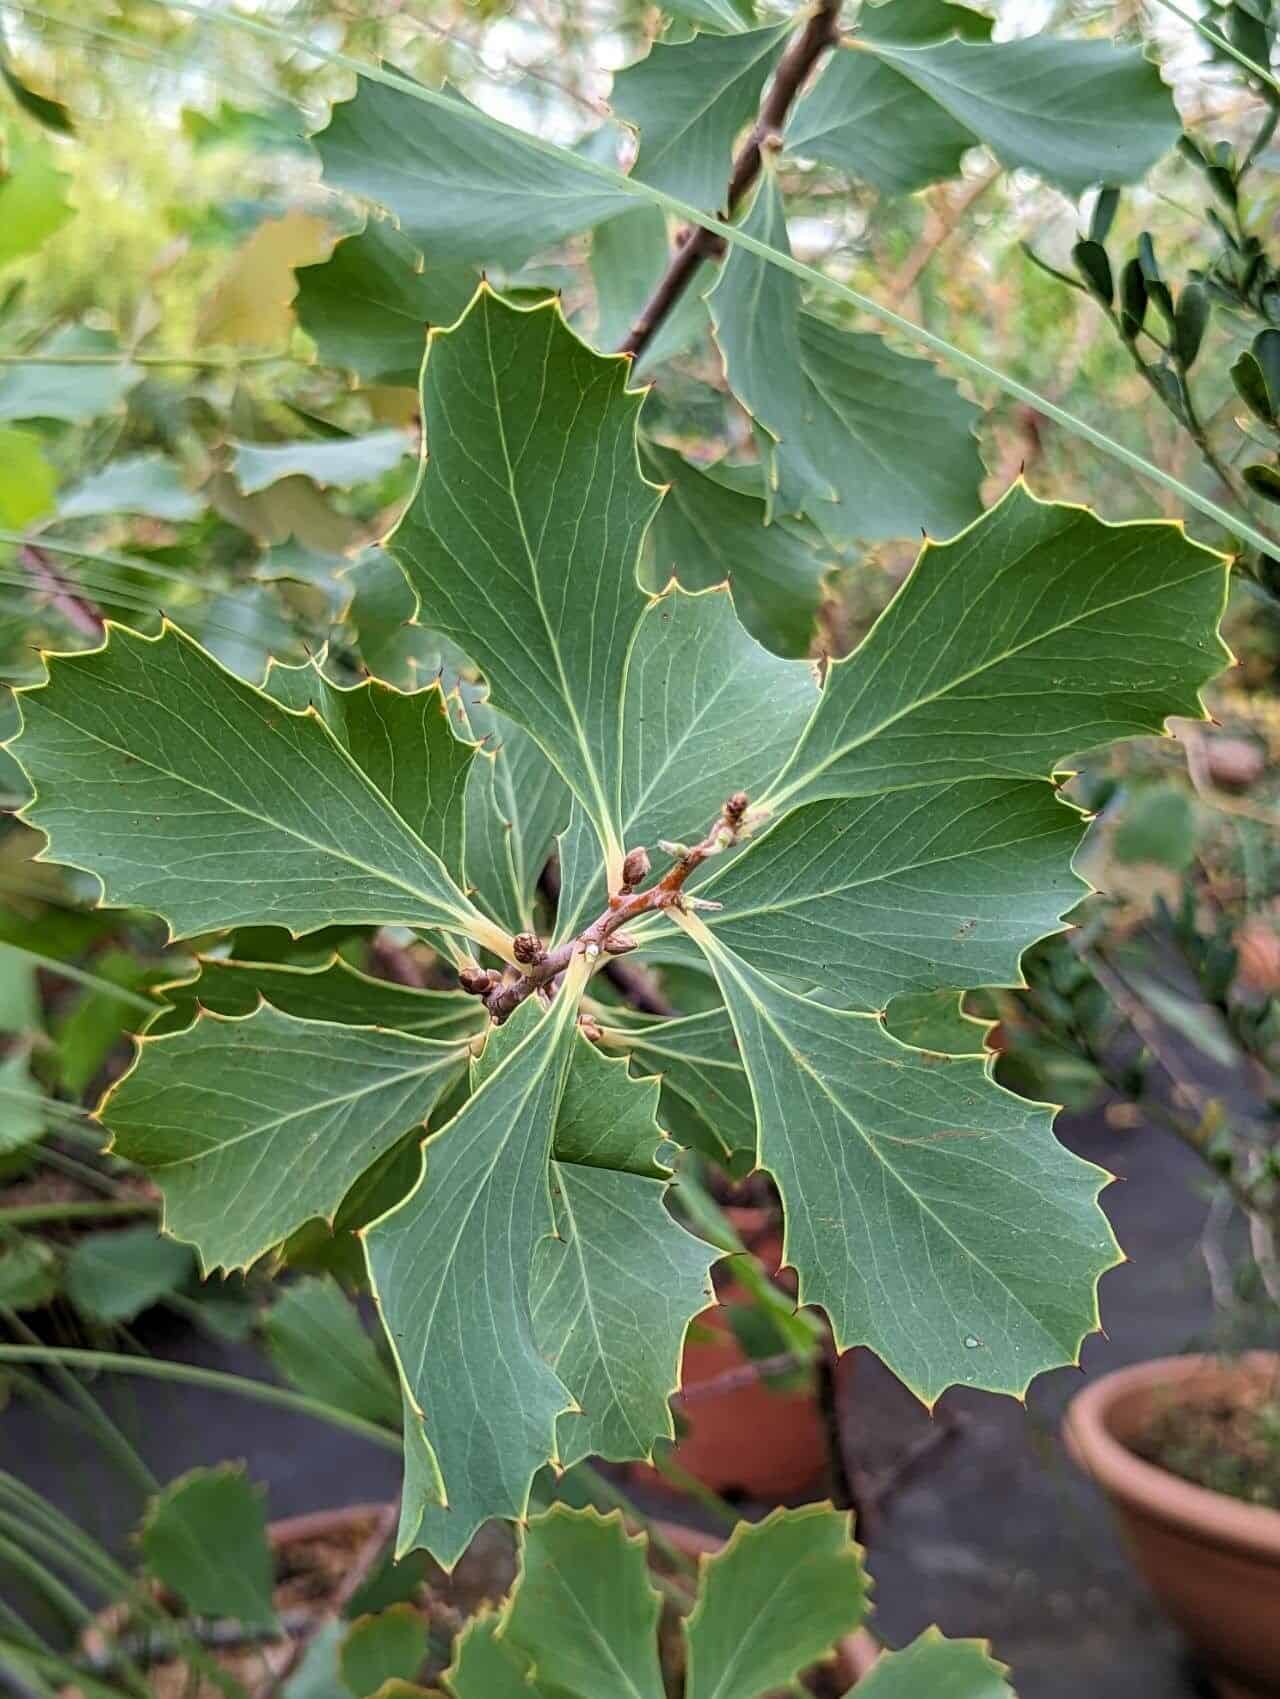
Before diving into propagation, it’s helpful to understand this unique plant. Hailing from Western Australia, Hakea Cristata is a shrub that can reach heights of 2-4 meters. Its most striking feature is undoubtedly its stiff, dark green leaves, which are uniquely curled and resemble a bird’s nest – hence the nickname. In spring, the plant blooms with stunning cream-colored flowers that add to its appeal.
Propagating Hakea Cristata from Seed:
While cuttings are possible, Hakea Cristata is most commonly propagated from seed. Here’s a step-by-step guide:
1. Seed Collection and Preparation:
- Harvesting: The seeds are housed within woody, bird’s nest-like pods. Wait for the pods to turn brown and begin to open naturally before collecting them.
- Extracting Seeds: Carefully break open the pods to reveal the winged seeds within.
- Seed Treatment (Optional): Soaking the seeds in warm water for 24 hours before sowing can help soften the outer layer and encourage germination.
2. Sowing the Seeds:
- Timing: Spring is the ideal time to sow Hakea Cristata seeds.
- Soil: Use a well-draining seed-raising mix to prevent waterlogging.
- Sowing Depth: Plant the seeds about 1cm deep in the soil.
- Watering: Water gently after sowing and keep the soil consistently moist but not waterlogged.
3. Germination and Early Care:
- Patience is Key: Hakea Cristata seeds can take anywhere from a few weeks to several months to germinate. Be patient and continue to provide adequate moisture and light.
- Light: Place the seed tray in a bright location, but out of direct sunlight.
- Transplanting: Once the seedlings have developed a few sets of true leaves and are large enough to handle, they can be transplanted into individual pots.
4. Ongoing Care for Young Plants:
- Sunlight: Hakea Cristata thrives in full sun to partial shade. Choose a sunny location for your plant.
- Watering: These plants are relatively drought-tolerant once established, but regular watering during the first year will help them develop strong root systems.
- Soil and Fertilizer: Well-draining soil is crucial. A light application of slow-release fertilizer in spring can benefit their growth.
Enjoying Your Hakea Cristata:
Propagating Hakea Cristata might require a bit of effort, but the reward of seeing this unique plant flourish in your garden is well worth it. With proper care, your Hakea Cristata will thrive, adding a touch of the Australian outback to your landscape while attracting curious glances from neighbors and friends alike.