Unlocking the Secrets of Witch Hazel Propagation: Grow Your Own Hamamelis Japonica
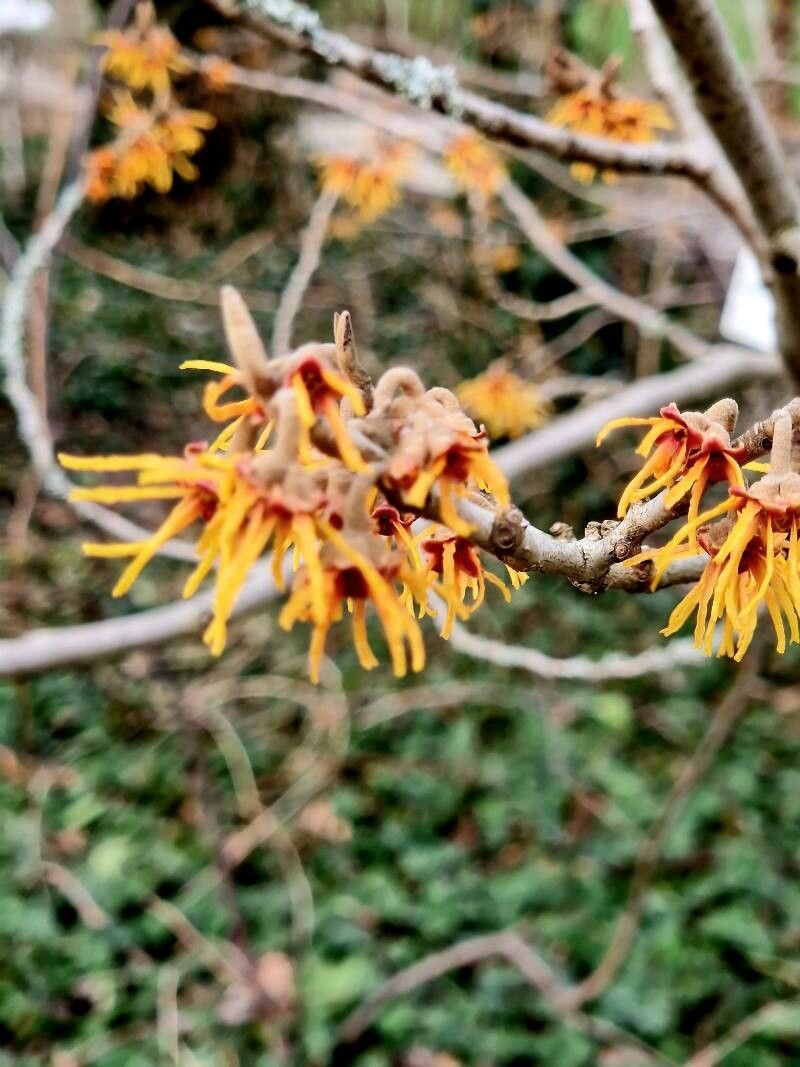
Hamamelis japonica, better known as Japanese witch hazel, is a sight to behold in the late winter landscape. Its spidery, fragrant blossoms in shades of yellow, orange, and red provide a welcome burst of color when most other plants are still dormant. But did you know you can propagate your own witch hazel and enjoy these captivating blooms for years to come?
While it requires patience, propagating Hamamelis japonica isn’t as daunting as you might think. There are two primary methods:
1. Growing from Seed: An Exercise in Patience and Reward:
- Collect the Seeds: The journey begins by collecting mature seed capsules from your existing witch hazel in autumn. Look for the small, woody capsules that split open to reveal shiny black seeds.
- Stratification is Key: Witch hazel seeds require a period of cold stratification to mimic natural winter conditions and break dormancy. Place the seeds in a moistened paper towel within a sealed plastic bag and store them in your refrigerator (around 40°F) for 90-120 days.
- Sowing Time: In spring, sow the stratified seeds in seed trays or pots filled with a well-draining seed starting mix. Cover the seeds lightly with soil and keep them consistently moist but not waterlogged.
- Patience is a Virtue: Germination can take several weeks to months. Once the seedlings emerge and have a couple sets of true leaves, you can transplant them to larger individual pots.
- Slow and Steady Wins the Race: Seed-grown witch hazels can take 5-7 years to bloom, but the reward of witnessing the fruits of your labor will be well worth the wait.
2. Semi-Hardwood Cuttings: A Faster Route to Blooms:
- Timing is Everything: The best time to take semi-hardwood cuttings is in late summer or early fall when the new growth has started to mature.
- Selecting the Cuttings: Look for healthy, non-flowering stems that are about 4-6 inches long. Use a sharp, sterile pruning shear or knife to make a clean cut just below a leaf node.
- Prepare the Cuttings: Remove the leaves from the bottom half of the cutting. You can dip the cut end in rooting hormone powder to stimulate root development (optional but recommended).
- Potting and Care: Plant the cuttings in a pot filled with a well-draining potting mix. Keep the soil consistently moist and provide a warm, humid environment. Covering the pot with a clear plastic bag can help retain moisture.
- Root Development: It may take several weeks for the cuttings to root. Gently tug on the cutting after a month; if you feel resistance, roots are likely developing.
- Transplanting: Once the cuttings have rooted well, you can transplant them to larger pots or directly into your garden in spring.
Important Considerations for Success:
- Well-Draining Soil: Hamamelis japonica thrives in acidic, well-drained soil. Amend heavy clay soil with organic matter to improve drainage.
- Sunlight Requirements: Choose a planting location that receives morning sun and afternoon shade or dappled sunlight throughout the day.
- Patience is Key: Whether grown from seed or cuttings, remember that witch hazels are slow-growing shrubs. Be patient and provide consistent care, and you’ll be rewarded with their captivating beauty in the years to come.
Propagating Hamamelis japonica is a rewarding endeavor for any gardening enthusiast. It’s a fantastic way to expand your plant collection while deepening your connection with these unique and beautiful shrubs. So why not give it a try? You might be surprised at how easy and gratifying it can be to grow your own Japanese witch hazel.