Unlocking the Secrets of the Pigeonwood Tree: A Guide to Propagating Hedycarya arborea
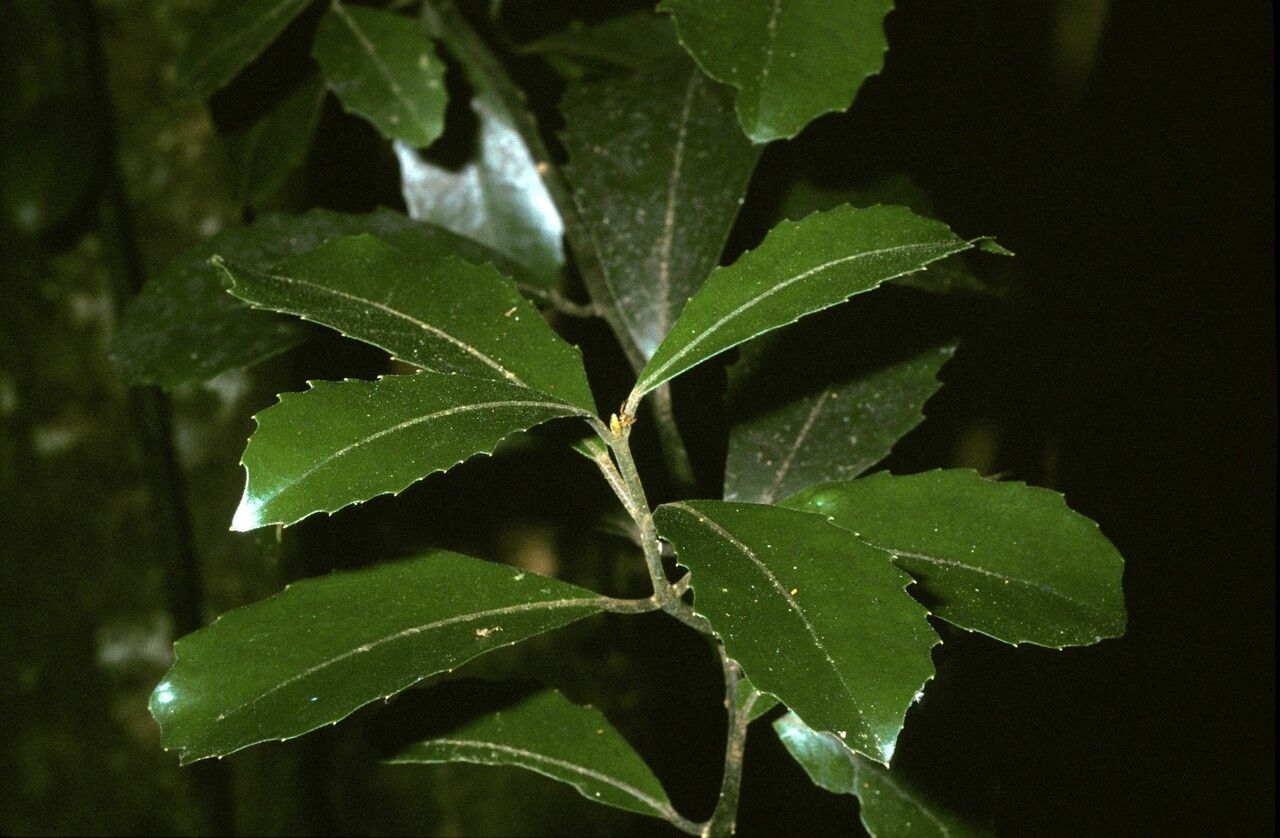
The Pigeonwood tree (Hedycarya arborea), a New Zealand native with glossy green leaves and intriguing, bird-dispersed fruit, is an understated beauty. Often overlooked, this hardy evergreen deserves a place in gardens seeking a touch of native elegance. But you won’t find these beauties lining garden center shelves. So, how do you welcome one into your backyard? The answer lies in the art of propagation.
While a bit more demanding than your average petunia, successfully growing Hedycarya arborea from seed or cuttings is a rewarding endeavor. This guide will equip you with the knowledge to propagate this remarkable tree and witness the miracle of life firsthand.
Method 1: Seed Propagation – A Test of Patience
Propagating Hedycarya arborea from seed imitates nature’s method but requires dedication and a touch of green-thumb magic. Here’s how:
- Seed Collection: Patience is key, as Pigeonwood trees don’t produce viable seeds every year. Look for ripe fruit on female trees in late summer or early fall. The fruit, resembling small black berries, signals readiness when soft to the touch.
- Seed Extraction: Gently crush the ripe fruit, revealing tiny, brown seeds within. Rinse away the pulp and allow the seeds to air dry for a day.
- Sowing: Plant seeds in a well-draining seed-raising mix, burying them about 1cm deep. Mist the soil and enclose the pot in a plastic bag to create a humid environment.
- Patience is a Virtue: Seed germination is slow and erratic, potentially taking several months or even a year. Placing the pot in a warm, sheltered location with indirect sunlight will encourage germination.
- Transplanting Triumph: Once seedlings develop a few sets of true leaves and are large enough to handle, transplant them into individual pots with well-draining potting mix.
Method 2: Cutting Propagation – A Faster Route
For those seeking quicker results, propagation through cuttings offers a faster track to success:
- Timing is Key: The optimal time to take cuttings is late autumn or early winter when the plant is dormant.
- Selecting the Right Cuttings: Choose healthy, firm semi-hardwood stems that are approximately 10-15cm long. Ideally, select side shoots with a “heel” (a small piece of the main stem attached).
- Preparing the Cuttings: Remove the leaves from the lower half of the cutting and wound the base slightly by scraping off a small section of bark. Dip the wounded end into rooting hormone powder to encourage root development.
- Planting the Cuttings: Plant the prepared cuttings in a well-draining potting mix, ensuring the bottom node (where leaves were removed) is buried.
- Creating Ideal Conditions: Place the cuttings in a warm, sheltered location with bright, indirect light. Cover the pot with a plastic bag or use a propagation dome to maintain a humid environment.
- Rooting Success: After several weeks, gently tug on the cutting. Resistance indicates successful root development. Once the roots are established, gradually acclimatize the cutting to outdoor conditions before transplanting it to its final location.
Bringing Home the Beauty:
Whether you choose the patience of seed propagation or the speed of cuttings, successfully propagating a Hedycarya arborea offers immense satisfaction. As your sapling matures into a handsome tree, attracting native birds with its fruit and gracing your garden with year-round greenery, you’ll have a tangible reminder of your dedication and the remarkable resilience of nature.