Unlocking the Secrets of the Streamside: Propagating Hedycarya rivularis
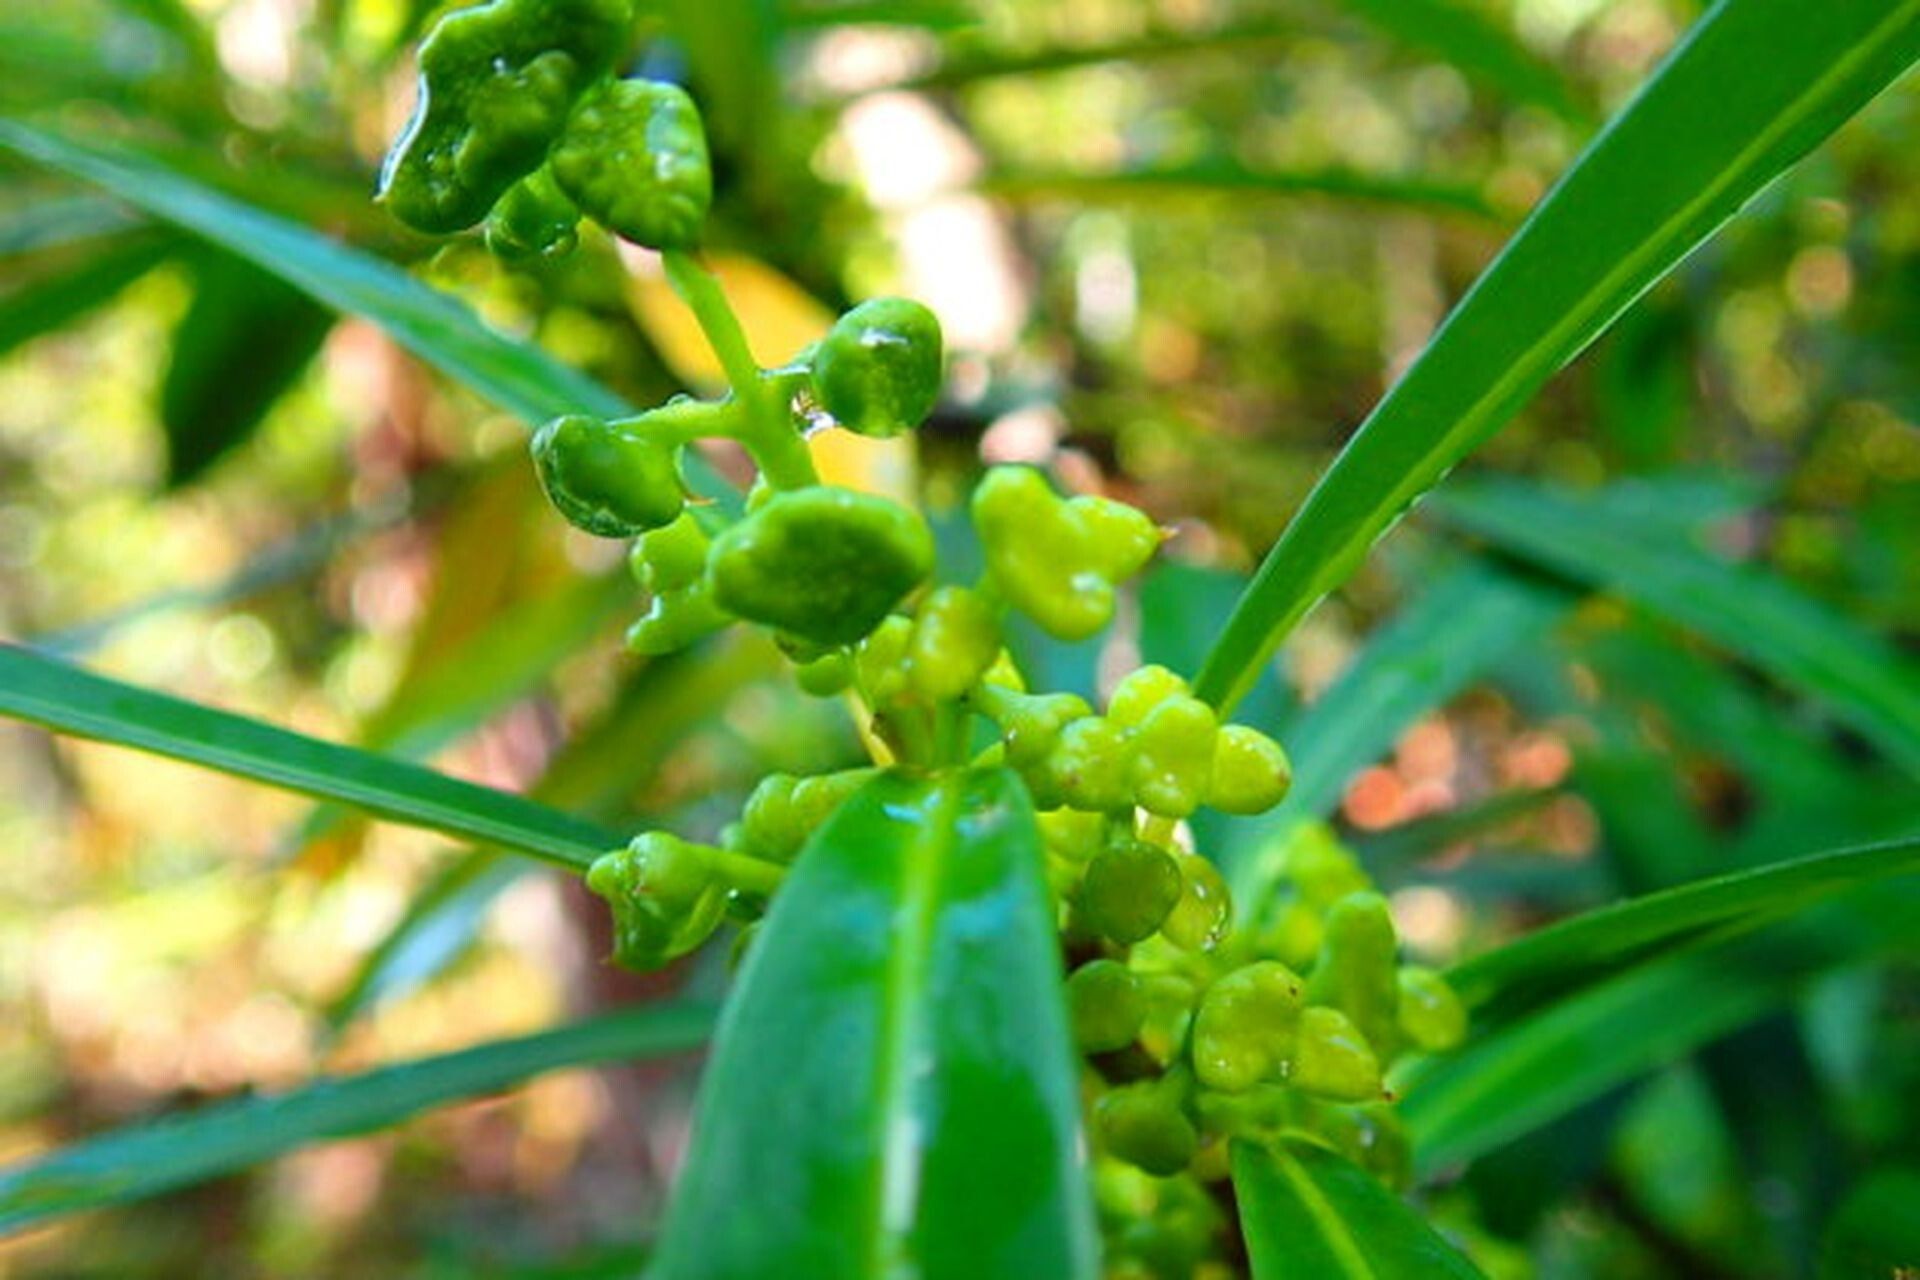
Nestled along the banks of rivers and streams, the Hedycarya rivularis, also known as the Streamside Mulberry or Pigeonberry, thrives in its moist and shady haven. This unassuming evergreen tree, native to New Zealand, boasts beautiful glossy leaves and clusters of tiny flowers that eventually give way to vibrant red berries. While not as widely recognized as other ornamentals, its subtle beauty and ecological importance make it a worthwhile addition to gardens within its suitable range.
If you’re keen on welcoming this riparian beauty into your garden, understanding its propagation is key. Let’s delve into the world of Hedycarya rivularis propagation and uncover the secrets to success.
Two Paths to Propagation:
Hedycarya rivularis can be propagated through two primary methods:
Seed Propagation: This method, while rewarding, requires patience and meticulous care.
- Collecting Seeds: Harvest ripe berries in the fall, carefully extracting the seeds. Remember, birds find these berries particularly delicious, so timing is key!
- Seed Treatment: Hedycarya rivularis seeds benefit from a period of cold stratification to simulate natural winter conditions and encourage germination. Place seeds in a sealed bag filled with damp vermiculite or sand and store them in the refrigerator for 2-3 months.
- Sowing: Once stratified, sow seeds in a well-draining seed-raising mix, covering them lightly with soil. Keep the soil consistently moist and provide dappled sunlight. Germination can be erratic, taking anywhere from a few weeks to several months.
- Transplanting: Once seedlings develop a strong root system and several sets of true leaves, they can be carefully transplanted into individual pots or a prepared garden bed.
Cutting Propagation: This method offers a quicker route to establishing new plants.
- Timing is Key: Take semi-hardwood cuttings from healthy, mature growth in late spring or early summer.
- Preparing the Cuttings: Choose shoots that are 4-6 inches long, making a clean cut just below a leaf node. Remove lower leaves and wound the base of the cutting slightly to encourage rooting.
- Rooting Hormone (Optional): Dipping the base of the cutting in a rooting hormone powder can enhance rooting success.
- Planting the Cuttings: Plant cuttings in a well-draining mix of peat moss and perlite, ensuring at least one leaf node is buried.
- Creating a Humid Environment: Cover the cuttings with a plastic bag or humidity dome to maintain moisture and promote root development.
- Transplanting: Once roots develop (typically in 6-8 weeks), cuttings can be moved to larger pots or their permanent location in the garden.
Nurturing Your Hedycarya rivularis:
Whether you choose seed propagation or cuttings, providing the right growing conditions is vital for your Hedycarya rivularis to thrive.
- Sunlight and Location: This species prefers partial shade to full shade and enjoys moist, well-drained soil. Mimicking its natural riparian habitat is key!
- Watering: Consistent moisture is important, especially during dry periods. However, avoid waterlogging the soil.
- Fertilizer: A light application of a balanced, slow-release fertilizer in spring can be beneficial.
With patience and care, you can propagate Hedycarya rivularis and enjoy the unique beauty and ecological value it brings to your garden. So, embrace the challenge and discover the joys of nurturing this fascinating species!