Unfurling the Exotic: Propagating Your Very Own Heliconia Clinophila
With their vibrant, lobster-claw-shaped bracts and lush, tropical foliage, Heliconia Clinophila plants bring an undeniably exotic touch to any garden or indoor space. But what if you could multiply this beauty, adding bursts of color throughout your home or landscape? Propagating Heliconia Clinophila might seem daunting, but with a little know-how, it’s a rewarding process that any enthusiast can master.
Understanding Heliconia Clinophila: A Quick Intro
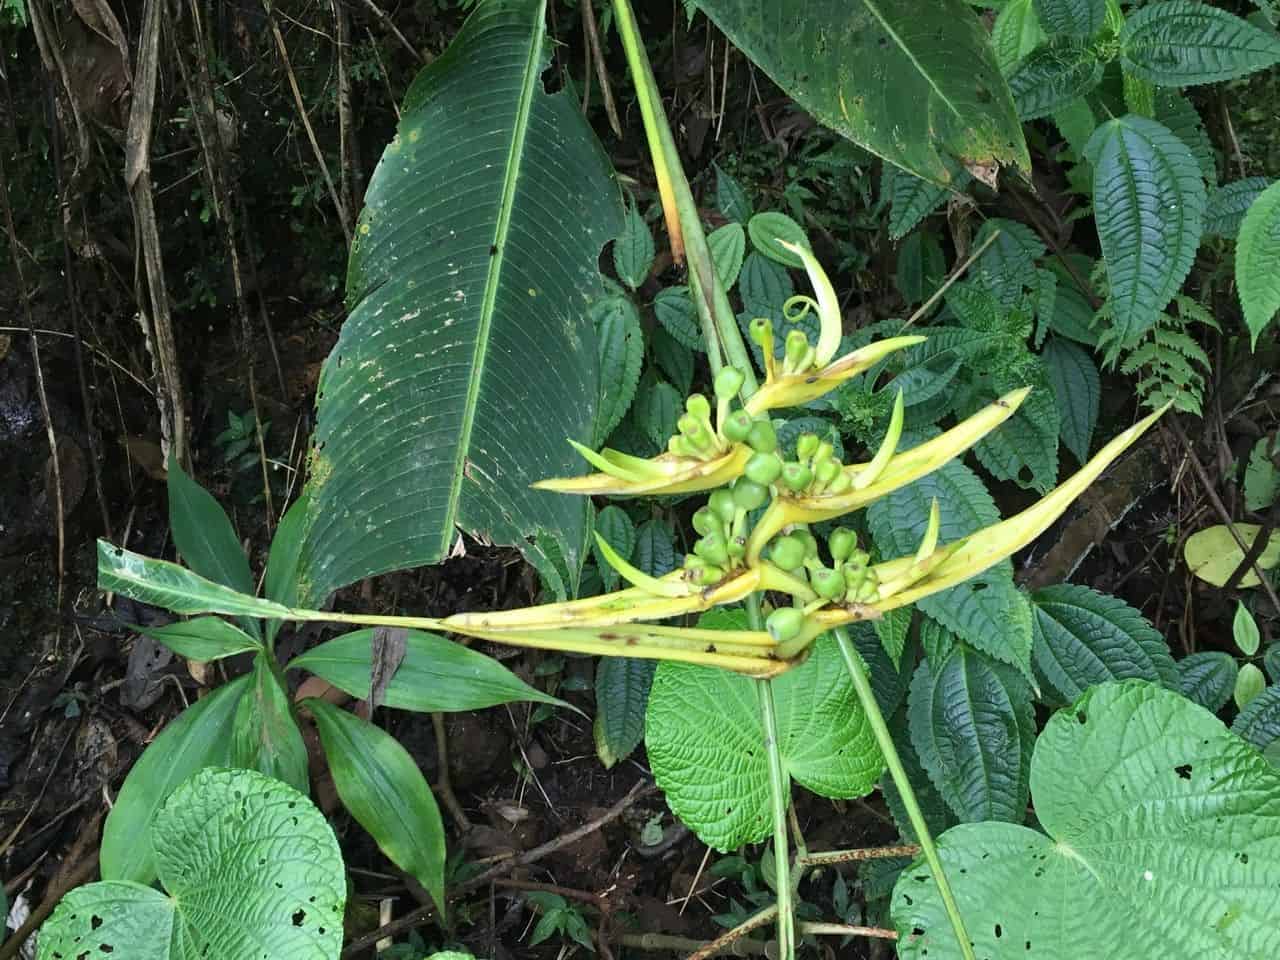
Native to Central and South America, Heliconia Clinophila, also known as the "Hanging Lobster Claw" thanks to its gracefully drooping bracts, is a rhizomatous perennial. This means it grows from underground stems called rhizomes, which store nutrients and allow for new shoots to emerge. Understanding this growth habit is key to successful propagation.
Two Paths to Propagation: Division and Seeds
1. Rhizome Division: The Tried and True Method
Rhizome division is the most common and reliable way to propagate Heliconia Clinophila. Here’s how to do it:
- Timing is Key: Spring is the ideal time as the plant is entering its active growing season.
- Gentle Excavation: Carefully dig around the base of a mature, healthy plant.
- Divide and Conquer: Locate the rhizomes, which look like thick, knobby roots. Using a clean, sharp knife or pruning shears, divide the rhizome cluster into sections, ensuring each section has at least one healthy growth point (a node or bud).
- Potting Up: Plant the divided rhizomes in well-draining potting mix, keeping the top of the rhizome slightly above soil level. Water thoroughly.
- Patience is a Virtue: Place the pots in a warm, shaded area and keep the soil consistently moist. It may take a few weeks for new growth to appear.
2. Seed Propagation: A More Patient Approach
While less common, propagating Heliconia Clinophila from seeds is possible, though it requires more patience.
- Seed Source: Seeds can be harvested from mature plants once the seed pods have dried, or you can purchase them from reputable suppliers.
- Pre-sowing Prep: Soak seeds in warm water for 24 hours to improve germination rates.
- Sowing the Seeds: Plant the seeds in a seed-starting mix, lightly covering them with soil. Keep the soil consistently moist and provide warmth.
- Time and Care: Germination can be sporadic and may take several weeks to months. Once seedlings are large enough to handle, transplant them into individual pots.
Nurturing Your New Heliconia Offspring
Whether you choose rhizome division or seed propagation, providing optimal growing conditions is crucial for success:
- Light: Heliconias thrive in bright, indirect light. Avoid direct sunlight, which can scorch their leaves.
- Water: Keep the soil consistently moist but not waterlogged. Proper drainage is essential to prevent root rot.
- Humidity: As tropical plants, Heliconias appreciate high humidity. Misting the leaves regularly or using a humidifier can be beneficial.
- Fertilizer: Feed your Heliconias with a balanced, water-soluble fertilizer during the growing season (spring and summer).
Propagating your own Heliconia Clinophila is a rewarding experience, allowing you to expand your collection of these stunning tropical beauties. With a little patience and care, you can enjoy their vibrant colors and lush foliage for years to come.