From One to Many: Propagating the Stunning “Spider Aralia”
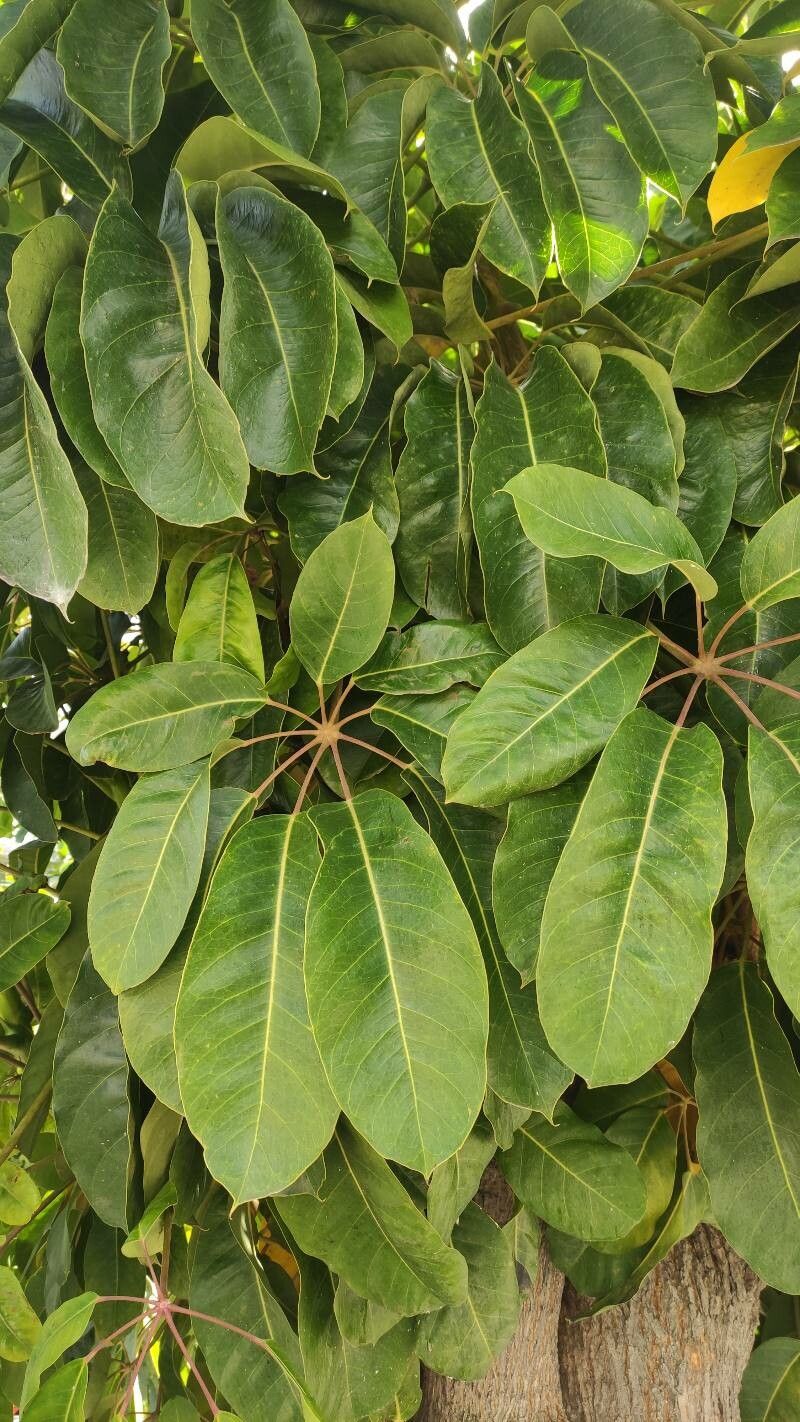
Heptapleurum actinophyllum, better known as “Spider Aralia,” is a show-stopping plant that’s captivating the hearts of plant enthusiasts worldwide. Its attractive, cascading foliage and low-maintenance nature make it a popular choice for both indoor and outdoor spaces.
But what if you could multiply your Spider Aralia’s beauty and share it with friends or fill your home with even more green? Propagating this striking plant is surprisingly easy, and with a few simple techniques, you can quickly grow new Spider Aralia plants from cuttings.
Understanding the Process
Propagation is the process of creating new plants from a parent plant. In the case of Spider Aralia, we’re working with stem cuttings. This method involves taking a piece of the plant’s stem, allowing it to develop roots, and then transplanting it into its own pot.
The Best Time for Propagation
The ideal time to propagate Spider Aralia is during the spring and summer months when the plant is actively growing. During these seasons, the plant has abundant energy, leading to faster root development.
Gather Your Supplies
- Sharp knife or scissors: This will ensure clean cuts on your stem cutting.
- Sharp rooting hormone powder or gel: This encourages quicker root development.
- Small pots: Choose pots with drainage holes and fill them with a well-draining potting mix.
- Water: You’ll need water to keep the cuttings moist.
- Clear plastic wrap or a humidity dome: This will create a humid environment to help the cuttings root.
Step-by-Step Guide to Propagation
- Choose a healthy stem: Select a stem with several nodes (the points where leaves grow). Avoid stems with flower buds or that look weak or damaged.
- Make your cut: Use your sharp knife or scissors to make a clean cut just below a node.
- Remove lower leaves: Remove any leaves that will be submerged in the potting mix.
- Apply rooting hormone: Dip the end of the cut stem into rooting hormone powder or gel to boost root development.
- Plant your cutting: Fill the pot with moist potting mix and create a small hole for the stem cutting. Gently insert the stem into the hole, ensuring that several nodes are buried in the mix.
- Provide moisture: Lightly water the potting mix and place a clear plastic wrap or humidity dome over the pot to create a humid microclimate.
- Place in indirect light: Position the potted cutting in a bright location with indirect sunlight.
- Maintain humidity: Check the potting mix for moisture levels regularly, and add water as needed to keep it slightly moist.
- Patience is key: It can take several weeks for the roots to develop. Be patient and continue maintaining the moist environment.
- Transplanting: Once the cutting has developed a healthy root system (typically when new growth appears), you can transplant it into a larger pot with fresh potting mix.
Tips for Success
- Don’t overcrowd: Give your cuttings enough space to grow roots.
- Avoid overwatering: Allow the potting mix to dry slightly between waterings. Too much moisture can lead to root rot.
- Check for signs of root growth: Check the cutting every few days for signs of new growth, such as fresh leaves or roots emerging from the bottom of the pot. This is a good indicator that the rooting process is successful.
Enjoy Your New Plants!
Once your new Spider Aralia plants have established themselves, you can enjoy their stunning cascading foliage for years to come. With minimal care and consistent maintenance, your propagated plants will thrive and transform your home into a lush and vibrant green haven.
Sharing your propagated plants brings the joy of gardening full circle. Not only will you have more of these beautiful plants, but you’ll also be sharing the delight of Spider Aralia with others, enriching their spaces and adding to the beauty of the world around us.