Unveiling the Secrets: How to Propagate the Magnificent Heptapleurum Chapanum
The Heptapleurum chapanum, with its lush green foliage and air-purifying properties, is a show-stopping addition to any plant lover’s collection. But did you know that propagating this stunning plant is surprisingly achievable, even for beginners? That’s right, you can multiply your green joy and share it with friends and family. Let’s delve into the exciting world of Heptapleurum chapanum propagation!
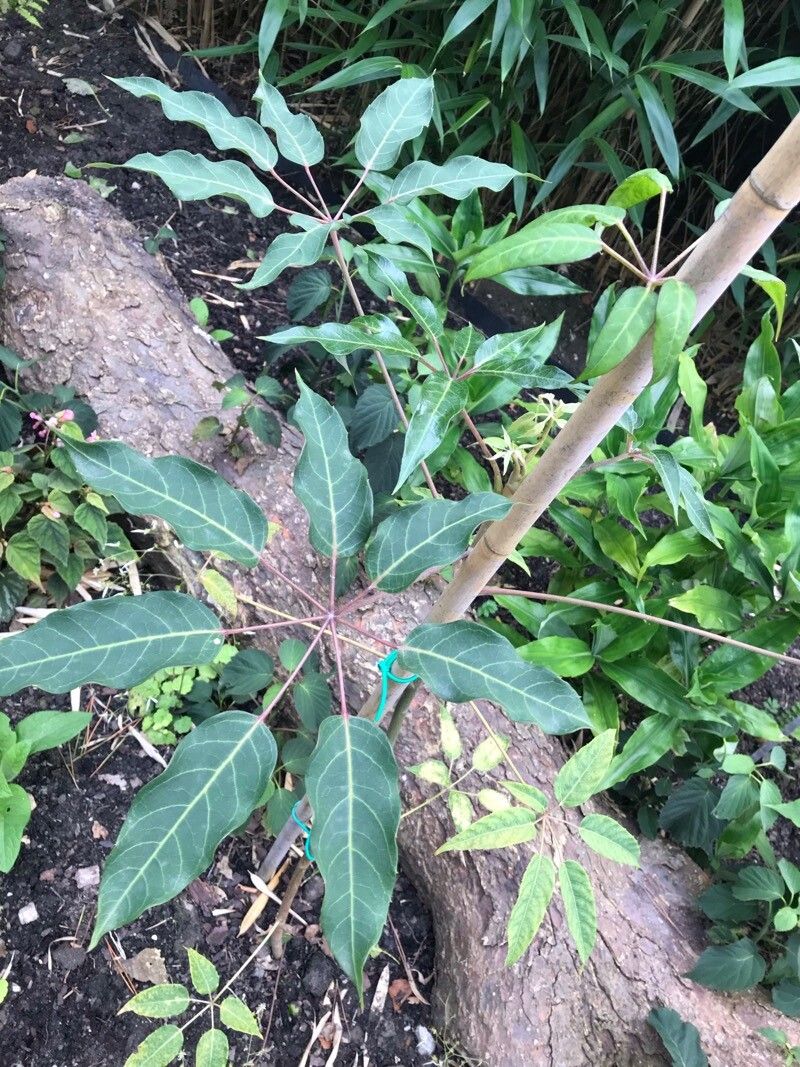
Understanding the Basics
Before we jump into the methods, it’s essential to grasp the basics. Propagation is essentially creating new plants from existing ones. For the Heptapleurum chapanum, we’ll focus on two primary methods: stem cuttings and air layering.
Method 1: Stem Cuttings – The Classic Approach
Step 1: The Right Cut
Choose a healthy stem from your mature plant that’s about 4-6 inches long. Using sterilized pruning shears, cut just below a leaf node (the point where a leaf emerges from the stem).
Step 2: Prepare for Growth
Remove the lower leaves from the cutting, leaving only 2-3 at the top. This encourages the cutting to focus its energy on root development.
Step 3: Rooting Options
You have two paths here:
- Water Propagation: Place the cutting in a glass or jar with fresh water, ensuring the nodes are submerged. Change the water every 2-3 days to prevent stagnation.
- Soil Propagation: Prepare a pot with well-draining soil. Dip the cut end of the cutting in rooting hormone (optional but helpful) and plant it firmly in the soil.
Step 4: Patience is Key
Whether in water or soil, place your cutting in a warm, bright location, but away from direct sunlight. Within a few weeks, you should start noticing root development.
Step 5: Transplantation Time
- From Water: Once the roots are about an inch long, carefully transplant your cutting into a pot with well-draining soil.
- From Soil: Once you see new growth, you’ll know your cutting has successfully rooted.
Method 2: Air Layering – A More Advanced Approach
Step 1: Selecting the Site
Choose a healthy stem and identify a spot about 6-12 inches below the tip.
Step 2: Creating the Wound
Using a sterilized knife, make a small, upward-angled cut about an inch long, about a third of the way through the stem.
Step 3: Encouraging Root Growth
Apply rooting hormone to the cut area. Then, wrap the wounded section with moist sphagnum moss, securing it with plastic wrap or a rooting pouch.
Step 4: Waiting Game
Keep the moss consistently moist and check for root development after a few weeks.
Step 5: Separation and Potting
Once you see a healthy network of roots, cut the stem below the rooting site and plant your new Heptapleurum chapanum in a pot with well-draining soil.
Tips for Success
- Timing is Everything: Spring and early summer are ideal for propagation as the plant is actively growing.
- Maintain Humidity: Covering your cuttings with a clear plastic bag or dome initially can create a humid environment, promoting faster rooting.
- Be Patient: Remember that plants have their own timeline. Don’t be discouraged if it takes a little longer than expected.
Final Thoughts
Propagating your Heptapleurum chapanum is a rewarding experience, allowing you to expand your houseplant family and share your love for greenery. With a little patience and care, you’ll be well on your way to enjoying even more of these beautiful plants. Happy propagating!