The Secret to Multiplying Your Mat of Green: Propagating Herniaria ciliolata
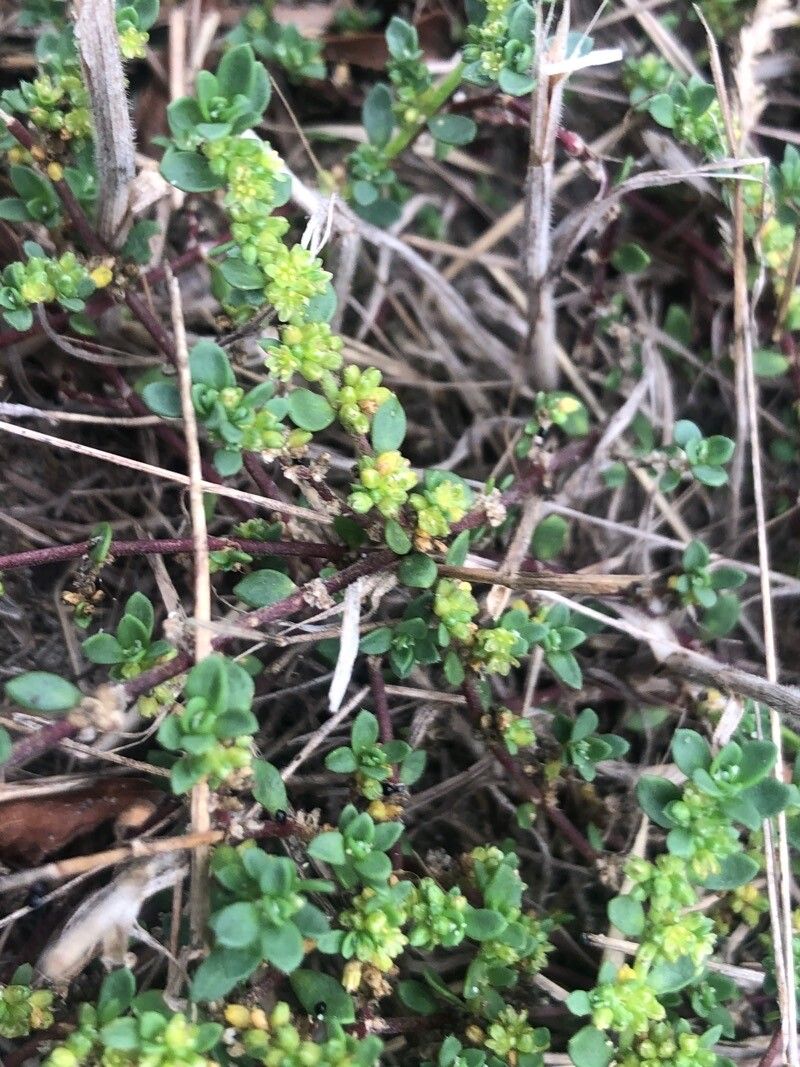
Herniaria ciliolata, also known as the Fringed Rupturewort, might not be as flashy as a rose or as fragrant as lavender, but this charming little groundcover has its own quiet beauty. Creating a lush, verdant carpet that thrives even in harsh conditions, Herniaria ciliolata offers a low-maintenance solution for challenging garden spaces. And the best part? Multiplying your mat of green is surprisingly easy! This guide will delve into the secrets of propagating Herniaria ciliolata, empowering you to transform your garden into a tapestry of vibrant foliage.
Two Roads to Propagation
Herniaria ciliolata offers two main pathways to propagation: seeds and cuttings. Each method comes with its own set of advantages:
1. Starting from Seed: Sowing the Seeds of Success
Don’t let the tiny size fool you, Herniaria ciliolata seeds are packed with potential. Here’s how to coax them to life:
- Timing is Key: Aim to sow your seeds in either spring or early fall. This allows the seedlings ample time to establish themselves before facing the harshness of summer or winter.
- Sowing the Seeds: Prepare a well-draining seed starting mix and sprinkle the seeds evenly on the surface. Lightly press them down but avoid burying them, as they need light to germinate.
- Patience is a Virtue: Keep the soil consistently moist and place the tray in a warm, bright location out of direct sunlight. Germination can take anywhere from 1 to 3 weeks, so patience is key.
- Thinning the Herd: Once the seedlings develop a few true leaves, thin them out to prevent overcrowding. This allows the remaining plants to grow stronger.
- Transplanting to their Forever Home: When the danger of frost has passed, harden off your seedlings by gradually exposing them to outdoor conditions. Finally, transplant them into your garden, spacing them about 6-8 inches apart.
2. The Art of Cuttings: Cloning Your Success
For faster results and a head start on established plants, cuttings are the way to go:
- Choosing the Right Cuttings: In the early summer, select healthy, non-flowering stems from your Herniaria ciliolata. Aim for cuttings that are about 3-4 inches long.
- Preparing the Cuttings: Remove the bottom leaves, leaving only a few at the top. This reduces water loss and encourages root development.
- Planting the Cuttings: Fill small pots with a well-draining potting mix and insert the cuttings about an inch deep.
- Creating a Humid Environment: Cover the pots with a plastic bag or use a propagation dome to maintain humidity and promote rooting.
- Patience, Once Again: It typically takes 2-3 weeks for roots to establish. You can gently tug on the cuttings to check for resistance, which indicates successful rooting.
- Transplanting with Care: Once the cuttings have developed a strong root system, they are ready to be planted in your garden.
Caring for Your Propagated Herniaria ciliolata
Herniaria ciliolata is relatively low-maintenance, but a little TLC goes a long way in ensuring its success:
- Sunlight Needs: While it can tolerate some shade, providing your Herniaria ciliolata with at least 6 hours of sunlight will encourage denser, more vigorous growth.
- Watering Wisely: This resilient groundcover is quite drought-tolerant once established. However, regular watering during its first year will help establish deep roots.
- Soil Requirements: Well-draining soil is crucial, as Herniaria ciliolata hates soggy roots. Amending heavy clay soils with organic matter can help improve drainage.
By following these simple steps, you’ll be well on your way to multiplying your Herniaria ciliolata, creating a lush carpet of green that will transform your garden into a haven of serenity. Happy propagating!