Unlocking the Secrets of Growing Hertia angustifolia: Propagation Techniques for Success
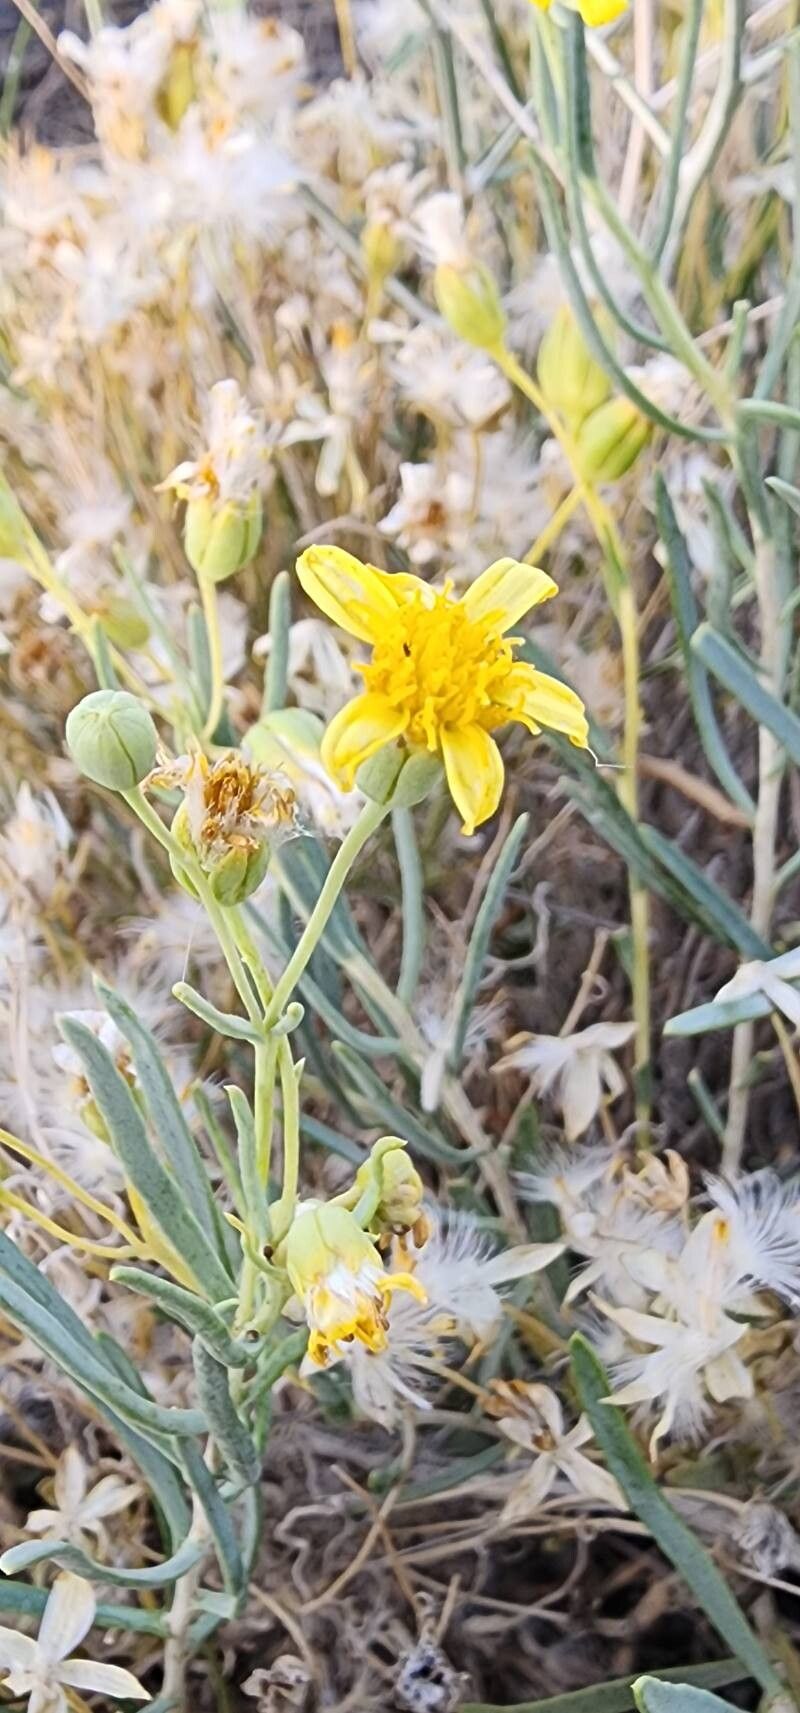
Hertia angustifolia, with its charming daisy-like blooms and silvery foliage, adds a touch of whimsical beauty to any garden. But this South African native, also known as “Yellow Cat Ear” or “Gombossie”, can sometimes feel like a bit of a mystery to propagate. Fear not, fellow plant enthusiasts! This guide will demystify the process and equip you with the knowledge to successfully propagate Hertia angustifolia.
Seeds: Sowing the Seeds of Success
Propagating Hertia angustifolia from seeds is a rewarding experience that connects you to the plant’s life cycle from the very beginning. Here’s how to do it:
- Timing is Key: Sow your seeds in spring after the last frost has passed. Hertia angustifolia thrives in warmth and sunshine.
- Prepare the Seedbed: Use a well-draining seed starting mix and moisten it evenly.
- Shallow Sowing: Sprinkle the seeds on the surface of the soil, pressing them down gently. These seeds need light to germinate.
- Warmth and Patience: Cover the tray with a propagator lid or plastic wrap to create a humid environment and place it in a warm, bright location, out of direct sunlight.
- Germination Time: Be patient! Germination can take anywhere from 2 to 4 weeks.
- Thinning: Once the seedlings have developed a couple of true leaves, thin them out to give the strongest ones space to flourish.
- Transplanting: When the seedlings are large enough to handle, transplant them into individual pots or into your garden once all risk of frost has passed.
Cuttings: Multiplying Your Bounty
Taking cuttings is another effective method for propagating Hertia angustifolia and is particularly useful if you want to replicate the characteristics of a specific plant.
- Choosing the Right Cuttings: Take cuttings in the spring or early summer from healthy, non-flowering stems. Aim for cuttings that are about 4-6 inches long.
- Preparing the Cuttings: Remove the lower leaves from the cutting, leaving 2-3 leaves at the top.
- Rooting Hormone (Optional): Dip the cut end of the stem in rooting hormone to encourage faster root development.
- Planting the Cuttings: Plant the cuttings in a pot filled with a well-draining potting mix, burying at least one node beneath the soil.
- Creating a Humid Environment: Cover the pot with a plastic bag or use a propagator to maintain humidity.
- Root Development: Place the cuttings in a warm, bright location, out of direct sunlight. Roots should develop in 4-6 weeks.
- Transplanting: Once the cuttings have rooted well, you can transplant them into larger pots or directly into your garden.
Caring for Your New Propagations
Whether you choose to propagate Hertia angustifolia by seed or cuttings, providing the right care is essential for their healthy growth:
- Sunlight: These sun-loving plants thrive in at least 6 hours of sunlight per day.
- Water: Water regularly, especially during dry periods, but avoid overwatering, as this can lead to root rot. Allow the soil to dry out slightly between waterings.
- Soil: Well-draining soil is crucial. Amend heavy soils with sand or perlite to improve drainage.
Propagating Hertia angustifolia might seem daunting at first, but with a little patience and the right techniques, you can successfully multiply your collection of these beautiful plants and enjoy their unique beauty for years to come. Don’t hesitate to experiment and find the method that works best for you. Happy propagating!