Spreading the Sunshine: How to Propagate Heteranthemis viscide-hirta (Sticky Chamomile)
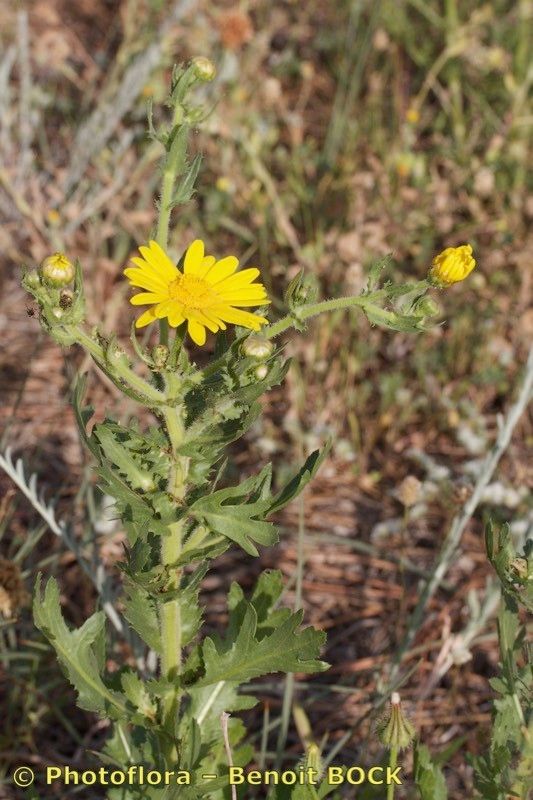
The vibrant, daisy-like blooms of Heteranthemis viscide-hirta, also known as Sticky Chamomile, are a welcome sight in any garden. Their cheerful yellow petals and long blooming season bring joy to any landscape, but acquiring more of these beauties can be a bit of a challenge. Thankfully, propagating Sticky Chamomile is relatively straightforward, allowing you to expand your collection and share the sunshine with others.
The Power of Seeds
Sticky Chamomile readily produces seeds, offering a simple and rewarding method of propagation. Here’s how to do it:
- Harvest the seeds: After the flowers have faded, the seed heads will form. Allow them to dry completely, then carefully collect the seeds. You can store them in an airtight container in a cool, dry place until you’re ready to sow.
- Direct seeding: Sow the seeds directly in your garden bed in spring or fall. Scatter the seeds thinly over the prepared soil and lightly rake them in. Keep the soil consistently moist until germination occurs, which usually happens within 10-20 days.
- Starting indoors: For a head start, you can also sow the seeds indoors a few weeks before the last frost. Use seed trays filled with a well-draining seed-starting mix, and place them in a bright location.
A Cut Above: Propagation by Division
Sticky Chamomile also lends itself well to propagation by division. This method works best with mature plants that have already established a good root system.
- Choose the right time: The best time to divide Sticky Chamomile is in early spring or autumn, when the plant is actively growing.
- Prepare the plant: Gently loosen the soil around the plant and carefully dig it up. Look for natural divisions in the root system.
- Divide the plant: Use a sharp knife or pruning shears to carefully separate the plant into smaller sections. Ensure each section has healthy roots and shoots.
- Replant: Immediately replant the divisions in well-prepared soil, making sure the root ball is covered. Water them generously and keep them consistently moist until they are established.
Taking the Cutting Edge: Propagation by Cuttings
Though less common, Sticky Chamomile can also be propagated from stem cuttings. This method requires a bit more attention, but it can be quite successful:
- Take the cuttings: In the spring or early summer, take 4-6 inch cuttings from healthy, non-flowering stems. Make sure to use sharp, clean pruning shears and remove the leaves from the bottom 2 inches of the stem.
- Dip in rooting hormone: You can use a rooting hormone to encourage root development.
- Prepare the potting mix: Use a well-draining potting mix and fill small pots or trays.
- Planting the cuttings: Gently insert the cuttings into the potting mix, ensuring the buried portion is moist but not soggy.
- Create a humid environment: Cover the cuttings with a clear plastic dome or bag to create a humid environment. Place them in a bright, indirect light location.
Care and Considerations:
No matter which method you choose, success hinges on providing the right conditions. Sticky Chamomile enjoys well-drained soil and full sun to partial shade. Regular watering is essential during dry periods, but avoid overwatering as it can lead to root rot.
With a bit of patience, you can easily propagate Sticky Chamomile, sharing its cheerful blooms and resilience with your friends, neighbors, or simply your own garden. This versatile plant will bring sunshine to your landscape and a rewarding experience to your gardening adventures.