“Golden Aster” Growing Pains: Propagating Heterotheca subaxillaris for a Burst of Sunshine
The “Golden Aster,” or Heterotheca subaxillaris, is a breathtaking sight with its cheerful, daisy-like blooms that light up any garden. But what if you could multiply this vibrant beauty and share its joy with others? Propagating your own Golden Aster plants is easier than you think, making this blooming marvel accessible to all.
Let’s get started!
This plant is a champion for both beginners and seasoned gardeners, as it readily multiplies through two primary methods:
1. Seed Propagation:
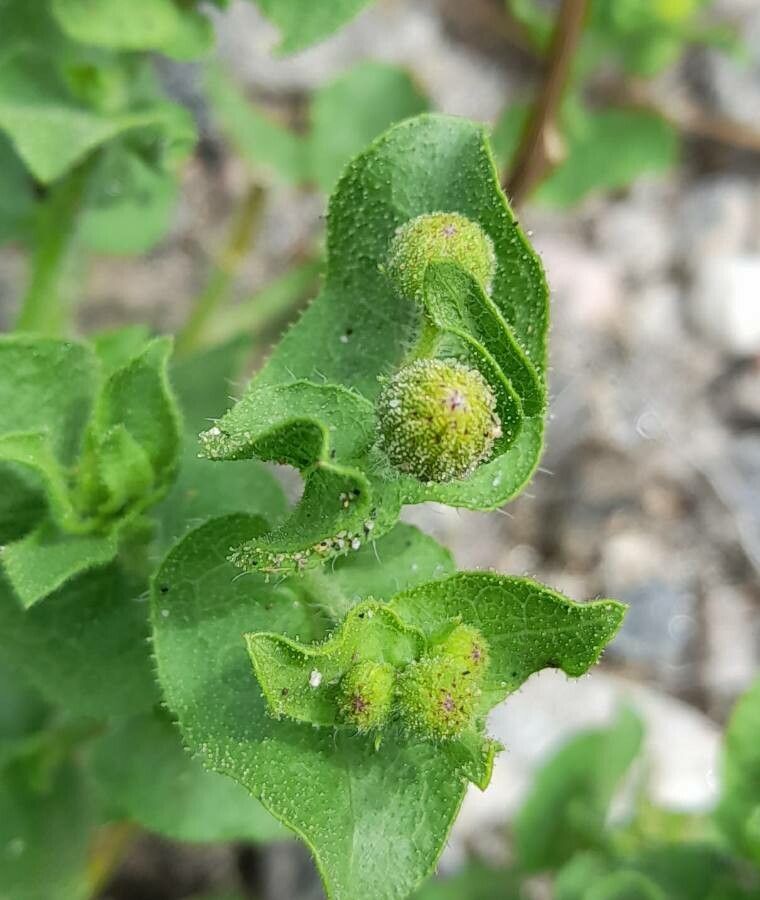
- Harvesting Seeds: The Golden Aster produces seed heads after blooming. These heads resemble miniature thistles, filled with tiny, fluffy seeds. When the seed heads dry and turn brown, harvest them.
- Storing Seeds: Carefully extract the seeds and store them in an airtight container in a cool, dry place. These seeds can be sown directly in the garden during the spring, or started indoors a couple of months before your last frost date.
- Planting Seeds: When sowing seeds indoors, use small pots filled with seed-starting mix. Gently press the seeds into the soil and cover them with a thin layer of potting mix, ensuring they receive adequate light. Keep the soil moist and wait for the seedlings to emerge.
- Transplanting: Once the seedlings have developed a few true leaves, they are ready to be transplanted into larger pots or directly into their final outdoor location. Choose a sunny spot with well-drained soil. Space the seedlings about 12 inches apart.
2. Stem Cutting Propagation:
- Selecting Cuttings: Choose healthy, non-flowering stems from your existing Golden Aster plants. The best cuttings are typically 4-6 inches long and have 2-3 nodes.
- Preparing Cuttings: Make a clean, angled cut just below a node. Remove any leaves below the soil line.
- Rooting Cuttings: Dip the cut end of the stem in rooting hormone powder to encourage root development. Prepare a small pot with a mixture of potting soil and perlite. Insert the cutting into the soil, leaving just the top leaves exposed. Maintain moisture and keep the cutting in a warm, bright location, but not in direct sunlight.
- Root Development: Roots should start to form within a few weeks. Monitor the cuttings for signs of new growth, indicating successful rooting. Once rooted, the new plants can be transplanted into their permanent homes.
Important Points to Remember:
- Timing: The best time for seed propagation is in the spring or early summer. Cuttings are best taken in the early summer when the plant is actively growing.
- Watering: Consistent moisture is crucial for successful propagation. Water the seeds and cuttings regularly, keeping the soil moist but not soggy.
- Sunlight: While the Golden Aster thrives in full sun, newly propagated plants may require some shade protection, especially during the hottest hours of the day.
Sharing the Golden Glow:
By propagating your own Golden Aster plants, you can create a stunning display of vibrant blooms throughout your garden or share the joy with neighbors and friends. Experiment with both seed and stem cuttings to discover the propagation method that works best for you. Whether you choose to start from seed or take cuttings, a little patience and care will reward you with a flourishing garden filled with the golden sunshine of Heterotheca subaxillaris.