Multiplying Sunshine: How to Propagate the Cheerful Hibbertia empetrifolia
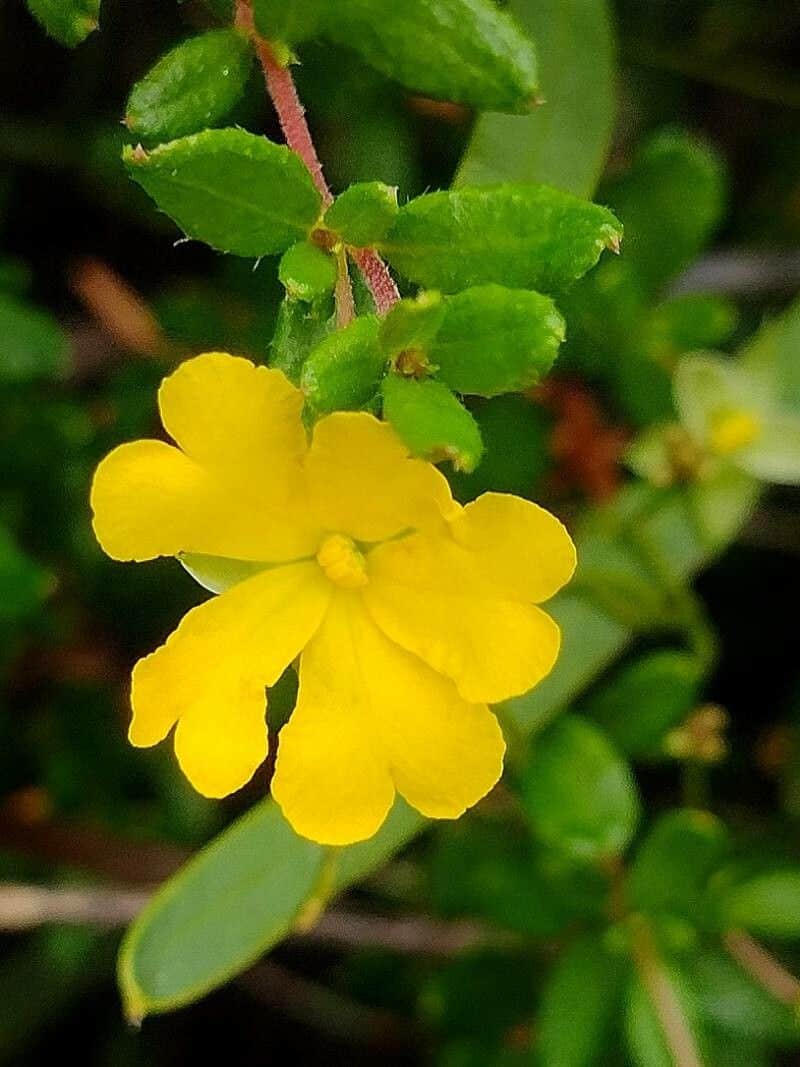
If you’re searching for a burst of sunshine in your garden, look no further than the Hibbertia empetrifolia, also known endearingly as the Tangled Guinea Flower. This low-growing Australian native charms with its fine, needle-like foliage and a profusion of bright yellow, star-shaped blooms throughout spring and summer. And the best part? Propagating Hibbertia empetrifolia is an achievable endeavor for green thumbs of all levels. Let’s explore the two most effective methods:
Method 1: Taking Cuttings
Propagating Hibbertia from cuttings is a rewarding experience with a high success rate. Here’s a step-by-step guide:
1. Timing is Key: The ideal time for taking cuttings is late spring or early summer, when the plant is actively growing.
2. Gather Your Tools: You’ll need:
- Sharp, clean pruning shears or a sharp knife
- Seedling trays or small pots
- Free-draining propagation mix (a combination of peat moss, perlite, and vermiculite works well)
- Rooting hormone (optional, but recommended)
3. Select Healthy Stems: Choose non-flowering stems that are firm and healthy, about 3-4 inches long.
4. Prepare the Cutting:
- Make a clean cut just below a leaf node (where the leaf joins the stem).
- Remove any leaves from the bottom inch of the cutting.
5. Treat with Rooting Hormone (Optional): Dip the base of the cutting in rooting hormone powder or gel to encourage root development.
6. Plant the Cutting:
- Fill the pots or tray with propagation mix and water well.
- Make a small hole in the mix with your finger or a pencil.
- Gently insert the cutting into the hole and firm the soil around it.
7. Create a Humid Environment: To encourage rooting, cover the cuttings with a clear plastic bag or humidity dome. This helps retain moisture and creates a warm, humid environment.
8. Provide Indirect Light: Place the cuttings in a well-lit area, but out of direct sunlight. Direct sun can scorch the cuttings before they develop roots.
9. Water Regularly: Check the moisture level of the propagation mix and water lightly whenever it feels dry to the touch. Avoid overwatering, which can lead to root rot.
10. Be Patient: Rooting can take several weeks to a couple of months. You’ll know roots have formed when you see new growth on the cutting.
Method 2: Growing from Seed
While slightly less common, growing Hibbertia empetrifolia from seed can be a fun and rewarding option.
1. Collect Seeds: After the flowers fade, the plant will produce small seedpods. Harvest the pods when they turn brown and dry.
2. Prepare the Seeds: Gently crush the pods to release the small, black seeds.
3. Sow the Seeds: Fill seed trays with a well-draining seed-raising mix. Sprinkle the seeds over the surface and lightly cover them with a thin layer of mix.
4. Water and Provide Light: Mist the seeds with water and cover the tray with a clear plastic wrap or humidity dome to create a warm, humid environment. Place the tray in a bright location, but out of direct sunlight.
5. Thin Out Seedlings: Once the seedlings emerge, thin them out, leaving the strongest ones to grow.
6. Transplant: When the seedlings are large enough to handle, transplant them into individual pots filled with a well-draining potting mix.
Nurturing Your Hibbertia
Whether you choose to propagate by cuttings or seeds, once your new Hibbertia plants are established, they are relatively low-maintenance. They prefer a sunny location with well-drained soil and benefit from regular pruning to maintain their shape and encourage bushier growth.
With a little patience and care, you can easily multiply your sunny Hibbertia empetrifolia, adding vibrant color and cheerful charm to your garden for years to come.