Unlocking the Secrets of Golden Guinea Flower Propagation: Grow Your Own Aussie Sunshine
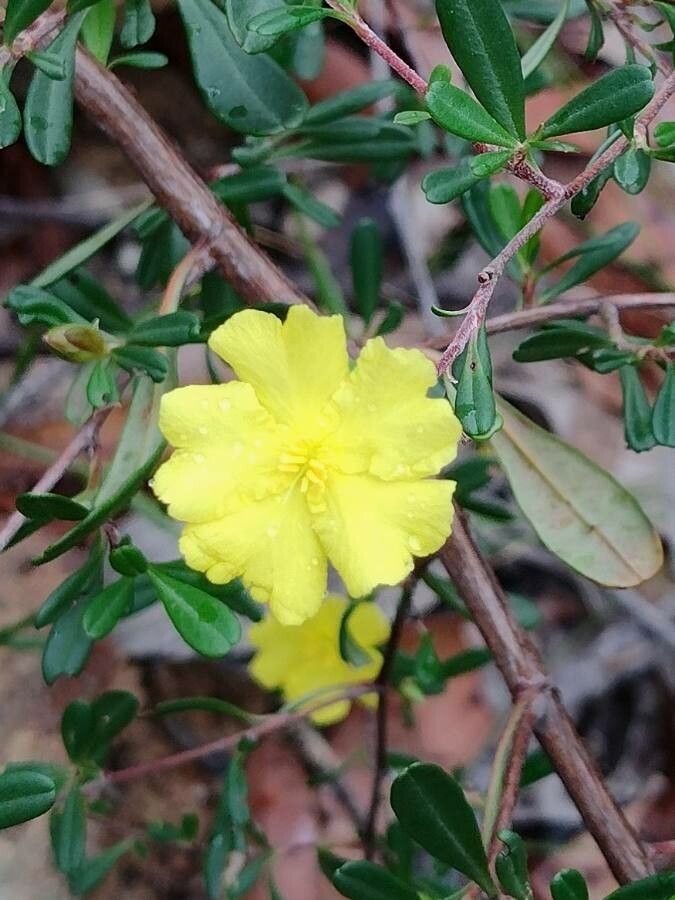
The Golden Guinea Flower (Hibbertia monogyna), with its vibrant yellow blooms resembling miniature suns, can brighten any garden with a touch of Australian charm. But did you know that propagating this lovely shrub is surprisingly straightforward? Whether you’re an experienced gardener or just starting out, unlock the secrets of multiplying your own Golden Guinea Flower collection at home with these effective techniques.
Understanding the Basics
Before diving into the details, understanding the optimal time to propagate is essential. Late winter or early spring, just as the plant begins to awaken from its dormant period, offers ideal conditions for successful propagation.
Cuttings: A Popular and Effective Approach
Taking cuttings is arguably the most common and successful method for propagating Golden Guinea Flowers:
- Preparation is Key: Select healthy, non-flowering stems around 10-15cm long. Prepare your pots with a well-draining propagation mix or a mixture of peat moss and sand.
- Taking the Cuttings: With a sharp, sterilized knife or pruning shears, make a clean cut just below a leaf node. Remove the lower leaves, leaving only a few at the top.
- Hormone Boost (Optional but Beneficial): Dipping the cut end in rooting hormone powder can significantly increase your success rate, encouraging faster root development.
- Planting and Patience: Create a hole in the propagation mix and gently insert the cutting, ensuring the leaf nodes are covered. Water lightly but thoroughly, and place the pots in a warm, bright location out of direct sunlight.
- The Waiting Game: Maintain consistent moisture, misting the cuttings regularly to create a humid environment. In a few weeks, you should start to see new growth, indicating successful rooting. Once established, gradually acclimatize the young plants to outdoor conditions before transplanting them into larger pots or your garden.
Seeds: Embracing the Element of Surprise
While less common than cuttings, propagating Golden Guinea Flowers from seeds can be a rewarding experience:
- Seed Collection: Allow some flowers to mature fully and form seed capsules. Collect the capsules once they turn brown and dry, then carefully extract the small, black seeds.
- Sowing the Seeds: Sow the seeds in seed trays filled with a well-draining seed-raising mix. Cover them lightly with the mixture and mist them gently with water.
- Warmth and Light: Place the seed trays in a warm, bright location, but avoid direct sunlight.
- Germination Patience: Be patient, as germination can take several weeks to several months. Once the seedlings have developed a couple of sets of true leaves, you can carefully transplant them into individual pots.
Tips for Success:
- Well-Draining Soil: Golden Guinea Flowers thrive in well-drained soil. Ensure your propagation mix and eventual planting location offer excellent drainage to prevent root rot.
- Sunlight Needs: While the cuttings prefer indirect sunlight, established Golden Guinea Flowers flourish in full sun to part shade.
- Watering Wisdom: Keep the soil consistently moist but not waterlogged. Allow the top inch of soil to dry out slightly between waterings.
Propagating your own Golden Guinea Flowers is an incredibly rewarding experience, allowing you to expand your garden with minimal cost and maximum satisfaction. With a bit of patience and these simple techniques, you’ll be well on your way to creating a vibrant, sun-drenched haven brimming with these cheerful Australian natives.