From Snipping to Thriving: How to Propagate the Elegant Hibiscus liliiflorus
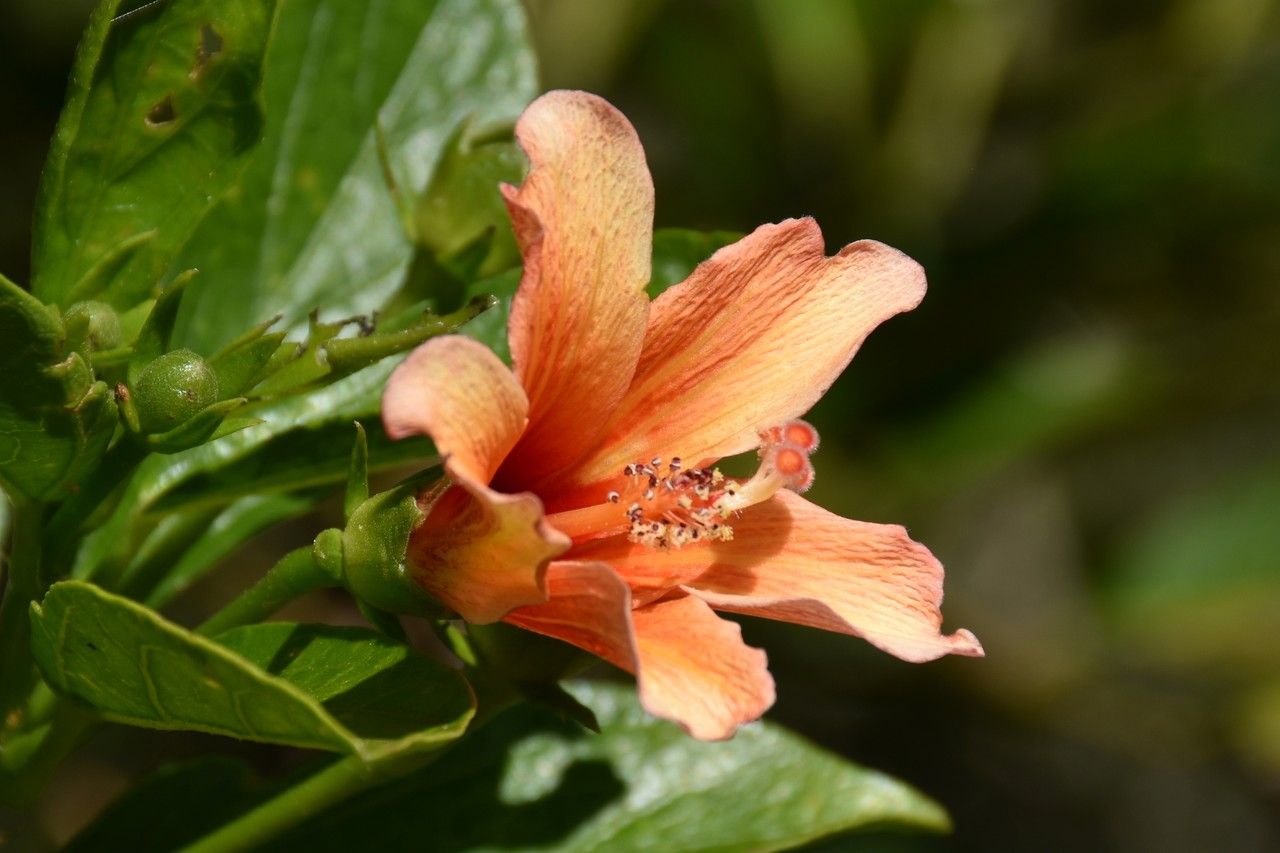
The Hibiscus liliiflorus, with its delicate, lily-like blooms and graceful, cascading growth, is a true botanical gem. These tropical beauties are known for their captivating appearance and vibrant colors, making them a popular choice for gardens, balconies, and even indoor spaces. But what if you could multiply your own Hibiscus liliiflorus, creating a whole abundance of these stunning plants?
Well, you can! And it’s easier than you think. Propagating Hibiscus liliiflorus is achievable even for beginner gardeners, and it’s an incredibly rewarding experience. Let’s dive into the world of propagation, exploring the most successful methods for growing your own Hibiscus liliiflorus paradise:
Method 1: Stem Cuttings (The Most Popular Choice)
This time-tested technique is often favored by gardeners due to its simplicity and high success rate.
1. Timing is Key: The ideal time to take stem cuttings is during the active growing season, usually in spring or early summer.
2. Choose the Right Stem: Select a healthy, non-flowering stem that’s approximately 6-8 inches long. Look for a stem with at least 4-5 nodes (the slightly raised bumps on the stem where leaves grow).
3. Prep Your Cutting: Carefully cut the stem just below a node using sharp, clean pruning shears or a knife. Remove any lower leaves that will be submerged in the rooting medium.
4. Stimulate Root Growth: To encourage speedy root development, apply a rooting hormone powder or gel to the cut end of the stem.
5. Planting and Care: Pot the cutting in a well-draining potting mix that’s specifically designed for root development. Water generously, keeping the soil consistently moist. Place the potted cutting in a bright location with indirect sunlight.
6. Patience is Key: Rooting may take 4-6 weeks, but keep the soil moist and the environment warm. Watch for new leaf growth, signaling successful rooting.
Method 2: Air Layering (For Larger Plants)
For larger, established Hibiscus liliiflorus, air layering offers a unique approach to propagation.
1. Selecting the Stem: Choose a healthy, mature stem that’s about 1 inch in diameter. Position a cut just below a node without completely severing the branch.
2. Preparing the Stem: Gently scratch the bark around the cut to expose the cambium layer, which is responsible for root development.
3. Applying the Rooting Medium: Surround the exposed area with moist sphagnum moss, holding it securely in place with plastic wrap or foil.
4. Maintaining Humidity: Maintain moisture in the sphagnum moss for optimal root production.
5. Separation and Planting: Once roots appear (after a few months), carefully cut the stem below the rooted section and pot the new plant in a well-draining potting mix.
Tips for Success
- Sterilize Cutting Tools: Ensure your tools are clean to avoid introducing bacteria or diseases.
- Choose the Right Rooting Medium: A well-draining, sterile mix is crucial for healthy root growth.
- Provide Consistent Moisture: Keep the rooting medium consistently moist, but avoid overwatering to prevent fungal growth.
- Offer Bright, Indirect Light: Hibiscus liliiflorus thrive in bright locations but need protection from direct sun, especially during the hottest part of the day.
Conclusion
Propagating Hibiscus liliiflorus is a rewarding and achievable practice, enabling you to expand your collection of these elegant beauties. With proper technique and care, you’ll witness the joy of nurturing new life and enjoying the breathtaking floral displays of your propagated Hibiscus liliiflorus plants. So, grab those shears, delve into the world of propagation, and watch as your lush, vibrant Hibiscus garden flourishes.