Unlocking the Secret of Hibiscus rhodanthus: A Guide to Propagation
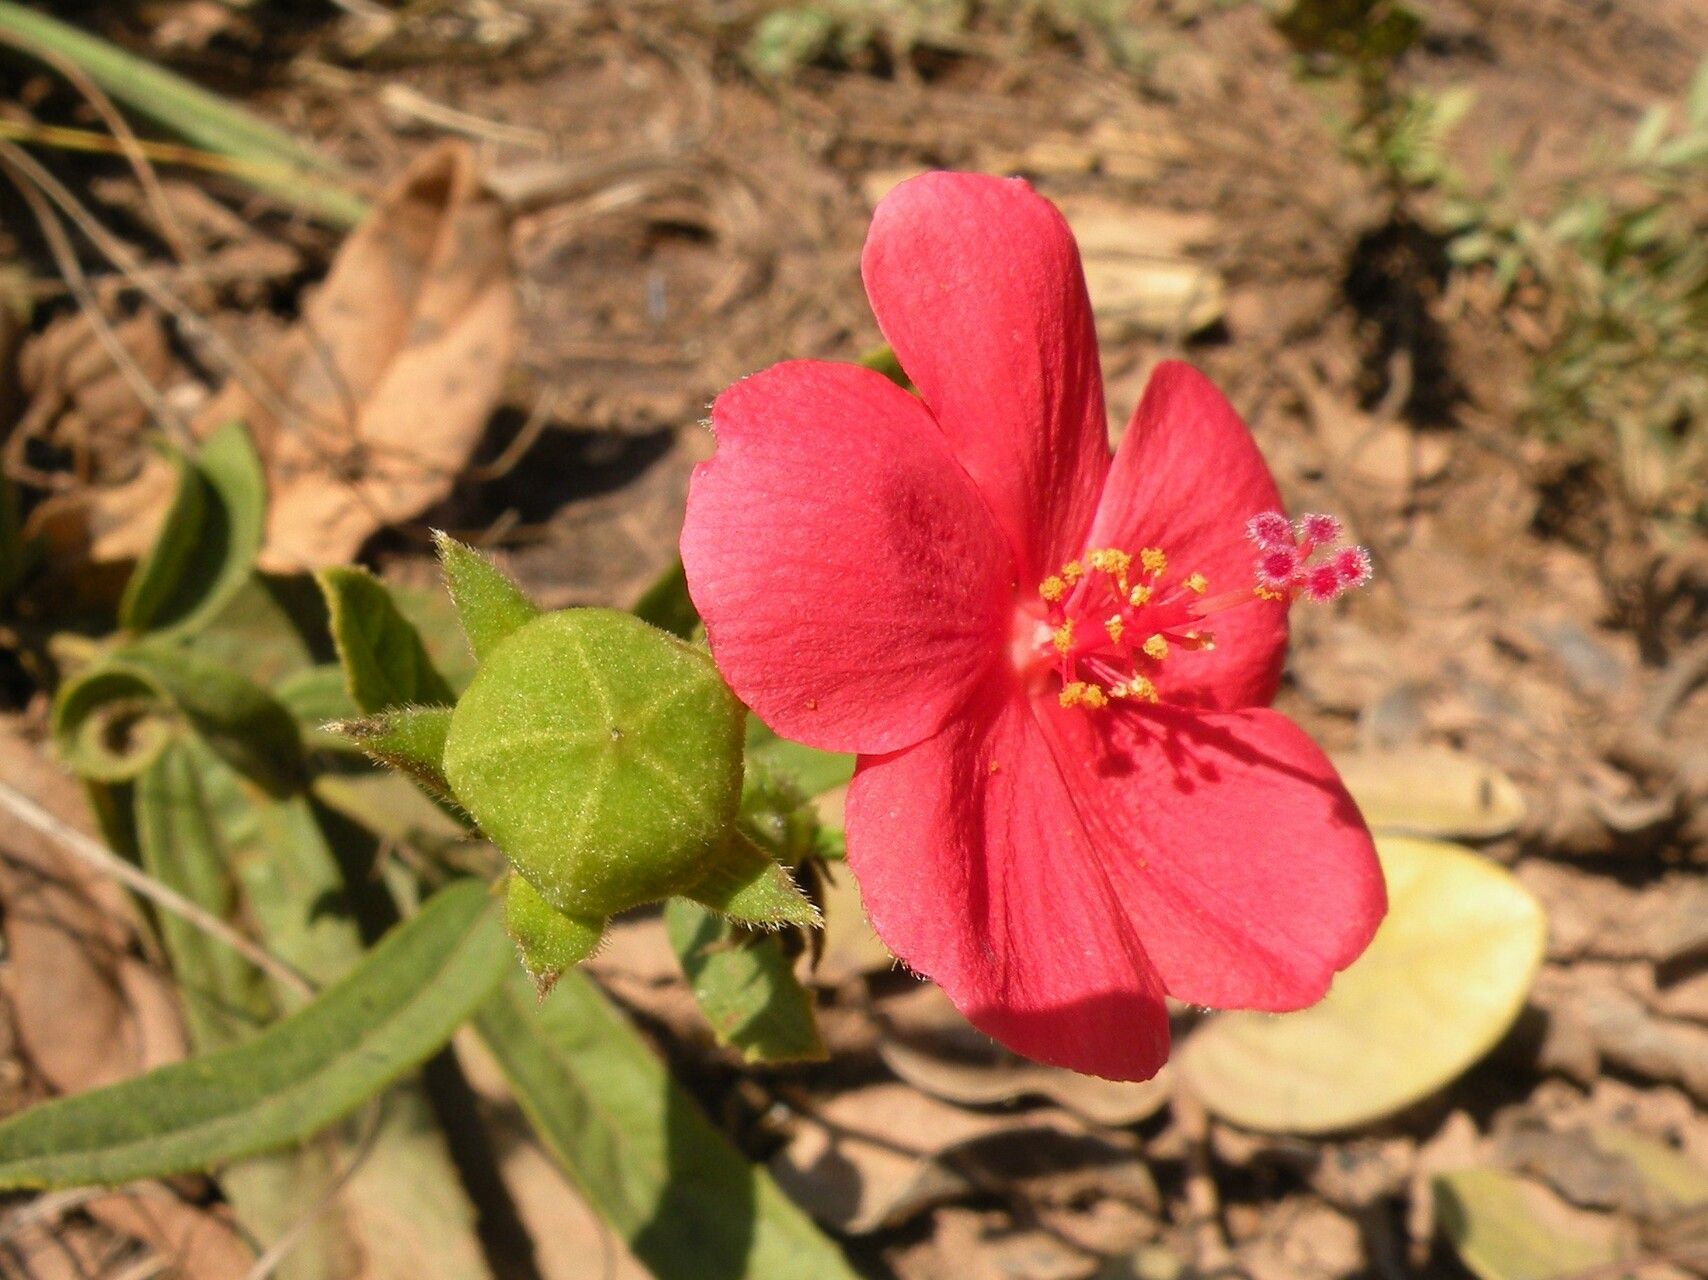
Hibiscus rhodanthus, with its vibrant, crimson blooms and captivating velvety leaves, is a real showstopper. But what if you could share this beauty with others, or even populate your own garden with these stunning plants? The answer lies in propagation!
This guide will empower you to unlock the secrets of successfully propagating Hibiscus rhodanthus, letting you create a lush collection of these captivating plants.
Understanding the Basics: Seed & Cutting Propagation
Hibiscus rhodanthus can be propagated through two main methods:
- Seed Propagation: This method gives you the chance to grow new plants from scratch, potentially unlocking unique variations in the offspring.
- Cutting Propagation: This technique involves taking a portion of an existing plant and encouraging it to develop roots, ensuring you end up with a genetically identical clone of the parent plant.
Seed Propagation: A Journey from Seed to Flower
- Collecting Seeds: Once Hibiscus rhodanthus blooms, its flowers develop seed pods, typically round and somewhat prickly. Allow the pods to dry on the plant, then collect them and remove the seeds.
- Preparation and Sowing: Sow the seeds in well-draining seed starting mix, burying them about ¼ inch deep. Maintain a consistent soil moisture level and a warm environment, around 70-75 degrees Fahrenheit, for optimal germination.
- Patience is Key: Germination can take a few weeks, so be patient. Once seedlings emerge, thin them out to provide adequate space for growth.
- Transplanting: As seedlings grow, gradually acclimate them to outdoor conditions. When they reach a manageable size, carefully transplant them into their permanent location.
Cutting Propagation: A Faster Path to Flower Power
- Taking the Cuttings: Select healthy stems with new growth, ideally about 4-6 inches long. Make a clean cut just below a node, the area where leaves sprout from the stem.
- Creating Roots: Dip the cut end in rooting hormone to stimulate root development. Plant the cuttings in a pot filled with a well-draining rooting medium, ensuring the nodes are buried slightly below the surface.
- Maintaining the Environment: Keep the cuttings in a warm, humid environment with bright, indirect light. Mist them regularly to keep the soil moist, but avoid overwatering.
- Patience and Patience: Root development can take several weeks, sometimes up to two months. Once roots are established, you can transplant the new plants into their permanent location.
Essential Tips for a Successful Propagation Journey
- Healthy Parent Plant: A healthy, vigorous parent plant with vibrant foliage is crucial for producing successful cuttings and seeds.
- Sharp Tools: Use sharp, clean tools to minimize damage during the cutting process.
- Sterile Environment: Sterilize your tools and seedling trays to prevent the spread of diseases.
- Right Light: Ensure your cuttings receive bright, indirect light, but avoid direct sunlight.
- Moisture Management: Maintain consistent moisture in the soil, but avoid overwatering, as this can lead to root rot.
- Patience and Observation: Be patient, observe your cuttings closely, and adjust your approach as needed.
Enjoy the Fruits of Your Labor
By following these tips and enjoying the propagation journey, you’ll soon be surrounded by a vibrant collection of Hibiscus rhodanthus, adding a touch of tropical beauty to your garden or home. Share your newly propagated plants with friends, family, or even donate them to local charities.
And most importantly, remember – propagation isn’t just about growing new plants; it’s a rewarding experience that allows you to connect with nature and share its wonders with others.