Hibiscus Hacks: Multiply Your Tropical Blooms with These Easy Propagation Methods
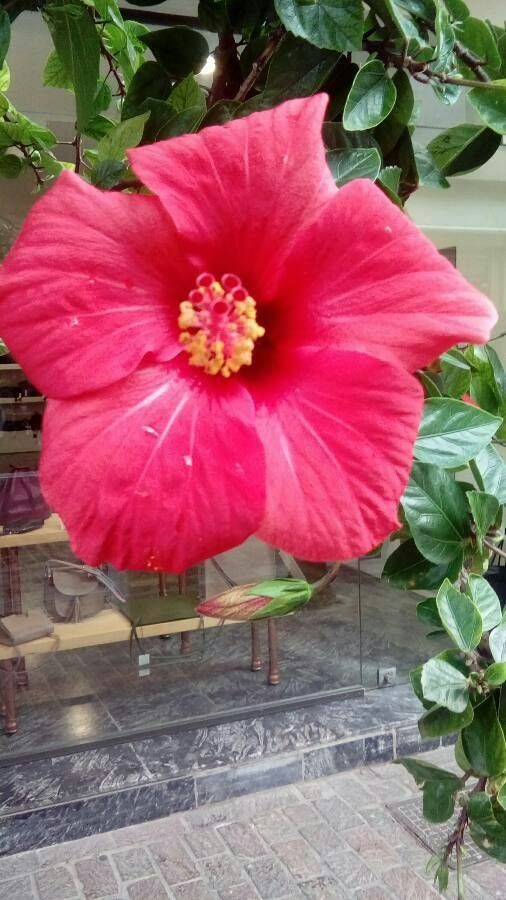
Hibiscus rosa-sinensis, with its flamboyant blooms and lush foliage, brings a taste of the tropics to any garden or indoor space. While admiring these beauties is always a treat, wouldn’t it be wonderful to multiply their charm? That’s where propagation comes in!
Propagation, the magic of creating new plants from existing ones, might seem daunting, but fear not. Hibiscus rosa-sinensis is surprisingly easy to propagate, making it a rewarding experience for both novice and seasoned gardeners. Let’s dive into the two most popular methods:
1. Stem Cuttings: A Classic Approach
Stem cuttings are the most common and straightforward way to propagate hibiscus. Here’s how:
- Timing is Key: The best time is late spring or early summer when the plant is actively growing.
- Take the Cut: Using clean, sharp pruning shears, select a healthy, non-flowering stem that’s about 4-6 inches long. Make the cut just below a leaf node (where the leaf joins the stem).
- Prep the Cutting: Remove the leaves from the bottom half of the cutting to prevent rotting. If desired, dip the cut end in rooting hormone powder to encourage faster root development.
- Planting Time: Plant the cutting in a pot filled with a well-draining potting mix, burying the bottom node.
- Keep it Humid: Moisture is crucial for root development. Cover the pot with a clear plastic bag or use a propagation dome to create a humid environment.
- Patience is a Virtue: Place the cutting in a warm, bright location but out of direct sunlight. It may take 6-8 weeks for roots to develop. You’ll know it’s working when you see new growth.
2. Water Propagation: Witness the Roots Unfold
Want to see those roots emerge before planting? Water propagation offers a fascinating visual journey:
- Prepare the Cutting: Follow the same steps as with stem cuttings.
- Water Works Wonders: Instead of planting directly in soil, place the cutting in a glass or jar filled with water. Ensure the bottom node is submerged, and change the water every 2-3 days to prevent stagnation.
- Light and Location: Place the glass in a well-lit area, but avoid direct sunlight.
- Root Watch: In a few weeks, you’ll start to see tiny roots sprout from the node.
- Pot it Up: Once the roots are about an inch long, carefully transplant the cutting into a pot with a well-draining potting mix.
Tips for Success:
- Sharp Tools, Healthy Plants: Always use sterilized tools and choose healthy parent plants for the best results.
- Avoid Overwatering: Hibiscus prefers moist but not soggy soil. Let the soil partially dry out between waterings.
- Patience is Key: Propagation takes time, so don’t be discouraged if you don’t see results immediately.
Propagating your hibiscus is a rewarding way to expand your collection and share the beauty of these tropical treasures with others. So, grab your pruning shears and embark on this fun and fulfilling gardening adventure!