From Desert Dweller to Homegrown Hero: Propagating Hoodia pedicellata
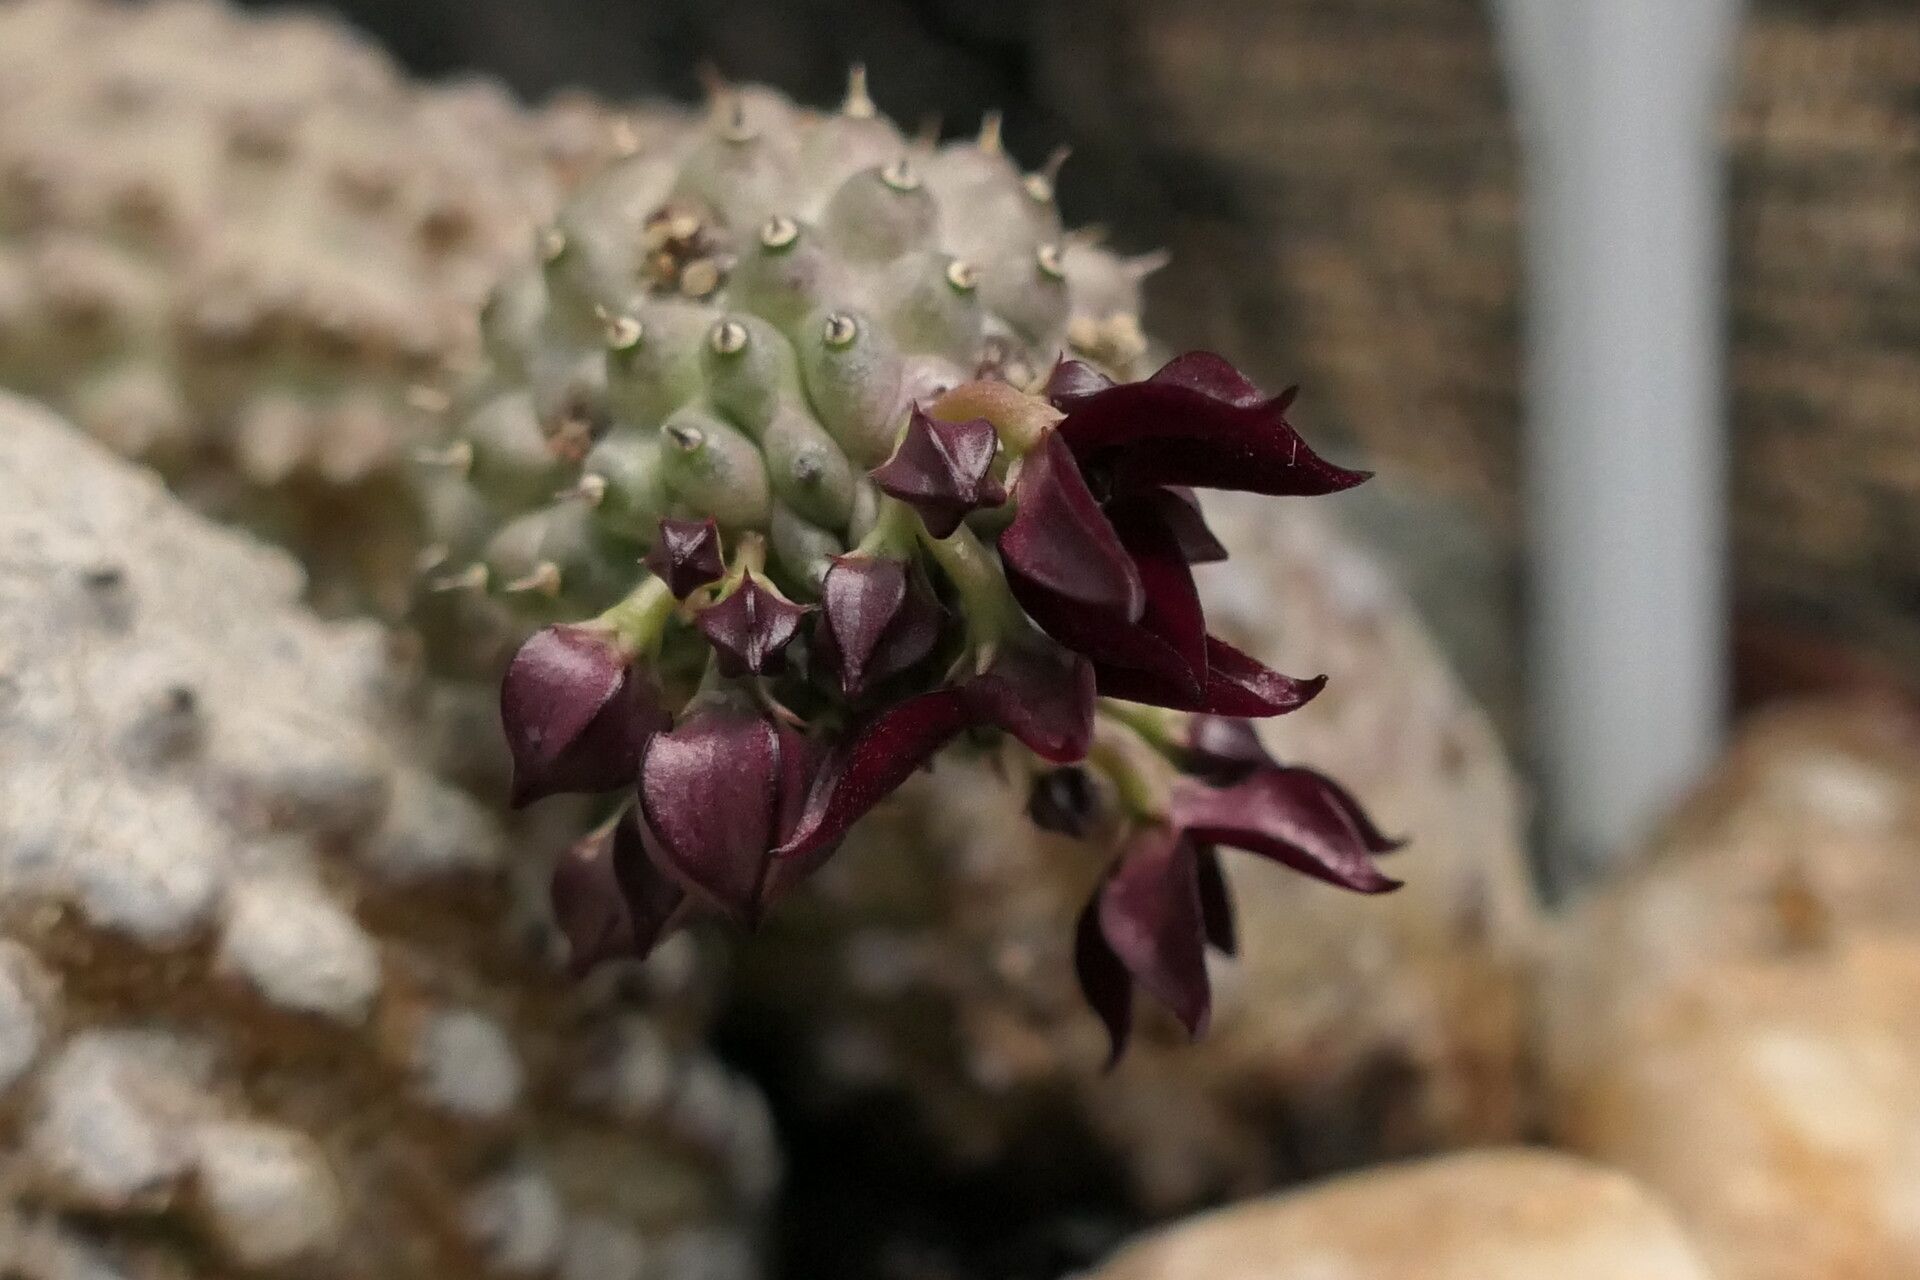
Hoodia pedicellata, a fascinating succulent native to the arid landscapes of Southern Africa, has gained popularity for its unique appearance and potential health benefits. While this spiky, cactus-like plant is known for its slow growth, there’s good news for enthusiasts: propagating Hoodia pedicellata is possible and relatively straightforward. Whether you’re looking to expand your succulent collection or simply interested in the fascinating world of plant propagation, this guide will arm you with the knowledge you need.
Understanding Hoodia Propagation:
Hoodia pedicellata can be propagated using two primary methods:
Seed Propagation: Patience is key here as Hoodia seeds can take several weeks to germinate. Sow seeds in a well-draining cactus potting mix, lightly cover them with soil, and maintain consistent moisture. A warm, sunny location is ideal, and using a humidity dome can increase your chances of success.
- Cuttings: This method offers a faster route to new plants. Select a healthy stem cutting around 2-3 inches long and allow it to dry out for a few days for callus formation. Then, plant the cutting in a well-draining mix, ensuring that about half of the cutting remains above the soil level.
The Propagation Process:
1. Choosing the Right Cutting:
- Look for a healthy stem that is free from pests or disease.
- Choose a section with at least one or two nodes (bumps on the stem where leaves or branches emerge). These nodes are crucial for root development.
2. Prepare the Cutting:
- Using a sharp, sterile knife or pruning shears, cut the chosen stem at an angle. This encourages better root growth.
- Allow the cutting to dry for a few days in a cool, dry place. This process helps it callus over, which is a protective layer that prevents rot.
3. Planting the Cutting:
- Use a well-draining cactus potting mix or a mixture of perlite and sand.
- Plant the cutting in a pot or container, ensuring about half of it remains above the soil.
- Gently press the soil around the base of the cutting.
- Do not water immediately after planting, and allow the soil to dry out completely before watering again.
4. Provide Optimal Growing Conditions:
- Place the pot in a bright, sunny location, but avoid direct sunlight during the hottest part of the day.
- Maintain warm temperatures – Hoodia pedicellata thrives in temperatures between 70°F and 85°F (21°C and 29°C).
- Water sparingly, allowing the soil to dry out completely between waterings. Overwatering can lead to root rot.
Success Tips:
- Use a rooting hormone to encourage root development.
- Cover the pot with a humidity dome or plastic wrap to retain moisture and create a warm environment.
- Keep an eye out for signs of pests or diseases and treat them promptly.
- Be patient! Hoodia pedicellata is a slow grower, so don’t be discouraged if you don’t see significant growth in the first few weeks.
Enjoy Your New Hoodia Plants:
With some patience and care, you can successfully propagate your own Hoodia pedicellata plants. As you watch these fascinating succulents grow, you’ll not only add beautiful, unusual plants to your collection, but discover the rewarding experience of plant propagation, a fascinating world of growth and renewal.