
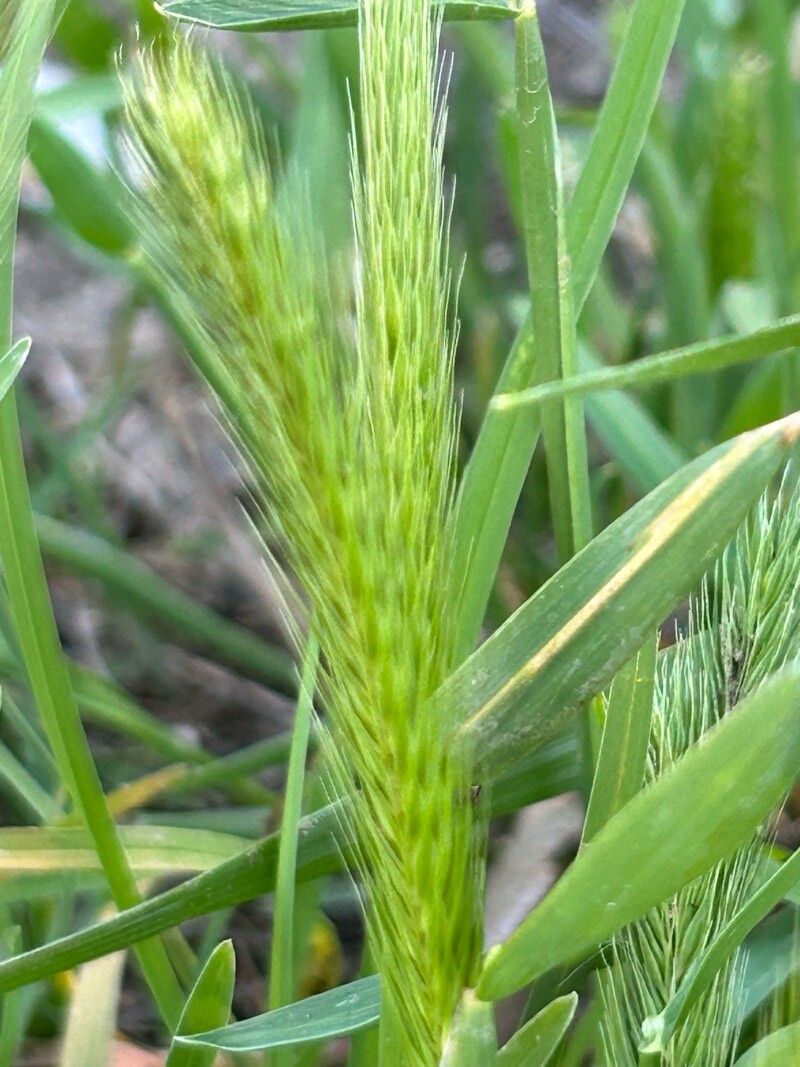
Tiny Grain, Big Potential: Propagating Little Barley (Hordeum pusillum)
Little barley (Hordeum pusillum) might not be a household name like its cultivated cousin, barley (Hordeum vulgare), but this unassuming native grass deserves a second look. Not only is it a valuable asset in prairie restoration projects, providing food for birds and wildlife, but it’s also surprisingly easy to propagate, making it a rewarding addition to any gardener’s repertoire.
Why Propagate Little Barley?
Beyond its ecological benefits, little barley boasts several attractive qualities:
- Low-maintenance: As a drought-tolerant and adaptable species, Little barley thrives in various soil types and light conditions, requiring minimal maintenance.
- Ornamental Value: Its delicate, airy seed heads add a touch of whimsy to dried flower arrangements or provide visual interest in a naturalistic garden setting.
- Educational Opportunity: Growing little barley offers a chance to learn about native plants, their role in the ecosystem, and the importance of biodiversity.
Two Paths to Propagation: Seeds & Divisions
The beauty of propagating little barley lies in its versatility. Whether you’re a seasoned gardener or a budding enthusiast, there’s a method for you:
1. Seed Starting:
This method offers the most straightforward route to a bountiful patch of little barley.
- Timing is Key: Collect mature seeds in late spring or early summer when the seed heads turn golden brown. You can sow seeds directly outdoors in fall for natural stratification or store them in a cool, dry place for spring planting.
- Sowing for Success: Choose a sunny or partially shaded location with well-drained soil. Scatter seeds thinly on the surface and lightly rake them into the soil. Water gently and keep the soil moist until germination, which typically occurs within 7-14 days.
- Spacing Considerations: Little barley readily self-seeds, so providing adequate space is crucial. Aim for a spacing of 6-12 inches between plants to avoid overcrowding.
2. Division:
For a head start or to multiply existing plants, division is an excellent option.
- Digging In: In early spring or fall, carefully dig up a healthy clump of little barley. Using a sharp knife or garden spade, divide the clump into smaller sections, ensuring each section has a good amount of roots and shoots.
- Replanting: Replant the divisions at the same depth they were previously growing, spacing them 12-18 inches apart. Water thoroughly and keep the soil consistently moist until new growth appears.
Caring for Your Little Barley
Once established, little barley requires minimal care.
- Watering: Water during periods of prolonged drought, but generally, rainfall should suffice.
- Fertilizing: Little barley thrives in lean soil and doesn’t require fertilization.
- Pruning: Cut back dead foliage in late winter or early spring to tidy up the appearance and encourage fresh growth.
Reaping the Rewards
With a little effort, you can easily introduce this valuable and adaptable grass to your landscape. Whether you’re drawn to its ecological importance, low-maintenance nature, or simply its delicate charm, propagating little barley is a rewarding experience that benefits both the gardener and the environment.