Unlocking the Secrets of Hoya Kentiana Propagation: A Step-by-Step Guide
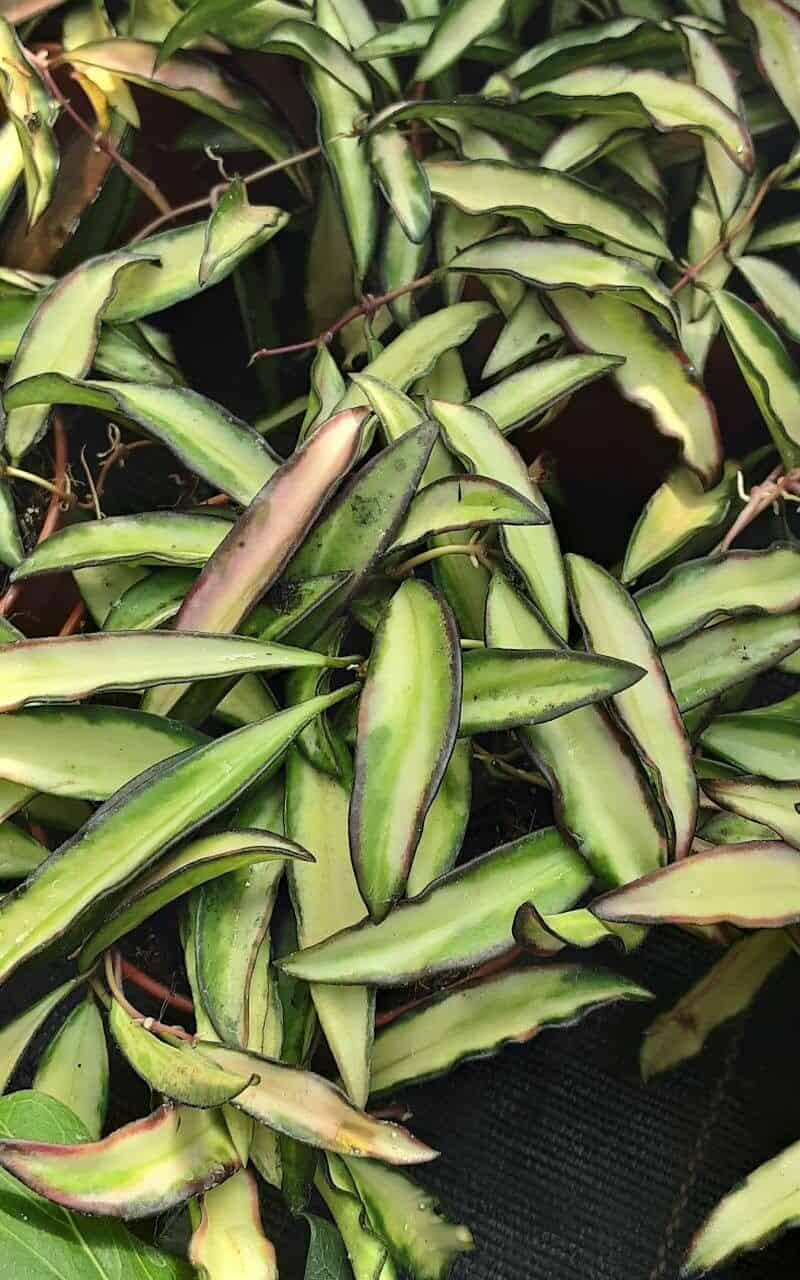
Hoya kentiana, with its cascading ropes of slender, pointed leaves and delicate, star-shaped blooms, is a sight to behold. This easy-to-care-for beauty is a favorite among houseplant enthusiasts, and for a good reason! Not only is it visually stunning, but it’s also surprisingly simple to propagate, allowing you to easily expand your Hoya collection or share the joy with friends.
Ready to multiply your Hoya kentiana? Let’s dive into the world of propagation and unlock the secrets to success:
Understanding the Basics
Propagation is like giving your plants the gift of multiplication. It’s the process of creating new plants from existing ones, and with Hoya kentiana, there are two primary methods: stem cuttings and water propagation.
Method 1: Stem Cuttings in Soil
This classic method involves directly planting a cutting into a suitable growing medium. Here’s how:
Gather Your Materials:
- Sharp, sterilized pruning shears or scissors: Cleanliness is crucial to prevent infections.
- Small pot (around 4 inches in diameter): Choose a pot with drainage holes.
- Well-draining potting mix: A blend specifically for succulents or a mix of peat moss, perlite, and vermiculite works well.
- Rooting hormone (optional): While not strictly necessary, it can encourage faster root development.
Take Your Cutting:
- Select a healthy stem with at least two to three nodes (small bumps on the stem where leaves emerge).
- Cut just below a node at a 45-degree angle.
- Remove any leaves from the bottom node of the cutting, as these will be submerged in soil.
Prepare the Cutting (Optional):
- Dip the cut end of the stem in rooting hormone, tapping off any excess.
Plant the Cutting:
- Moisten the potting mix and create a small hole in the center.
- Gently insert the cutting into the hole, burying the bottom node.
- Firmly press the soil around the cutting to secure it.
Provide Ideal Conditions:
- Place the pot in a warm, humid location with bright, indirect light.
- Keep the soil consistently moist but not waterlogged.
- Be patient! It can take several weeks for roots to develop.
Method 2: Water Propagation
This method utilizes the magic of water to encourage root growth.
Gather Your Materials:
- The same materials as above, except substitute the pot and soil with:
- A clear glass or jar
- Filtered water or rainwater
- The same materials as above, except substitute the pot and soil with:
Prepare the Cutting:
- Follow the same steps as in the previous method.
Submerge the Cutting:
- Place the cutting in the glass or jar, ensuring that at least one node is submerged in water.
- Change the water every few days to prevent stagnation and potential rot.
Monitor and Transplant:
- Once the roots have grown about an inch long, carefully transplant the cutting into a pot with a well-draining potting mix, following the steps outlined in method 1.
Caring for Your New Hoya Kentiana
Congratulations! You’ve successfully propagated your Hoya kentiana. Now, provide it with the same love and care as its parent plant: bright, indirect light, moderate watering, and occasional fertilization during the growing season.
With a little patience and these simple steps, you’ll soon be enjoying a flourishing family of Hoya kentiana plants, each one a testament to your green thumb!