Hoya Meliflua: Spreading the Sweetness of This Stunning Wax Plant
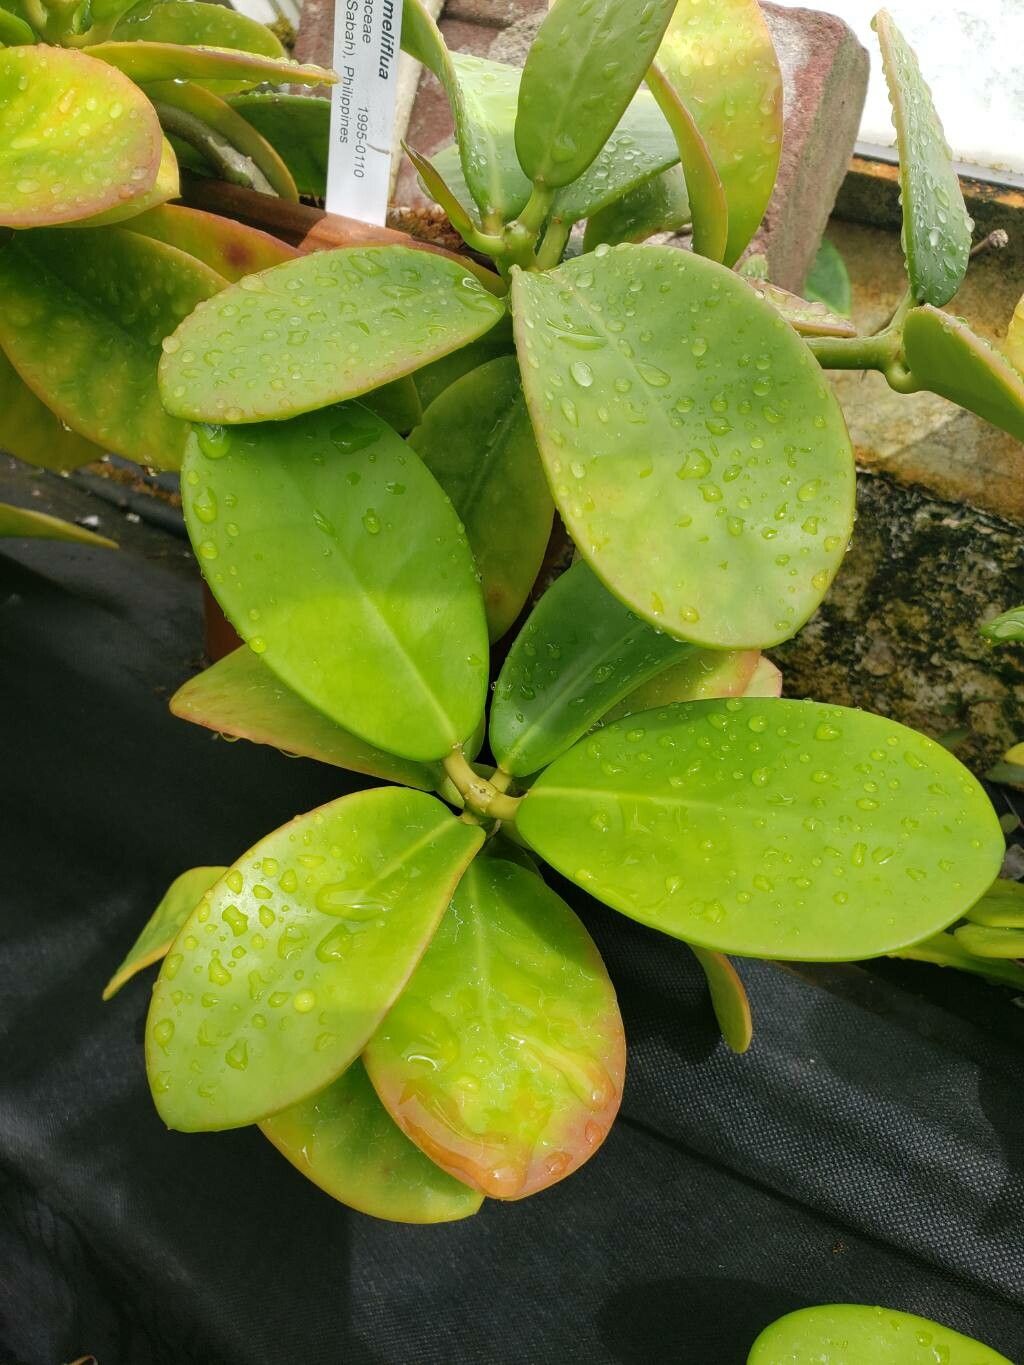
The Hoya meliflua, also known as the Sweet Scented Hoya, is a captivating plant with its unique, sweet-smelling flowers and lush, trailing foliage. This beauty is not just a treat for the eyes and nose, but also a great starter plant for budding propagators.
Unlocking the Potential: Propagation Methods
Hoya meliflua is a relatively easy plant to propagate, making it a great choice for both experienced and novice plant parents. Two popular methods for multiplying your Hoya meliflua are:
Stem Cuttings: This involves taking a healthy stem with two to three nodes (where leaves grow) and cutting it at a 45-degree angle just below a node.
- Prepping the Cuttings: Remove the bottom leaves from the cutting, leaving a few leaves on the top to facilitate photosynthesis. It’s crucial to let the cut end callus over for a couple of days before planting. This will prevent rotting and encourage root growth.
- Planting Time!: You can root your cuttings in water, soil, or a mix of both. For water propagation, simply place the cut end into a jar of clean water, ensuring that the water reaches the nodes but not the leaves. For soil propagation, use a well-draining potting mix, and plant the cutting so that at least one node is buried.
- Patience is a Virtue: It takes a few weeks to a month for cuttings to start rooting. Be patient, and remember to check water levels for water propagation and to keep the soil consistently moist for soil propagation.
- Leaf Cuttings: This method is a bit more challenging but offers the same rewarding results.
- Choosing the Leaf: Choose a healthy, mature leaf with a stem attached.
- Prepping the Leaf: Place the leaf on a moist planting medium like sphagnum moss or a mixture of perlite and peat. You can also place the leaf on a clean, moist paper towel.
- The Wait: It’s important to keep the leaves in a humid environment with indirect light. Wait for the leaf to develop roots and a new plantlet from the bottom. This can take a couple of months.
The Art of Success: Tips for Propagating Hoya Meliflua
Light is Key: Provide your cuttings with bright, indirect light. Avoid direct sunlight, which can scorch the tender leaves.
Warmth is Encouraging: A warm environment can speed up the rooting process. If you live in a cooler climate, consider using a heat mat or a propagation dome to keep your cuttings warm.
Humidity Matters: Hoya meliflua thrives in a humid environment. You can achieve this by placing the cuttings in a propagator dome, misting them regularly, or placing them in a tray with water-filled pebbles.
- Patience is the Name of the Game: Be patient and consistent with your care. Avoid overwatering, and keep the cuttings in a warm, well-lit, and humid environment.
The Joy of Propagation: A Growing Family
Propagating your Hoya meliflua is a truly rewarding experience. Not only will you have a new plant to enjoy, but you will also have the satisfaction of nurturing a new life. You can share these propagated plants with friends and family, spreading the beauty and sweetness of the Hoya meliflua.
Ready to Unleash Your Green Thumb?
Don’t let the thought of propagation intimidate you. With a little patience and these easy steps, you’ll be enjoying a thriving new Hoya meliflua in no time! Happy propagating!