Unlocking the Secrets of Hoya Obovata Propagation: A Step-by-Step Guide
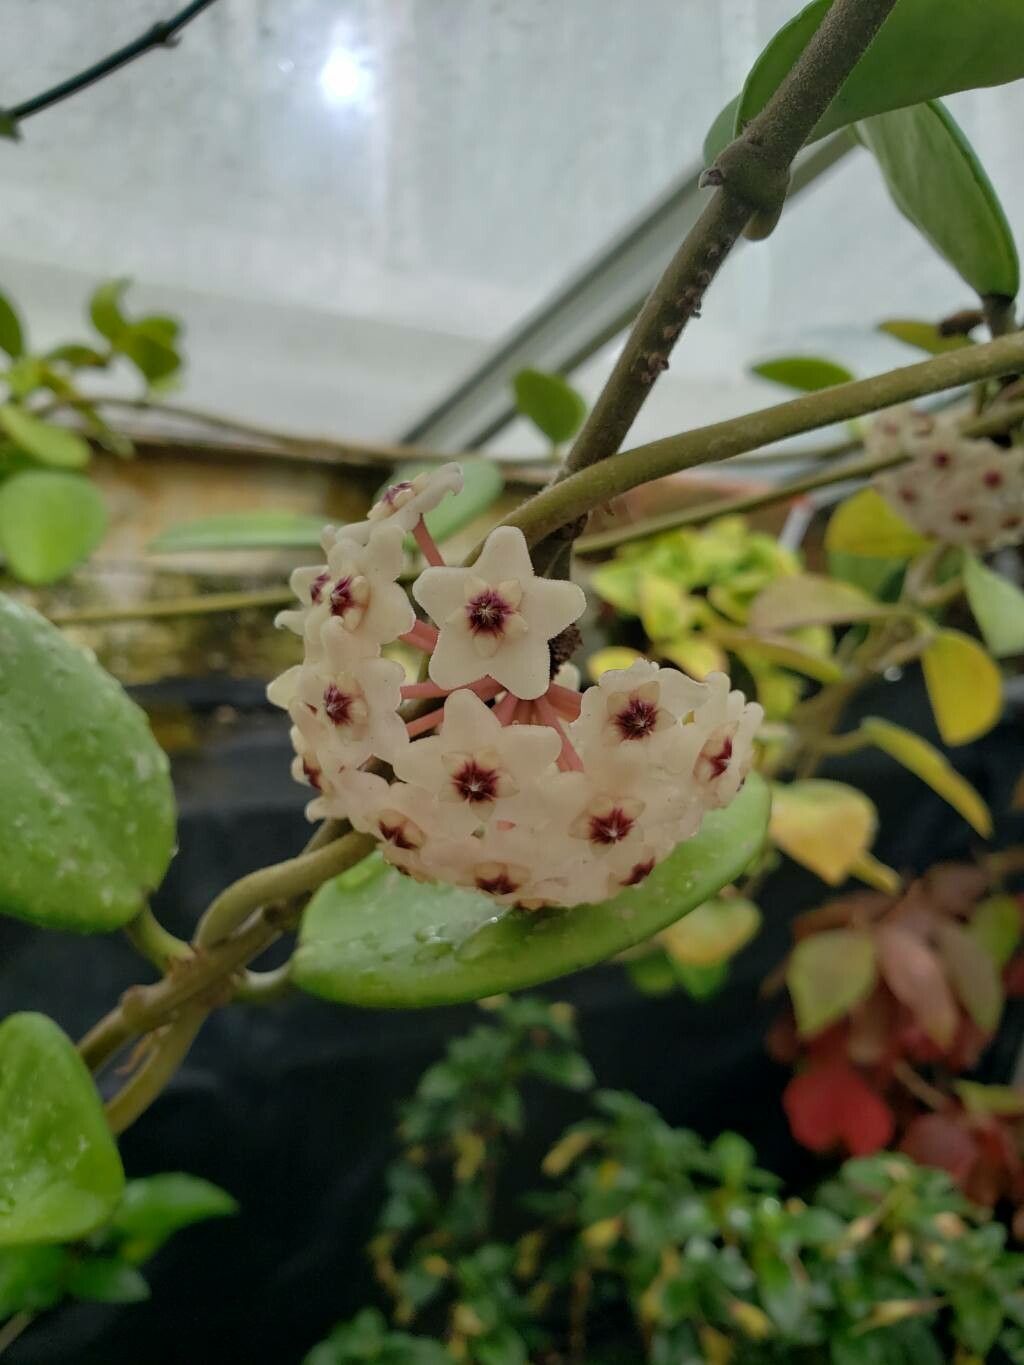
The Hoya Obovata, renowned for its captivating foliage and fragrant flowers, is a delightful addition to any indoor plant collection. But what if you could expand your collection without breaking the bank? Propagation is the answer! This guide will walk you through the easiest methods to multiply your Hoya Obovata, allowing you to share this beauty with friends, family, or simply enjoy the journey of nurturing new life.
Why Propagate?
Propagation isn’t just about expanding your plant family. It also allows you to:
- Save money: Say goodbye to hefty plant prices.
- Share your passion: Gift cuttings to fellow plant enthusiasts.
- Enjoy the process: There’s a sense of accomplishment in nurturing new Hoya plants from scratch.
Methods of Propagation:
There are two simple and effective methods for Hoya Obovata propagation:
1. Stem Cuttings:
- Selecting the Right Cutting: Choose healthy, mature stems with at least two nodes (the points on the stem where leaves grow).
- Making the Cut: Use a sharp, clean knife or scissors to make a cut just below a node. Your cutting should be about 4-6 inches long.
- Preparing the Cutting: Remove the leaves from the bottom 1-2 nodes. Leave the remaining leaves intact.
- Rooting Medium: Use a well-draining mix like perlite, vermiculite, or a mix of peat moss and perlite.
- Planting: Insert the cut end of the stem into the rooting medium, ensuring the nodes are covered.
- Humidity is Key: Create a humid environment by covering the pot with a plastic dome or bag.
- Patience is Virtue: It can take several weeks for roots to develop. Keep the medium moist, but not soggy.
2. Leaf Cuttings:
- Selecting the Leaf: Choose a healthy, mature leaf with its petiole (leaf stem) intact.
- Preparing the Leaf: Remove any leaves below the chosen leaf, leaving the petiole exposed.
- Rooting Medium: Use a well-draining mix like perlite, vermiculite, or a mix of peat moss and perlite.
- Planting: Insert the petiole into the rooting medium, ensuring it’s anchored securely.
- Humidity is Key: Create a humid environment by covering the pot with a plastic dome or bag.
- Patience is Virtue: Leaf cuttings can take longer, but eventually, new plantlets will emerge from the base of the leaf.
Tips for Success:
- Use rooting hormone: Applying rooting hormone to the cut ends of stems or petioles can significantly boost root development.
- Ensure adequate light: Place your cuttings in a bright location, but avoid direct sunlight.
- Maintain consistent moisture: Keep the rooting medium consistently moist, but not waterlogged.
- Monitor for signs of root development: After a few weeks, your cuttings will begin to produce roots.
Maintaining Your New Hoya Obovata:
Once your propagation is successful, you have a young Hoya Obovata ready to thrive. Here are a few key tips for its continued care.
- Potting: Transition your new Hoya into a well-draining potting mix and a pot that allows for airflow.
- Watering: Allow the soil to dry slightly between waterings, as Hoyas are susceptible to root rot.
- Light: Provide bright, indirect light, but avoid direct sun.
- Fertilizer: Feed your Hoya with a balanced liquid fertilizer during the growing season.
Propagation is a rewarding and accessible way to enjoy the beauty of Hoya Obovata. Whether you choose stem cuttings or leaf cuttings, a little patience and the right care will lead you to a flourishing collection of these captivating plants. Happy propagating!