Unlocking the Secrets of Huernia pillansii Propagation: A Step-by-Step Guide
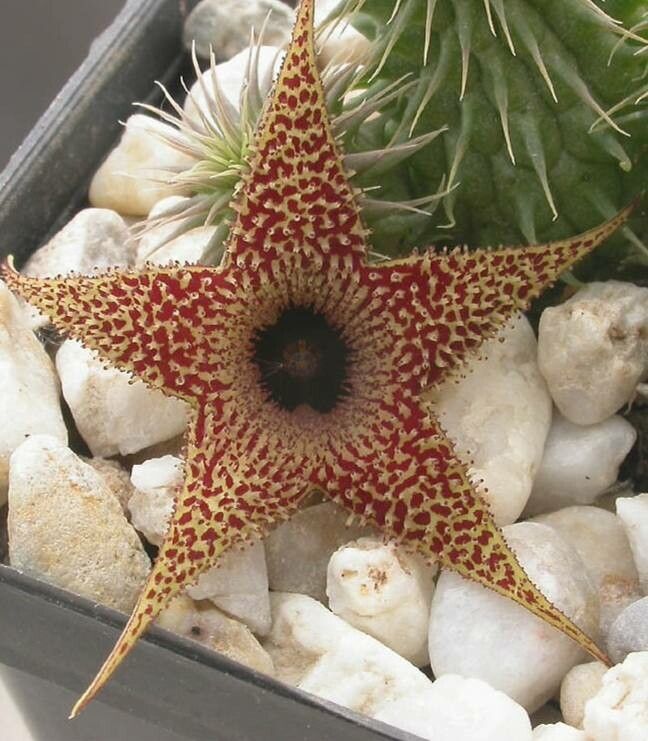
The Huernia pillansii, with its otherworldly, star-shaped blooms and intriguing, spiny stems, is a fascinating succulent that captures the eye and sparks curiosity. If, like many enthusiasts, you’re eager to grow your collection of these fascinating plants, then mastering propagation is your key to success. Luckily, Huernia pillansii, with its resilient nature, offers several methods for multiplying your collection. Let’s delve into the fascinating world of Huernia pillansii propagation, empowering you to grow these botanical gems with confidence.
Understanding the Basics
Before embarking on your propagation journey, it’s crucial to understand the basic biology of the Huernia pillansii. These plants belong to the Apocynaceae family, a group known for their milky sap. This sap, while a natural defense mechanism, can be an irritant, so always handle your Huernia pillansii with gloves.
Huernia pillansii can be propagated through two main methods:
-
Stem Cuttings: This is the most common and arguably the easiest method.
- Taking the Cutting: Use a clean, sharp knife or pair of scissors to cut a healthy stem section, ideally about 3-4 inches long. Allow the cut end to callus over for a few days to a week in a dry, shaded location. This healing process helps prevent rot.
- Planting the Cutting: Once calloused, dip the cut end in rooting hormone (optional, but helpful) and plant it upright in a well-draining succulent potting mix. Ensure the cutting stands upright, mimicking its natural growth habit.
- Watering and Care: Water sparingly, allowing the soil to dry out completely between waterings. Place the pot in a bright location, out of direct sunlight, and watch for new growth, a sign of successful rooting.
-
Seeds: This method requires patience but offers a rewarding experience.
- Seed Collection: Huernia pillansii produces seed pods after flowering. Allow these pods to dry completely on the plant before collecting the seeds.
- Sowing the Seeds: Sprinkle the seeds onto the surface of a well-draining seed starting mix. Do not bury the seeds, as they need light to germinate.
- Germination and Care: Mist the soil regularly, keeping it consistently moist but not soggy. Provide bright, indirect light and maintain a warm temperature (around 70-75°F). Germination can take several weeks. Once the seedlings are large enough to handle, transplant them into individual pots.
Tips for Success
- Optimal Potting Mix: Drainage is key! Use a well-draining succulent or cactus mix, or create your own by combining regular potting soil with perlite or pumice in a 1:1 ratio.
- Watering Wisely: Overwatering is the biggest threat to Huernia pillansii. Water only when the soil is completely dry, and ensure the pot has drainage holes.
- Light Requirements: These succulents thrive in bright, indirect light. While they can tolerate some direct sun, prolonged exposure can scorch their stems.
- Patience is Key: Propagation, especially from seeds, is a waiting game. Be patient and don’t be discouraged if you don’t see results immediately.
A Rewarding Endeavor
Propagating your Huernia pillansii is a deeply satisfying experience, allowing you to witness the plant’s remarkable resilience and expand your collection with minimal expense. By understanding the key principles and following these step-by-step instructions, you’ll be well on your way to propagating these captivating succulents like a seasoned enthusiast.