From Hops to Homebrew: The Secrets of Propagating Humulus Lupulus
For craft beer enthusiasts, the name “Humulus lupulus” might ring a bell. These fascinating plants, more commonly known as hops, are the secret ingredient that gives your favorite brews their distinct aroma, bitter notes, and even a touch of floral sweetness. But did you know that you can easily grow your own hops at home?
While you might not be brewing your own beer quite yet, propagating your own hops is a rewarding experience that allows you to connect with this incredible plant and understand the journey of beer-making from the ground up.
The Power of Propagation
Hops can be propagated through a few different methods, each with its own benefits:
- Seed Propagation: This method is perfect for creating new varieties or experimenting with different hop strains. Seed propagation, however, can be a bit unpredictable as offspring might not inherit all the parent plant’s desired characteristics.
- Cuttings: This is the most popular and reliable method of propagating hops. You can take root cuttings (from the roots) or stem cuttings (from the vines) and encourage them to develop into new plants.
- Division: This method involves splitting a mature hop plant into several smaller plants, each capable of growing into a healthy individual hop vine.
Step-by-Step: Propagating Hops from Cuttings
Let’s focus on the most common and straightforward method: propagating hops from cuttings.
1. Timing is Key: The optimal time for taking cuttings is in late spring or early summer. This is when the hop vine is actively growing and its cells are dividing rapidly, making them ideal for propagation.
2. Select Your Cuttings: Choose healthy, year-old stems from the base of the hop plant. Ideally, these cuttings should be around 6-10 inches long and have at least 3-4 nodes (the points where leaves and roots sprout). Remove the topmost leaves and any buds.
3. Prepare the Cuttings: Dip the bottom end of the cuttings in a rooting hormone solution, which speeds up the root development process. If you don’t have rooting hormone, you can use a simple mixture of water and honey.
4. The Potting Process: Fill a pot with a loose and well-draining potting mix. Make a small hole in the center and insert the cuttings, leaving the top 2-3 nodes above the soil line.
5. Care and Maintenance: Keep the cuttings consistently moist but avoid overwatering. Place the pot in a bright location, but avoid direct sunlight. With proper care, roots should develop within a few weeks.
6. Transplanting Time: Once your cuttings have developed a strong root system, you can transplant them to their permanent location in your garden. Ensure your chosen spot offers plenty of sunlight and well-drained soil.
Beyond the Basics: Cultivating Your Hops
Now that you have successfully propagated your hops, it’s time to nurture them into thriving vines.
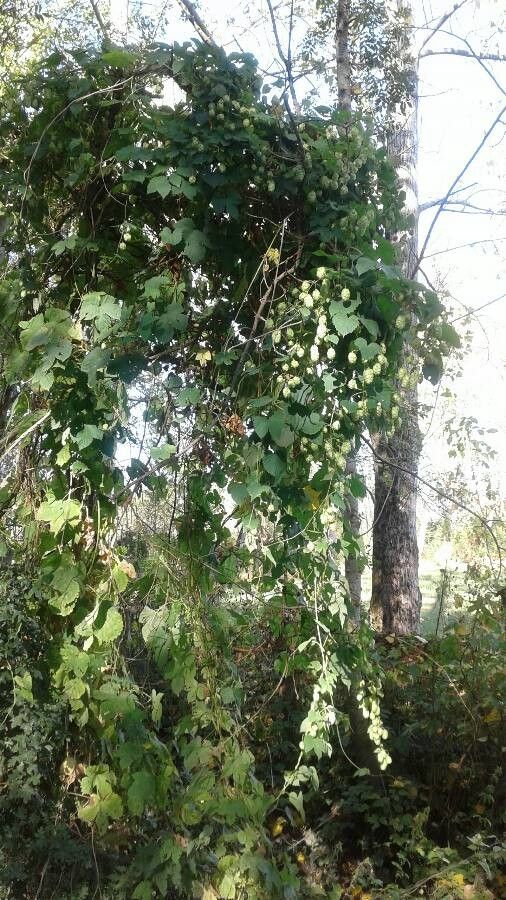
- Support Structure: Hops are vigorous climbers, so provide them with sturdy trellises or poles to guide their growth.
- Watering and Fertilizing: Water regularly and consider adding a balanced fertilizer to encourage healthy growth, especially during the growing season.
- Harvest Time: Hops are typically ready for harvest in late summer or early autumn. You’ll know they’re ripe when the cones (the flower clusters) have changed from green to a golden brown color and release a strong, fragrant aroma.
Enjoy the Journey!
Growing your own hops is a truly rewarding experience. Not only will you have the satisfaction of growing your own ingredients, but you’ll also gain a deeper appreciation for the craftsmanship that goes into making your favorite beers. So why not give it a try? You might just discover a brand new hobby or even inspire your own homebrew adventures!