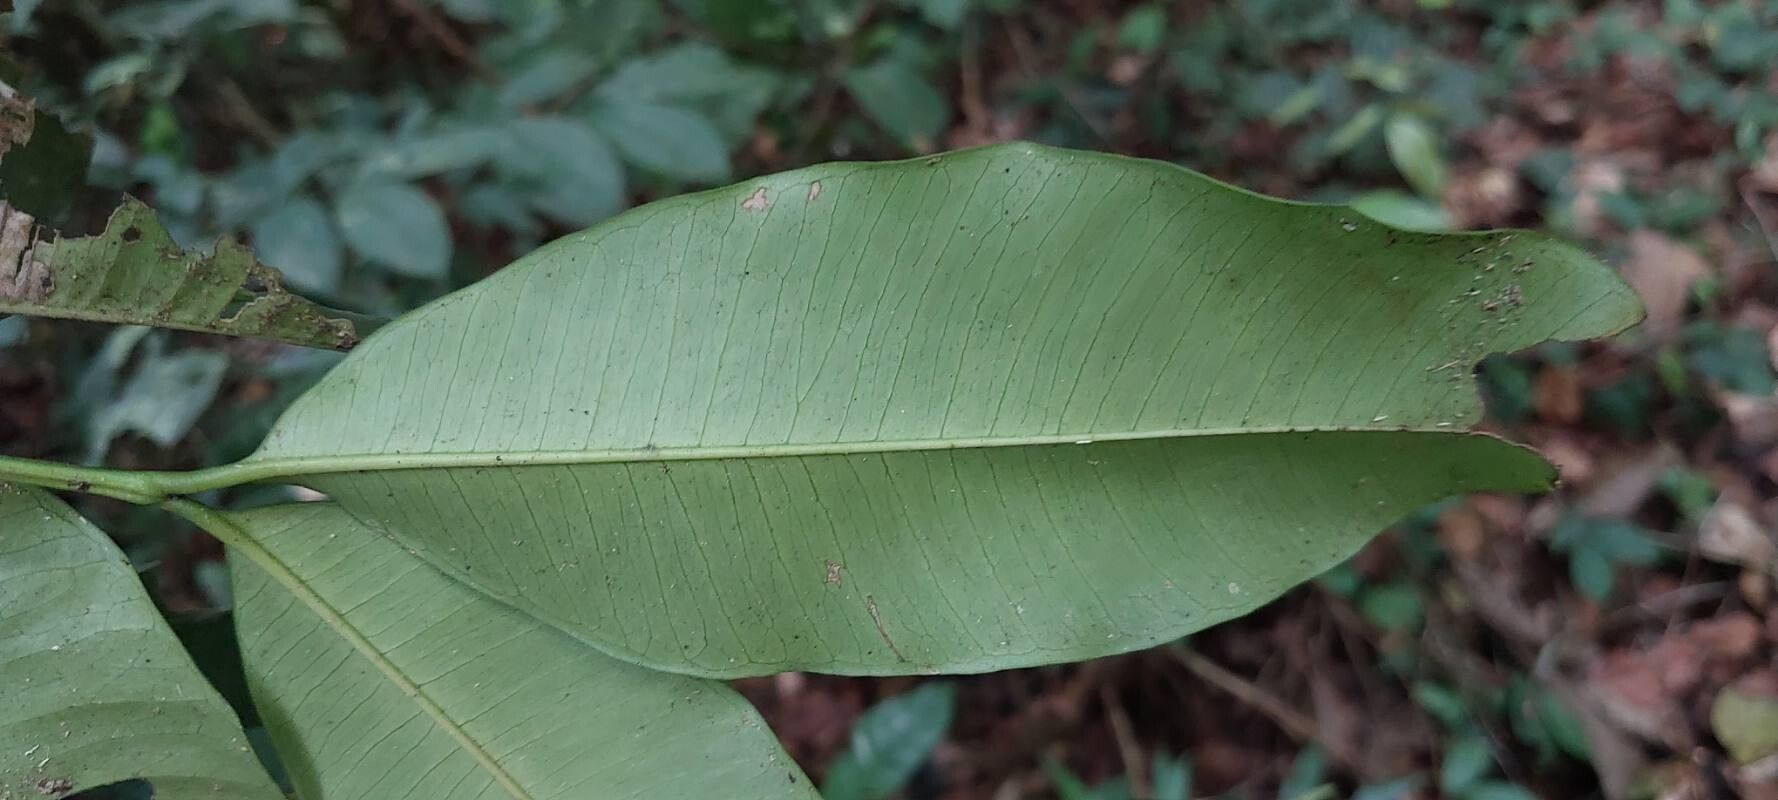
Unlocking the Secrets of Propagation: Growing the Majestic Hunteria ballayi
The Hunteria ballayi, with its striking foliage and unique appearance, is a captivating addition to any plant enthusiast’s collection. But acquiring this tropical beauty can be a challenge. Fortunately, propagation offers a rewarding and cost-effective way to expand your Hunteria collection or share its beauty with others. While the process might seem daunting, it’s actually quite straightforward.
Understanding the Basics of Propagation
Propagation is the process of creating new plants from existing ones. For Hunteria ballayi, the two most common methods are stem cuttings and seed propagation.
1. Stem Cuttings: A Reliable Method for Success
Stem cuttings are the most popular and often the most successful way to propagate Hunteria ballayi. This technique involves taking a healthy stem, making a clean cut, and encouraging it to root. Here’s how:
- Choosing the Right Cuttings: Select a mature, healthy stem with several nodes (the points where leaves emerge). Aim for a stem that’s about 4-6 inches long.
- Preparing the Cuttings: Make a clean, angled cut just below a node using a sharp knife or pruning shears. Remove the leaves at the bottom of the cutting to prevent rotting.
- Rooting Medium & Environment: Place the cuttings in a well-draining potting mix, ensuring that the nodes are buried in the medium. Create a humid environment by misting regularly and covering the cuttings with a plastic dome or bag.
- Patience is Key: The rooting process usually takes several weeks to a few months. Provide consistent humidity and indirect sunlight, and avoid overwatering.
- Monitoring and Transplanting: As new growth emerges, you’ll know your cuttings have rooted successfully. Once established, you can transplant them into individual pots with well-draining soil.
2. Seed Propagation: A Challenging But Rewarding Journey
While less common, seed propagation offers a unique way to grow Hunteria ballayi. This method requires patience and careful handling.
- Sourcing Seeds: Obtain fresh Hunteria ballayi seeds from a reputable source.
- Sowing the Seeds: Sow the seeds in a seed tray filled with a well-draining seed starting mix. Gently press the seeds into the soil, but don’t bury them too deep.
- Creating the Right Conditions: Maintain a warm, humid environment with indirect light. Cover the trays with a plastic dome or bag to retain moisture.
- Germination and Growth: Seeds can take several weeks to germinate. Once seedlings emerge, gradually acclimate them to more direct light.
Tips for Success
- Sterilization: Always sterilize your cutting tools to prevent the spread of diseases.
- Water Wisely: Water sparingly, ensuring the soil dries out slightly between waterings.
- Repotting: Repot young Hunteria ballayi plants as needed to provide adequate space for growth.
- Patience and Observation: Continuous observation is important. Watch for signs of disease, pests, or stress, and adjust your care accordingly.
Beyond Propagation: Enjoying Your Hunteria ballayi
Once your Hunteria ballayi plants are established, you can enjoy their unique beauty. This plant thrives in bright indirect light and prefers warm, humid conditions. Provide regular watering, allowing the soil to dry out slightly between waterings.
Propagation allows you to share the magic of a magnificent plant like the Hunteria ballayi with friends, family, and others who share your love for the green world. So why not take the plunge and embark on your propagation journey? With careful attention and a little patience, you can unlock the secrets of this fascinating plant and watch it thrive under your care.