Climbing to New Heights: Propagating Your Own Hydrangea petiolaris
The Hydrangea petiolaris, also known as the climbing hydrangea, is a showstopper. This woody vine boasts elegant white lacecap blooms against a backdrop of lush green foliage, capable of transforming walls, fences, and even sturdy trees into verdant masterpieces. But did you know that duplicating this beauty doesn’t require a trip to the nursery? With a little patience and the right know-how, you can easily propagate your own Hydrangea petiolaris.
Understanding the Basics:
Propagation is simply the process of creating new plants from existing ones. For Hydrangea petiolaris, we’ll be focusing on two popular methods: stem cuttings and layering.
Method 1: Stem Cuttings – Like Taking a Snip from Success
This method utilizes sections of healthy stems to generate new roots, effectively cloning your existing plant. Here’s how:
- Timing is Key: The optimal time for taking cuttings is late spring or early summer when the plant is actively growing.
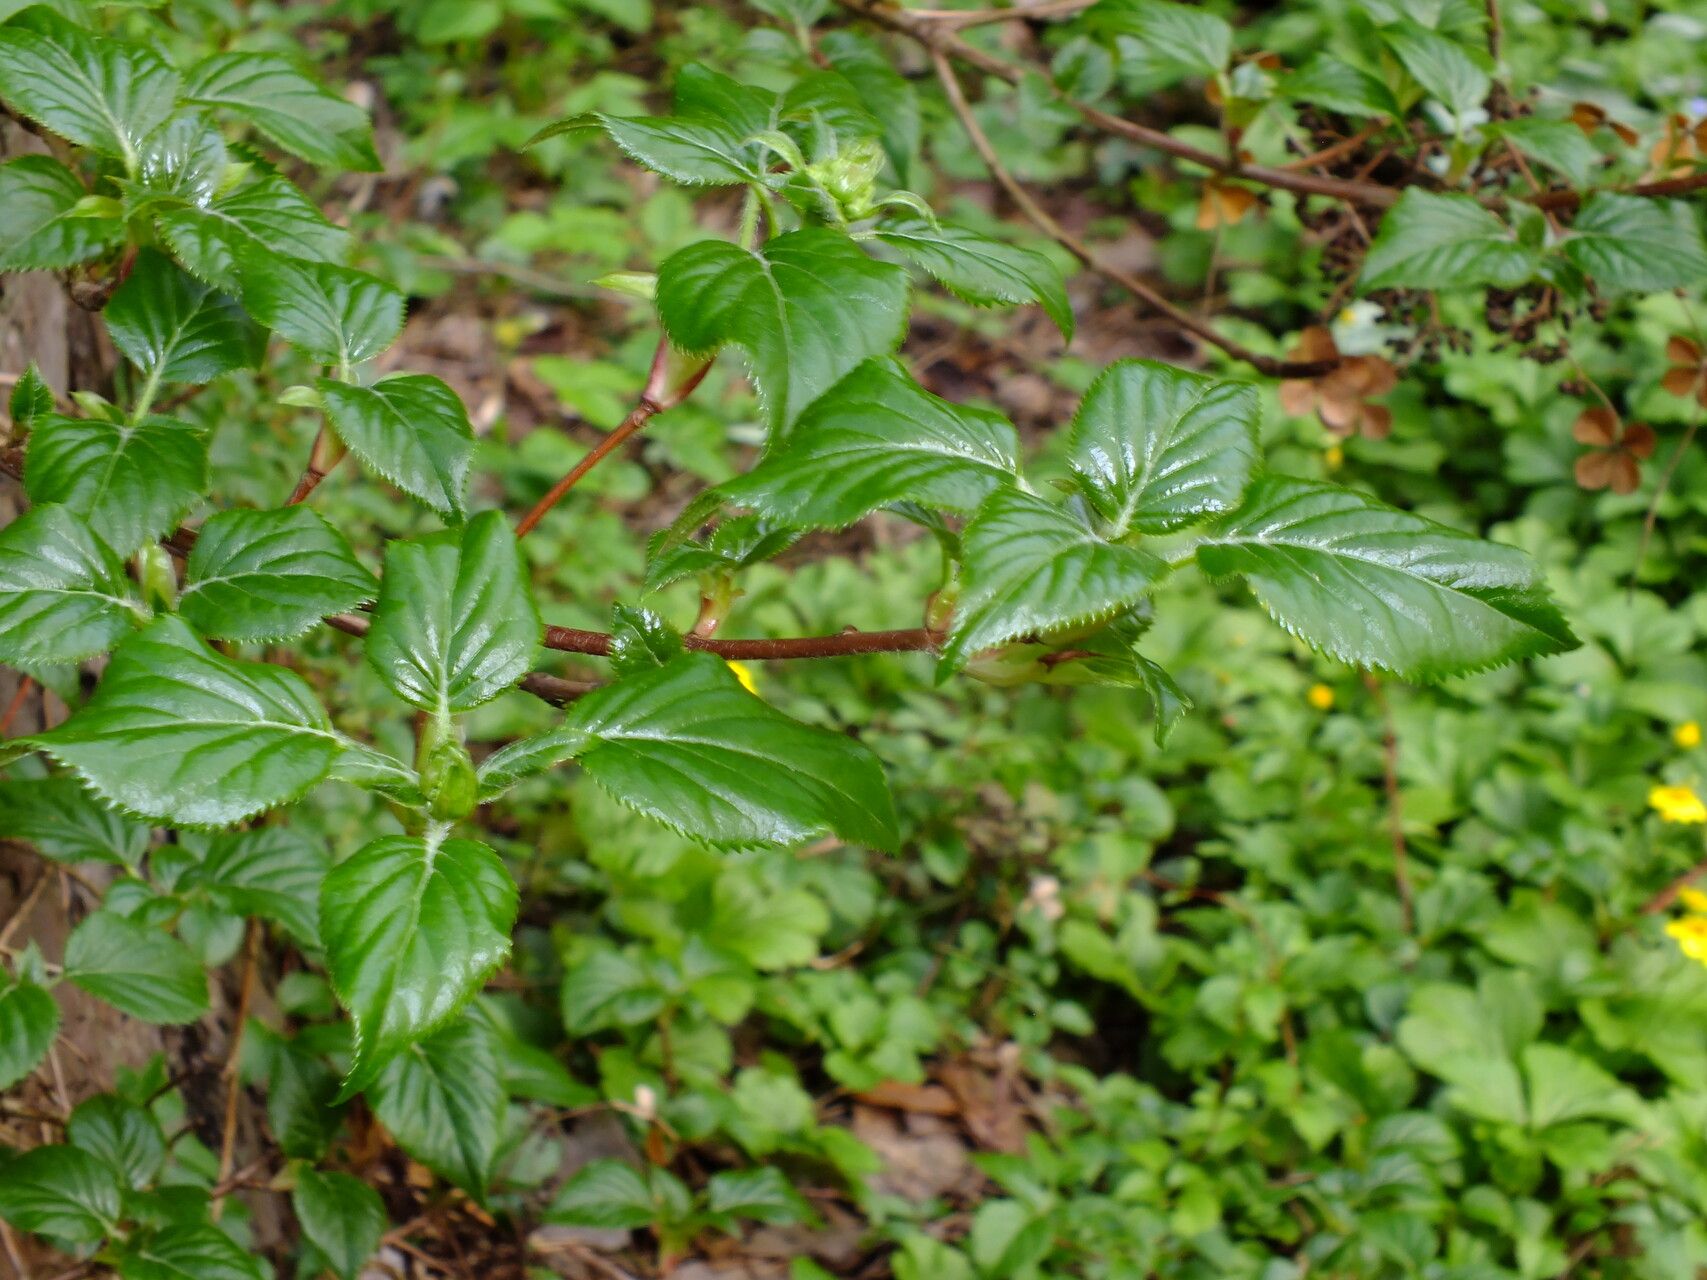
- Choose Wisely: Select stems that are healthy, firm, and haven’t started to flower. Ideally, aim for a cutting that’s about 4-6 inches long with at least two pairs of leaves.
- Prepare the Cutting: Using clean, sharp shears, make a cut just below a leaf node (the point where a leaf attaches to the stem). Remove the leaves from the bottom half of the cutting, leaving only the top two or three pairs.
- Encourage Root Development: Dip the cut end into rooting hormone powder (available at garden centers) to encourage faster and stronger root growth.
- Plant and Protect: Plant your cutting in a pot filled with a well-draining potting mix. Keep the soil consistently moist but not waterlogged. Cover the pot with a clear plastic bag or use a propagator to create a humid environment.
- Wait and Watch: Place the pot in a bright location, but out of direct sunlight. In a few weeks, you should see new growth, indicating successful rooting.
Method 2: Layering – Gently Coaxing New Life
Layering is a slightly slower but highly successful method, especially for plants like Hydrangea petiolaris that readily root along their stems. Here’s the process:
- Select a Branch: Choose a healthy, flexible branch that can easily reach the ground.
- Prepare the Branch and Planting Site: Lightly wound or scrape a small section on the underside of the chosen branch. Prepare a small trench in the soil beneath the branch, amending it with some compost for added nutrients.
- Bury & Secure: Gently bend the wounded portion of the branch down and bury it in the prepared trench, using a landscape pin or rock to hold it in place. The tip of the branch should remain above the soil line.
- Maintain Moisture: Keep the soil consistently moist to encourage root development at the wounded area.
- Patience is a Virtue: Layering can take a few months to a year for the new plant to establish sufficient roots. You can test if it’s ready by gently tugging on the branch; resistance means roots are forming.
- Separation and Planting: Once roots are established, carefully sever the layered branch from the parent plant and transplant your new Hydrangea petiolaris to its desired location.
A Rewarding Endeavor
Propagating your own Hydrangea petiolaris is a rewarding experience for any plant enthusiast. Not only is it a budget-friendly way to expand your garden, but it also gives you a deeper connection to the natural world and the magic of plant propagation. So, grab your gardening gloves and get ready to multiply the beauty of your climbing hydrangea!