Unlocking the Secrets of Golden Seal Propagation: A Guide for Home Growers
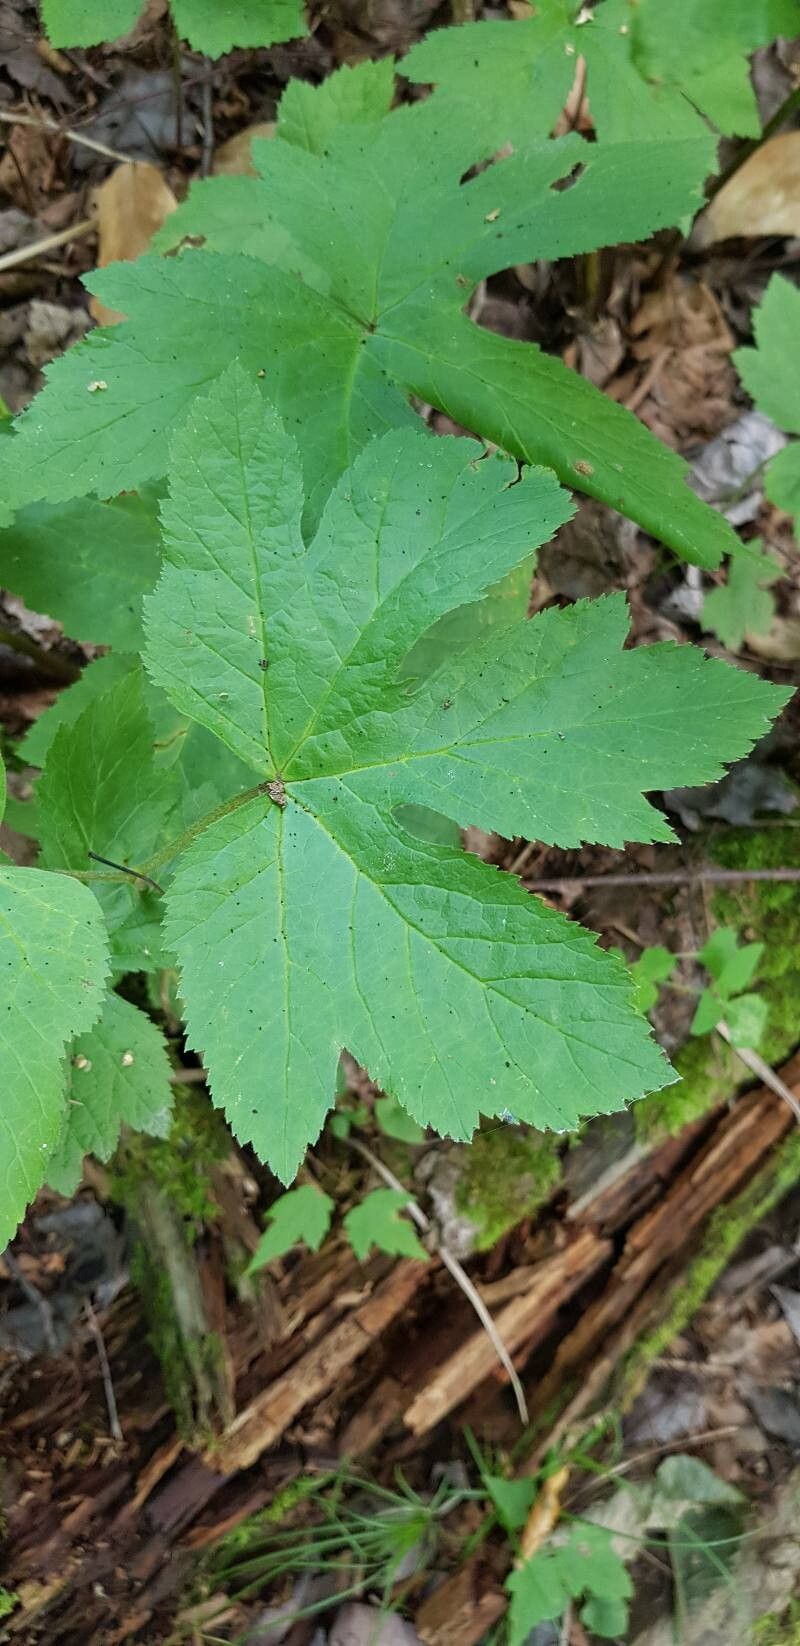
The golden seal (Hydrastis canadensis) is a captivating plant, known for its vibrant yellow rhizomes and its long history of use in traditional medicine. While it’s prized for its medicinal properties, it’s also a visually stunning plant that adds an element of woodland charm to gardens. But with dwindling wild populations, cultivating golden seal at home is becoming increasingly important.
The Challenge of Golden Seal Propagation
Golden seals, unlike many garden plants, present a unique challenge for propagation. They are slow-growing and notoriously difficult to cultivate. Their seeds require a period of cold stratification, a process where they are exposed to cold temperatures before germinating. This natural process mimics the harsh conditions they endure in their natural woodland habitat.
The Two Main Methods
While there are various methods for propagating golden seal, the two most commonly employed are:
Seed Propagation: This method is the most challenging, but offers the greatest reward because it allows for the creation of new, genetically diverse plants.
- Collecting Seeds: Start by harvesting mature berries in late summer/early fall.
- Cleaning Seeds: Carefully remove the seeds from the pulp and rinse them thoroughly.
- Stratification: Mix the seeds with moist peat moss or vermiculite. Store the mixture in a sealed container in a refrigerator for at least 90 days (and up to 6 months). This simulates the cold conditions required for germination.
- Sowing: After stratification, sow the seeds in a well-drained, shaded area. Keep the soil consistently moist.
- Patience is Key: Seedlings may take up to two years to emerge and grow to a reasonable size.
- Rhizome Division: This method is slightly less demanding but still requires careful handling and specific conditions.
- Timing is Everything: The best time to divide rhizomes is in early spring, just as new growth starts to appear.
- Preparation: Gently dig up the rhizome, working carefully to avoid damaging the delicate roots.
- Division: Use a sharp, clean knife to divide the rhizome into sections, ensuring each section has at least one growth bud.
- Planting: Plant the rhizome divisions immediately into a prepared bed with rich, moist soil, ensuring the growth buds are facing upwards.
Creating the Perfect Environment
Golden seal thrives in a cool, shaded environment with consistently moist soil. Here are some critical considerations for creating ideal growing conditions:
- Location: Choose a shady location, mimicking the woodland habitat they thrive in.
- Soil: Ensure the soil is well-drained and acidic, with a pH of 5.0 to 6.5. A good mix of peat moss, compost, and garden soil will work.
- Watering: Maintain a consistently moist soil, avoiding waterlogging. Use mulch to retain moisture and suppress weeds.
Patience and Persistence
Remember, growing golden seal takes time, patience, and a little know-how. While it may take a few years to see substantial growth, the rewards of cultivating this valuable and beautiful plant are well worth the effort. By carefully following these tips, you can successfully propagate and nurture golden seal in your garden, contributing to its conservation and enjoying its unique beauty.