Unveiling the Secrets: How to Propagate Oldham’s Lovegrass (Hylodesmum oldhamii)
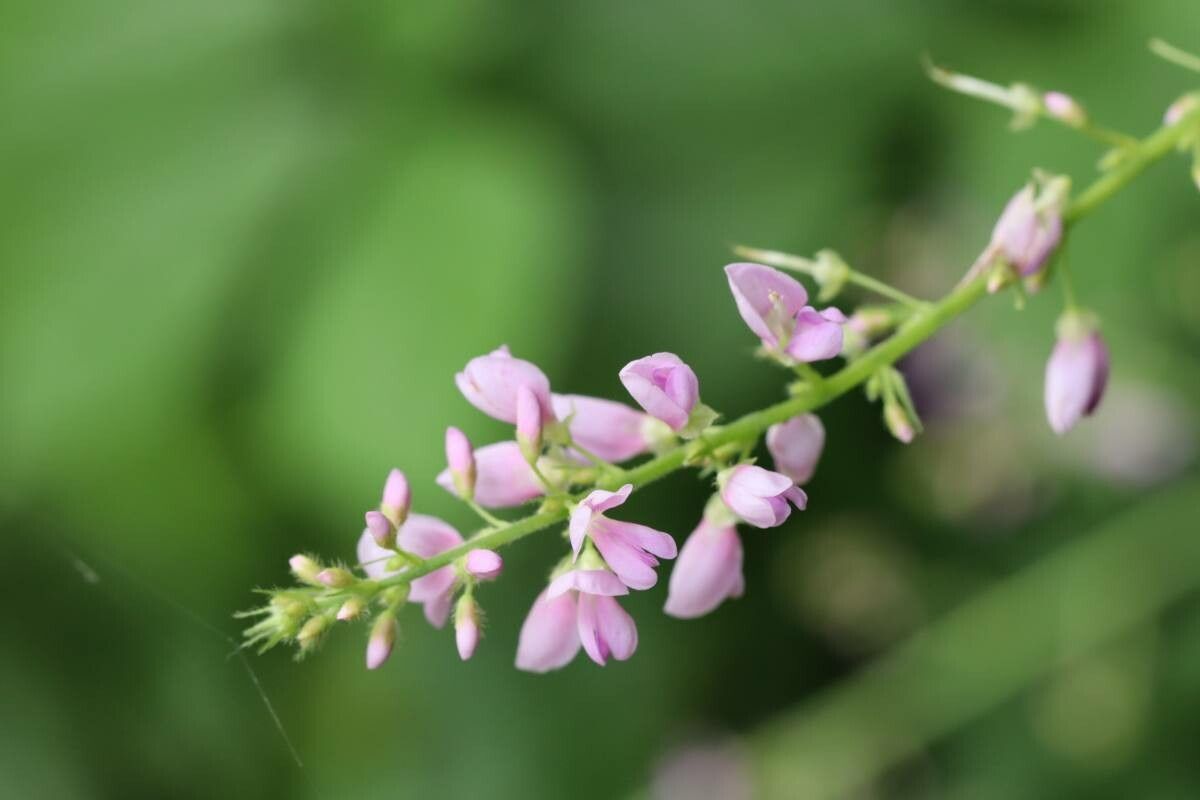
Oldham’s Lovegrass (Hylodesmum oldhamii), with its delicate foliage and charming purplish-pink blooms, is a delightful addition to any garden. Native to East Asia, this perennial captivates with its airiness and delicate beauty. While readily available in nurseries, wouldn’t it be rewarding to multiply your collection and share this enchanting plant? Let’s delve into the art of propagating Hylodesmum oldhamii, exploring two effective methods:
Method 1: Seed Propagation – A Dance with Patience
For those who enjoy the journey from seed to sprout, Hylodesmum oldhamii offers a rewarding, if slightly lengthier, propagation route.
Timing is Key: Spring, after the last frost, is the ideal time to sow your seeds.
Step by Step Guide:
- Prepare your Seed Starting Mix: Opt for a well-draining, peat-based mix. Moisten it evenly before sowing.
- Sow the seeds: Scatter the seeds on the surface and lightly press them into the mix. These seeds need light to germinate, so avoid burying them too deep.
- Patience, Young Padawan: Cover the tray with a humidity dome or plastic wrap to maintain moisture and place it in a warm, bright location, out of direct sunlight.
- Germination Time: Germination usually takes 2-4 weeks. Be patient and keep the soil consistently moist but not waterlogged.
- Thinning Out: Once seedlings develop a couple of true leaves (not the initial ones that emerge), thin them out to give the strongest ones room to grow.
- Transplanting: When the seedlings are sturdy and all danger of frost has passed, gradually harden them off before transplanting them outdoors or into larger pots.
Method 2: Division – The Art of Multiplication
For a faster and more immediate gratification, division is the way to go!
Best Time for Division: Early spring or fall, when the plant is dormant or just starting to emerge from dormancy.
Step by Step Guide:
- Prepare the New Home: Have pots or garden beds ready with well-draining soil amended with compost.
- Gentle Extraction: Carefully dig up a mature Hylodesmum oldhamii plant, ensuring you get a good root ball.
- Division Time: Using a sharp, clean knife or garden shears, divide the plant into sections, making sure each section has a healthy amount of roots and shoots.
- Replanting: Place the divisions in their new homes at the same depth they were previously growing. Water them thoroughly.
Caring for your New Propagations
Regardless of the method you choose, remember these care tips for flourishing Hylodesmum oldhamii:
- Sunlight: Partial shade to full sun is ideal. Morning sun with some afternoon shade is perfect.
- Soil: Well-draining soil amended with organic matter is key to success.
- Water: While somewhat drought-tolerant once established, regular watering, especially during dry periods, is crucial for young plants.
- Fertilizer: A light feeding in spring with a balanced fertilizer is sufficient.
Conclusion
Propagating Hylodesmum oldhamii is a fulfilling experience for both seasoned and budding gardeners. Whether you find joy in nurturing seeds or prefer the speed of division, these methods offer accessible pathways to expand your collection and share the love for this captivating plant. So, roll up your sleeves, choose your method, and let the propagation journey begin!