Unlock the Magic: Propagating the Unique Hymenocoleus globulifer
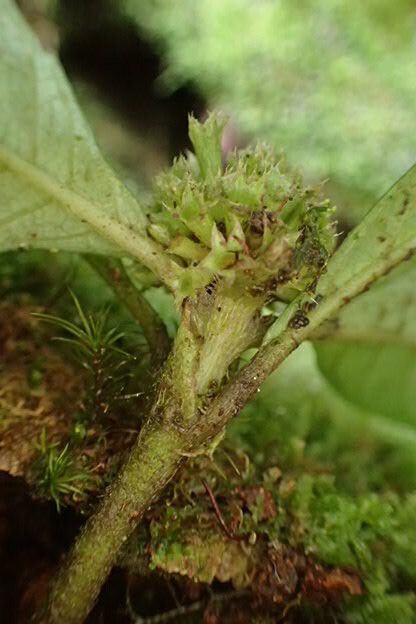
Have you ever laid eyes on the mesmerizing, globe-shaped flowers of Hymenocoleus globulifer? This captivating plant, native to South Africa, boasts a charm that goes beyond its unique appearance. With its striking resemblance to a miniature, velvety ball, it captures the hearts of plant enthusiasts worldwide. And you know what the best part is? It’s surprisingly easy to propagate, allowing you to share this plant’s magic with others or expand your own collection.
Why Propagate?
Besides the joy of nurturing new life, propagation offers several benefits:
- Affordable Expansion: Instead of buying new plants, you can create multiple Hymenocoleus globulifer from a single plant.
- Preserving Genetics: Propagation allows you to preserve the specific traits of your beloved plant, ensuring its unique characteristics continue to thrive.
- Sharing the Joy: Gifting a propagated plant is a wonderful way to share your passion and spread the beauty of Hymenocoleus globulifer.
The Two Main Methods
Here are the most common methods for propagating Hymenocoleus globulifer:
1. Seed Propagation:
- Obtaining Seeds: Seeds are available from seed banks or through specialist plant suppliers.
- Timing: Sow seeds in spring or early summer when the temperatures are warm enough for germination.
- Process: Fill a seed tray with a well-draining seed compost and sow the tiny seeds on the surface. Lightly press them into the soil, but don’t cover them entirely.
- Conditions: Maintain a warm and humid environment by covering the tray with a plastic lid or wrap. Provide indirect sunlight.
- Watering: Water gently to keep the compost moist but never soggy.
Tips: Hymenocoleus globulifer seeds tend to germinate best in a slightly acidic soil with a pH of around 6.0.
2. Cuttings Propagation:
- Taking Cuttings: Cuttings should be taken in early summer when the new growth is healthy. Choose a stem tip that is about 3-4 inches long.
- Preparing Cuttings: Remove the lower leaves from the cuttings and make a clean cut just below a node (where the leaves grow).
- Rooting Hormone: Treat the cuttings with a rooting hormone to encourage root growth.
- Planting: Pot the cuttings in a well-draining potting mix and water generously.
- Conditions: Place the cuttings in a bright, indirect location and maintain a consistently humid environment.
Tips: Rooting hormones aren’t essential but can boost success rates, especially for less experienced propagators.
Patience is Key
Whether you opt for seeds or cuttings, propagation takes time and patience. Be patient and keep a watchful eye on your growing Hymenocoleus globulifer. Don’t be discouraged if you don’t see results immediately – with the right care, your little plants will soon surprise you with their growth and charm.
Enjoying Your New Hymenocoleus globulifer
Once your plants are rooted and established, you can repot them into larger pots or even directly into your garden if the climate is suitable. Hymenocoleus globulifer thrives in well-drained soil and prefers full sun to partial shade.
With the right techniques and a little patience, you can easily enjoy the captivating beauty of Hymenocoleus globulifer by propagating your own plants at home. So, get your hands dirty and let the magic unfold!