
Unlocking the Secrets of Sunshine: Propagating Your Own Hymenosporum Flavum
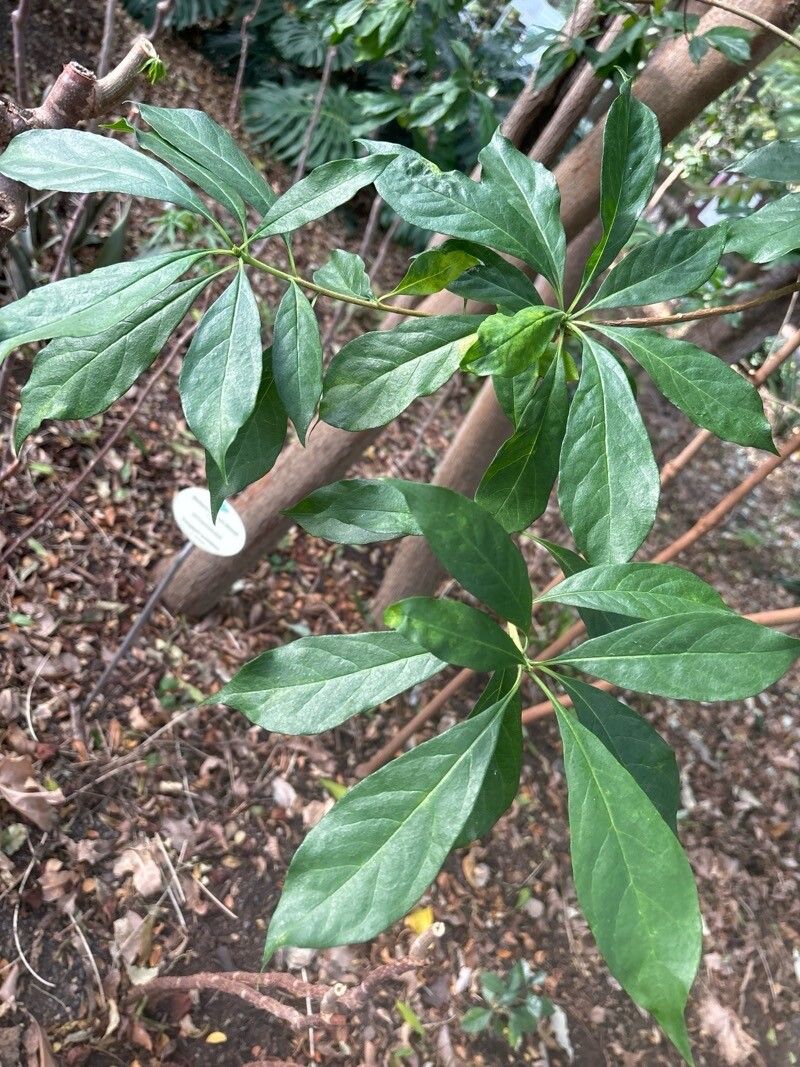
Hymenosporum flavum, more affectionately known as the Native Frangipani or Sweetshade, is a gardener’s delight. This Australian native boasts glossy, evergreen foliage and explodes with vibrant yellow, sweetly-scented blossoms in spring. If you’re lucky enough to have one gracing your garden, you’ve probably wondered about propagating this beauty. Good news – it’s entirely achievable and surprisingly straightforward!
Two Paths to Propagation: Seeds vs. Cuttings
When it comes to propagating Hymenosporum flavum, you have two primary options: seeds and cuttings.
1. The Seed Route:
Hymenosporum flavum produces woody seed pods after flowering. These pods contain numerous small, papery seeds. While propagating from seed is possible, it does come with a couple of caveats:
- Patience is key: Seed-grown plants can take a few years to mature and flower.
- Variety isn’t guaranteed: If your Hymenosporum is a hybrid, seed-grown offspring might not exhibit the same characteristics as the parent plant.
Here’s how to propagate from seed:
- Collect ripe pods: Allow the pods to dry on the tree and turn brown before collecting.
- Extract and sow: Open the pods to reveal the seeds. Sow them in a well-draining seed-raising mix, covering them lightly.
- Keep them cozy: Place the seed tray in a warm, bright spot (out of direct sunlight) and keep the soil consistently moist.
- Transplanting time: Once the seedlings develop a strong root system and several sets of true leaves, they can be transferred to individual pots or a protected spot in the garden.
2. The Cutting Edge:
Propagating from cuttings offers a faster route to flowering and ensures you retain the characteristics of the parent plant.
Here’s a step-by-step guide:
- Timing is everything: The best time for taking cuttings is late spring or early summer, after the main flowering period.
- Choose wisely: Select healthy, semi-hardwood stems that are around 15-20 cm long.
- Prepare your cuttings: Remove the leaves from the lower half of the cutting, leaving 2-3 pairs at the top. Make a clean cut just below a leaf node.
- Encourage rooting: Dip the cut end in rooting hormone (optional but helpful) and plant it in a pot filled with a well-draining potting mix.
- Create a humid environment: Cover the pot with a clear plastic bag or use a propagation dome to lock in humidity.
- Location, location, location: Place the pot in a warm, bright location out of direct sunlight.
- Water wisely: Keep the soil consistently moist but not waterlogged.
- Patience is rewarded: After 6-8 weeks, gently tug on the cutting. Resistance indicates root development. Once the roots have established, you can transplant your new Hymenosporum into a larger pot or the garden.
A Few Extra Tips for Success:
- Hymenosporum flavum thrives in well-drained soil.
- Choose a sunny spot in your garden, though some afternoon shade is beneficial in warmer climates.
- Water deeply but infrequently, allowing the soil to dry out slightly between waterings.
- Fertilize in spring and again in summer with a balanced, slow-release fertilizer.
With a little patience and the right techniques, you can enjoy the splendor of Hymenosporum flavum for years to come – propagated by your own hand!