Unleash Your Inner Plant Parent: Propagating the Polka Dot Plant
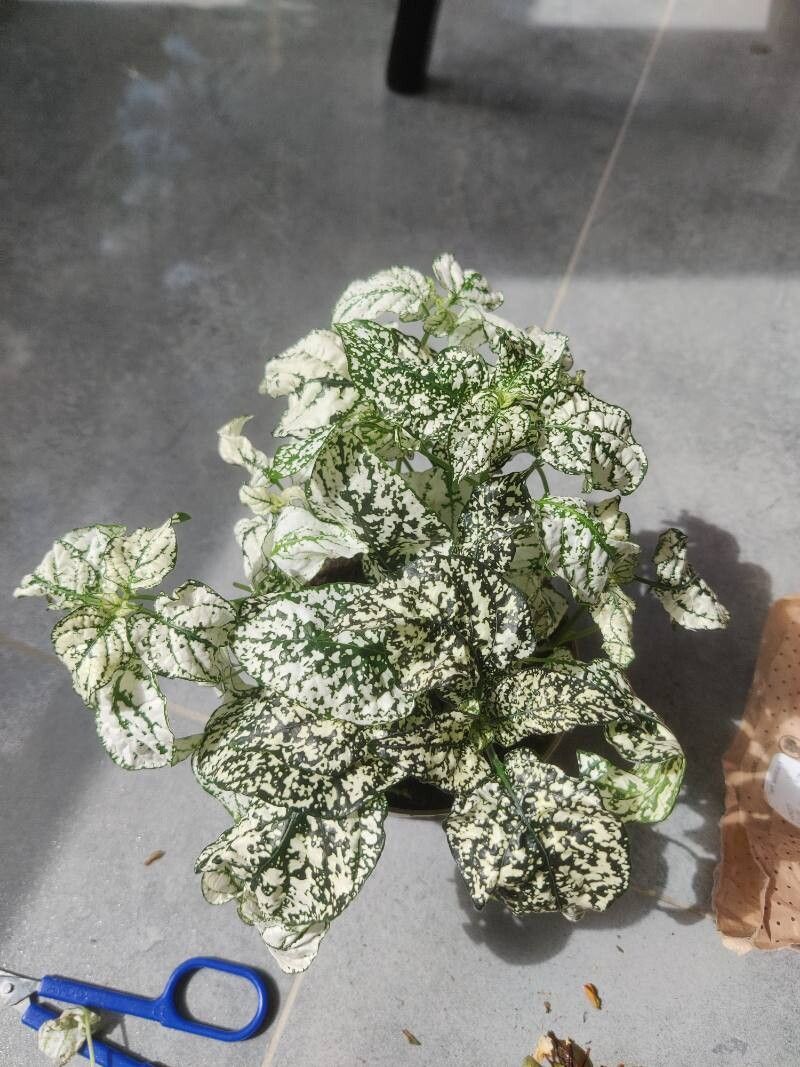
The Polka Dot Plant, or Hypoestes phyllostachya (formerly known as Hypoestes acuminata), with its vibrant, splash-painted leaves, is a popular choice for adding a pop of color to homes and gardens. Luckily for plant enthusiasts, this easy-care beauty is also incredibly simple to propagate! Whether you’re looking to expand your collection, share the joy with friends, or simply give your plant a fresh start, this guide will equip you with the knowledge to propagate your Polka Dot Plant with success.
Two Roads to Plant Parenthood: Stem Cuttings vs. Seeds
While you can propagate Polka Dot Plants from seeds, stem cuttings reign supreme as the easiest and most reliable method.
1. Stem Cuttings: The Fast Track to New Plants
- Timing is Everything: Spring and early summer, when your plant is actively growing, offer the best chance of rooting success.
- Tools of the Trade: Gather your clean, sharp pruning shears or scissors, a glass or jar, and a well-draining potting mix.
- Making the Cut:
- Identify a healthy stem with at least two sets of leaves.
- Cut just below a leaf node (the point where a leaf emerges from the stem), about 3-4 inches long.
- Remove the bottom set of leaves to encourage root development.
- Water Works Wonders: Place the cutting in a glass or jar of water, ensuring the node where the leaves were removed is submerged. Change the water every few days to prevent stagnation.
- Root Patience is a Virtue: Within a few weeks, you’ll notice small roots emerging from the cut end.
- Potting Up Your Progeny: Once the roots are about an inch long, carefully plant the cutting in your prepared pot, burying the node and roots. Water well and place in a bright, indirectly lit location.
2. Starting from Seed: A More Patient Approach
- Sourcing Your Seeds: Purchase seeds from a reputable supplier or collect them from a mature plant (the seeds are tiny and black, found in small capsules).
- Sowing the Seed: In spring, fill a seed tray or small pots with a well-draining seed starting mix. Sprinkle a few seeds per cell or pot and lightly cover them with the mix.
- Creating a Humid Haven: Mist the soil surface and cover the tray with a humidity dome or plastic wrap to create a warm, humid environment.
- Light and Patience: Place the tray in a bright, indirectly lit location. Germination can take anywhere from 1-3 weeks.
- Thinning the Herd: Once seedlings develop a few sets of true leaves, thin out the weakest ones, leaving the strongest to flourish.
- Transplanting Time: When the seedlings are large enough to handle, carefully transplant them into individual pots.
Nurturing Your New Generation
Regardless of your chosen propagation method, your new Polka Dot plants will thrive in the same conditions as their parent plant:
- Bright, Indirect Light: Avoid harsh, direct sunlight which can fade their vibrant colors.
- Warm Temperatures: Aim for temperatures between 65-80°F (18-27°C).
- Moist but Well-Drained Soil: Water when the top inch of soil feels dry. Avoid overwatering, which can lead to root rot.
- Humidity Boost: Polka Dot Plants appreciate a little extra humidity. Consider misting them regularly or placing them on a pebble tray filled with water.
With these tips and a dash of plant parent love, you’ll be well on your way to creating a vibrant collection of Polka Dot Plants. Don’t be afraid to experiment and enjoy the journey!