From One to Many: Unlocking the Secrets to Propagating Hypoxis juncea
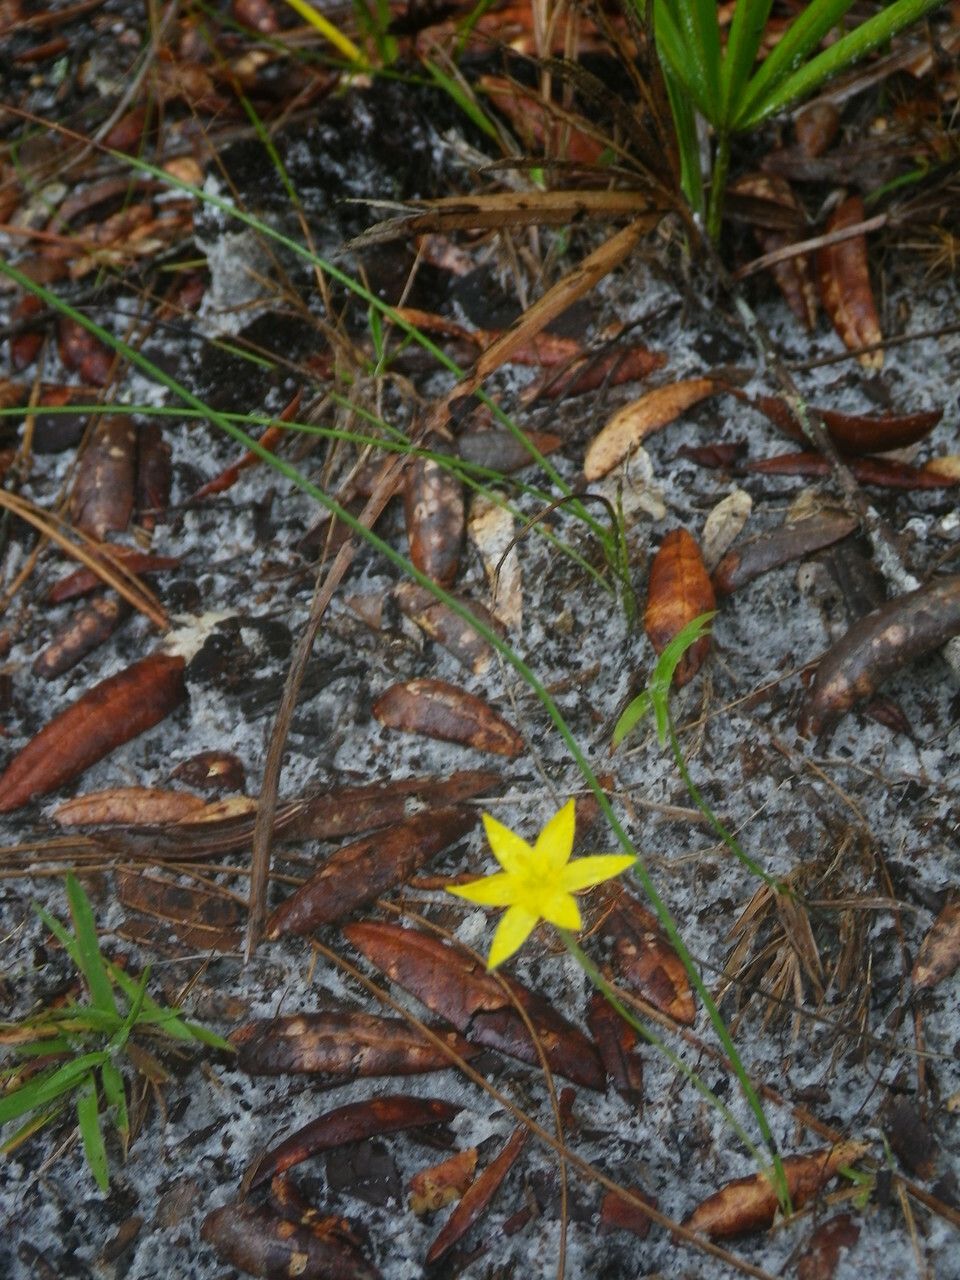
The yellow stargrass (Hypoxis juncea) is known for its cheerful, bright yellow flowers that brighten up gardens and landscapes. But this beauty is more than just a pretty face – it’s also surprisingly easy to propagate, allowing you to multiply your collection of these charming plants.
If you’re looking to add more vibrant color to your space or share the joy of yellow stargrass with friends, mastering the art of propagation is the key. Let’s dive into the two most effective methods:
1. Seed Propagation: A Patient Gardener’s Delight
Starting from seed requires a little patience, but the reward is witnessing the entire life cycle of this captivating plant. Here’s what you need to know:
- Time of year: The best time to sow yellow stargrass seeds is typically during the spring or early summer when temperatures are warm and consistent.
- Preparation: Mix a well-draining seed-starting mix with a light, airy texture. This will encourage proper root development and prevent excess moisture.
- Sowing: Sow the seeds thinly on the surface of the soil. Gently press them into the mix but avoid burying them deeply, as they need light to germinate.
- Watering: Keep the soil consistently moist, but avoid making it soggy. A misting bottle can help achieve even watering.
- Germination: Expect germination within a couple of weeks. Patience is key, as some seeds may take longer to sprout.
- Thinning: Once seedlings develop their first set of true leaves, thin them out to give them more space to grow.
2. Division: A Faster Track to More Yellow Stargrass
For those who desire instant gratification, division is the way to go. This method takes advantage of the clumping nature of yellow stargrass:
- Time of year: The optimal time for division is in the spring or early fall when the plant is actively growing.
- Preparation: Carefully dig up the existing clump of yellow stargrass. You can either do it manually or use a garden fork to loosen the plant.
- Separation: Divide the clump into smaller sections, ensuring each section has at least one healthy growth point. You can also examine the clump for bulbs and separate these as well.
- Replanting: Plant the divided sections in well-prepared soil, ensuring they have adequate space to expand. Water them well after planting.
A Few Additional Tips for Propagation Success:
- Light: Yellow stargrass thrives in full sun to partial shade. Ensure your chosen location provides adequate light for optimal growth.
- Soil: These plants prefer well-draining soil. Consider adding sand or perlite to improve drainage if your soil tends to be heavy.
- Watering: Yellow stargrass is drought tolerant, but regular watering is necessary, especially during the establishment period.
- Fertilizing: While not essential, light fertilization during the growing season can encourage vibrant growth.
Beyond the Garden:
Yellow stargrass has interesting medicinal and culinary uses as well. Its roots are used in traditional medicine, while the leaves can be used in salads and other dishes. However, it’s always best to consult with a professional before venturing into these uses.
So, whether you’re a seasoned gardener or a newbie, propagating yellow stargrass is a rewarding experience. With a little guidance and patience, you can easily create a beautiful and abundant collection of this cheerful plant, brightening up your garden and your life.