Unleash the Indigo Magic: Propagating the Enchanting Indigofera Argentea
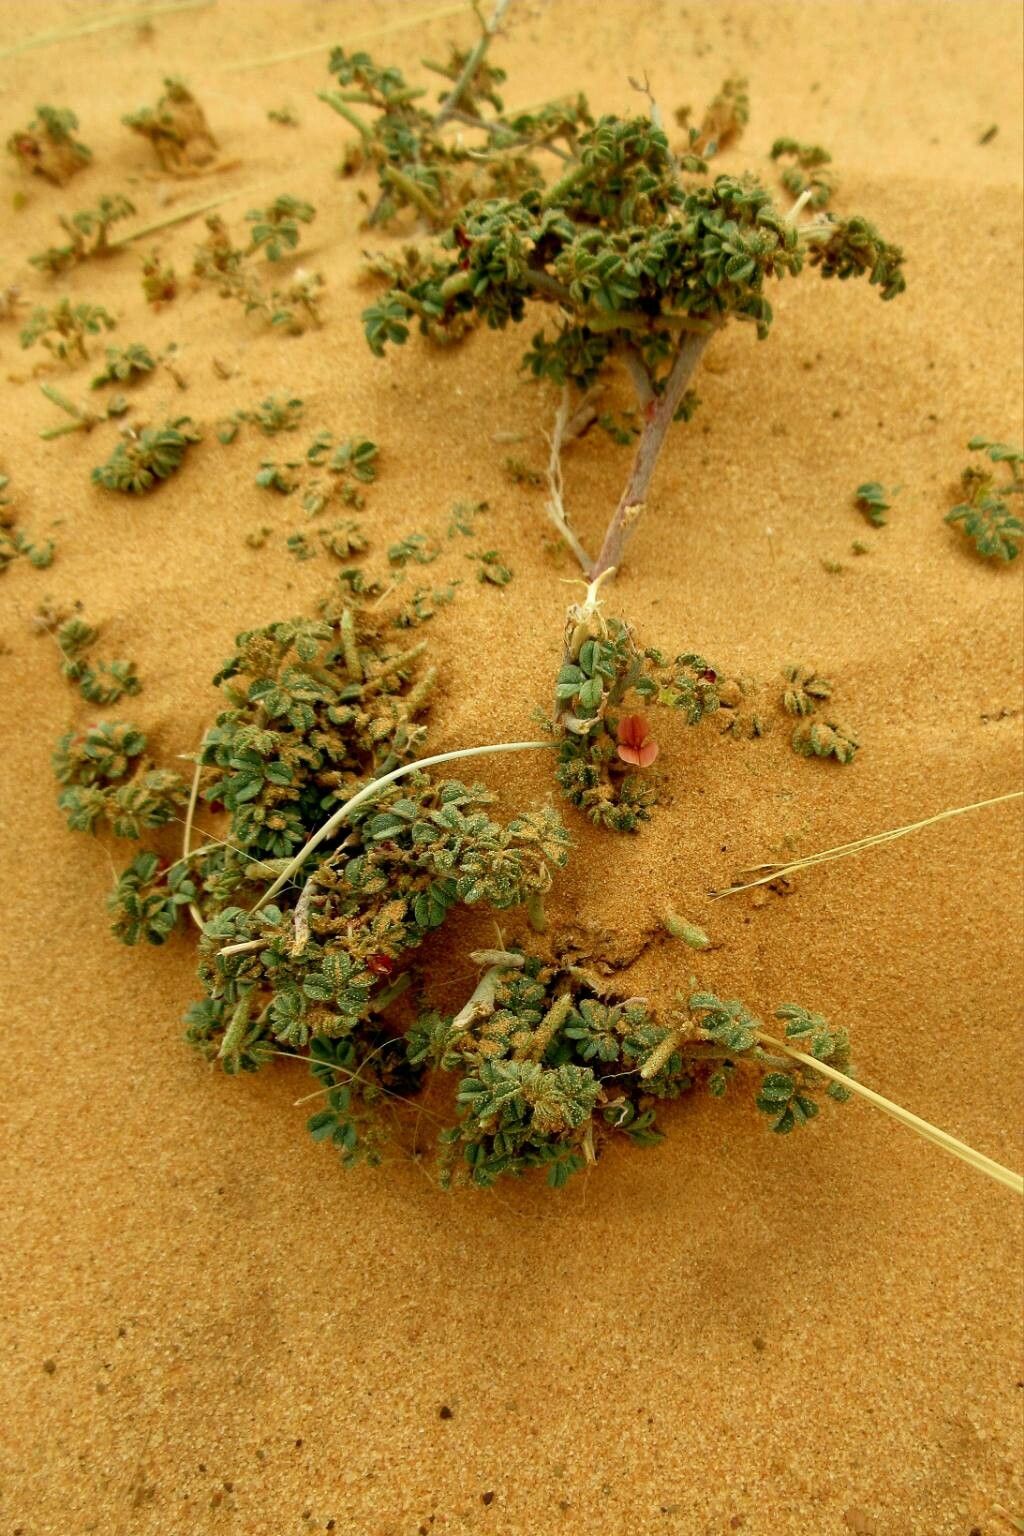
The Indigofera argentea, with its delicate silvery leaves and captivating bursts of pink-hued blooms, is a sight to behold. But this plant isn’t just a pretty face – it’s a historical treasure, prized since ancient times for the vibrant indigo dye hidden within its leaves. If you’re looking to invite this fascinating specimen into your garden, propagating your own Indigofera argentea is a rewarding endeavor. Let’s explore the two main methods to bring this botanical beauty to life.
Method 1: Seed Propagation – A Journey of Patience and Reward
For those who enjoy the complete cycle of plant growth, starting from seed is a gratifying experience. Here’s how to sow the seeds of success:
- Seed Preparation (Optional but Recommended): Indigofera argentea seeds have a hard outer coat that can benefit from a little help with germination.
- Scarification: Gently rub the seeds with sandpaper or a nail file to nick the outer layer.
- Soaking: Submerge the seeds in warm water for 12-24 hours to soften the coat.
- Sowing: Plant the seeds in a well-draining seed starting mix, burying them about ¼ inch deep.
- Environment: Provide warmth (around 70-75°F) and consistent moisture. A humidity dome or covering the tray with plastic wrap can help maintain moisture levels.
- Patience: Germination can take anywhere from 2 weeks to a few months. Don’t lose heart! Just when you think they’ve forgotten how to grow, those little green shoots will surprise you.
- Transplanting: Once the seedlings have a few sets of true leaves, transplant them into individual pots or directly into your garden, ensuring they receive ample sunlight.
Method 2: Cuttings – A Shortcut to Success
Propagating from cuttings is a faster method that ensures you’re replicating the exact characteristics of the parent plant.
- Timing is Key: Take softwood cuttings in the spring or early summer when the plant is actively growing.
- Selecting Your Cuttings: Choose healthy, non-flowering stems that are about 4-6 inches long.
- Preparing the Cutting:
- Make a clean cut just below a leaf node.
- Remove the lower leaves, leaving 2-3 leaves at the top.
- (Optional) Dip the cut end in rooting hormone to encourage root development.
- Planting: Plant the cutting in a pot filled with a well-draining potting mix, burying at least two leaf nodes.
- Creating a Humid Environment: Cover the pot with a clear plastic bag or use a humidity dome to lock in moisture.
- Root Development: After about 4-6 weeks, gently tug on the cutting. If you feel resistance, roots have likely formed!
- Transplanting: Once the cutting has a well-established root system, it’s ready to be planted into a larger pot or your garden.
Caring for Your Indigo Treasure
Whether you choose seed or cuttings, Indigofera argentea flourishes in well-drained soil and sunny locations. Water regularly during the first growing season to establish a strong root system. Once established, it’s relatively drought-tolerant, making it an excellent choice for xeriscaping or water-wise gardens.
With a little patience and the right techniques, you can easily propagate your own Indigofera argentea. As you watch your vibrant indigo plants thrive, you’ll not only be rewarded with beauty but also a connection to the rich cultural heritage this versatile plant embodies.