Unleashing the Beauty: Propagating Indigofera jucunda, the Happy Indigo
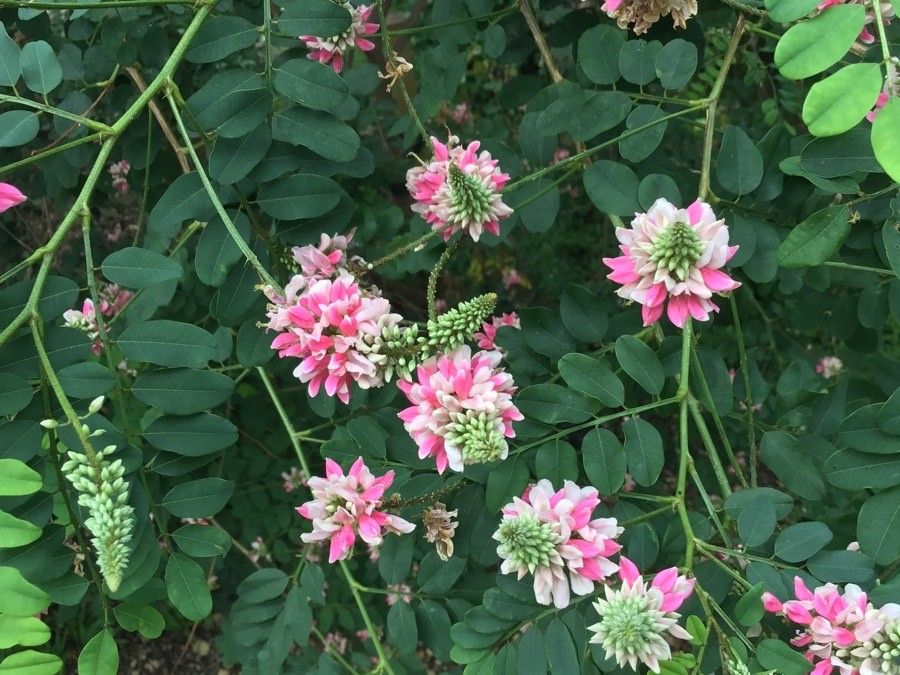
Indigofera jucunda, the aptly named “Happy Indigo,” is a vibrant and eye-catching shrub that bursts with color and charm. Its striking purple-pink blooms bring a joyful splash to any garden, attracting hummingbirds and butterflies with its sweet nectar. If you’re lucky enough to own one of these beauties, you might wonder – how do I get more of these wonderful plants? The answer lies in the art of plant propagation.
Understanding Indigofera Jucunda: A Little Background
Indigofera jucunda is native to South Africa, where it thrives in warm climates and full sun. It’s a relatively low-maintenance plant, making it a great choice for both seasoned and novice gardeners. The Happy Indigo can reach heights of 3-6 feet, depending on its growing conditions, creating a graceful shrub with cascading foliage.
Enter the World of Propagation
Propagation is the process of creating new plants from existing ones. With Indigofera jucunda, you have a few options:
Seed Propagation: While possible, seed propagation can be a bit trickier than other methods. Indigofera jucunda seeds have somewhat inconsistent germination rates and can take a long time to sprout. However, it’s a fun and rewarding way to grow new plants, especially if you have access to fresh seeds.
Cuttings: This is arguably the most popular and successful method for propagating Indigofera jucunda. Here’s how it works:
Timing is Key: The best time to take cuttings is in the spring or summer when the plant is actively growing.
Choose Your Cuttings: Select healthy, non-flowering branches from the current year’s growth. Cut the branches just below a node (where leaves grow), making your cutting about 4-6 inches long.
Prepare Your Cuttings: Remove the leaves from the bottom inch of the cutting and dip the cut end into rooting hormone powder. This encourages root development.
Planting the Cuttings: Insert the cuttings into a pot filled with a well-draining potting mix. Keep the soil consistently moist, but not soggy.
Providing the Right Conditions: Place the pot in a warm, bright location, but avoid direct sunlight. Use a plastic dome or wrap the pot with a plastic bag to create a humid environment.
- Patience is Virtuous: Roots may take a few weeks to develop, so be patient. You’ll know your cutting is rooted when it starts to show new growth.
Tips for Success
Sterilize Your Tools: Always sterilize your pruning shears or knife before taking cuttings to prevent the spread of diseases.
Water Wisely: As mentioned, consistently moist soil is key for healthy growth, but be mindful of overwatering as it can lead to root rot.
- Embrace the Sunshine: Provide your new Indigofera jucunda cuttings with plenty of bright, indirect light.
From Cuttings to Garden Jewels
Once your Indigofera jucunda cuttings have successfully rooted, you can transplant them into individual pots or your garden. With proper care, your new plants will flourish and bring joy to your outdoor space for years to come.
A Note on the Happy Indigo’s Name:
Indigofera jucunda truly lives up to its name. It’s a plant that brings happiness to all who behold it, and through propagation, you can share that joy with others. Give it a try, and get ready to be amazed by the vibrant beauty and easygoing nature of this remarkable plant.