Unveiling the Secrets of Japanese Iris Propagation: Multiply Your Floral Delights
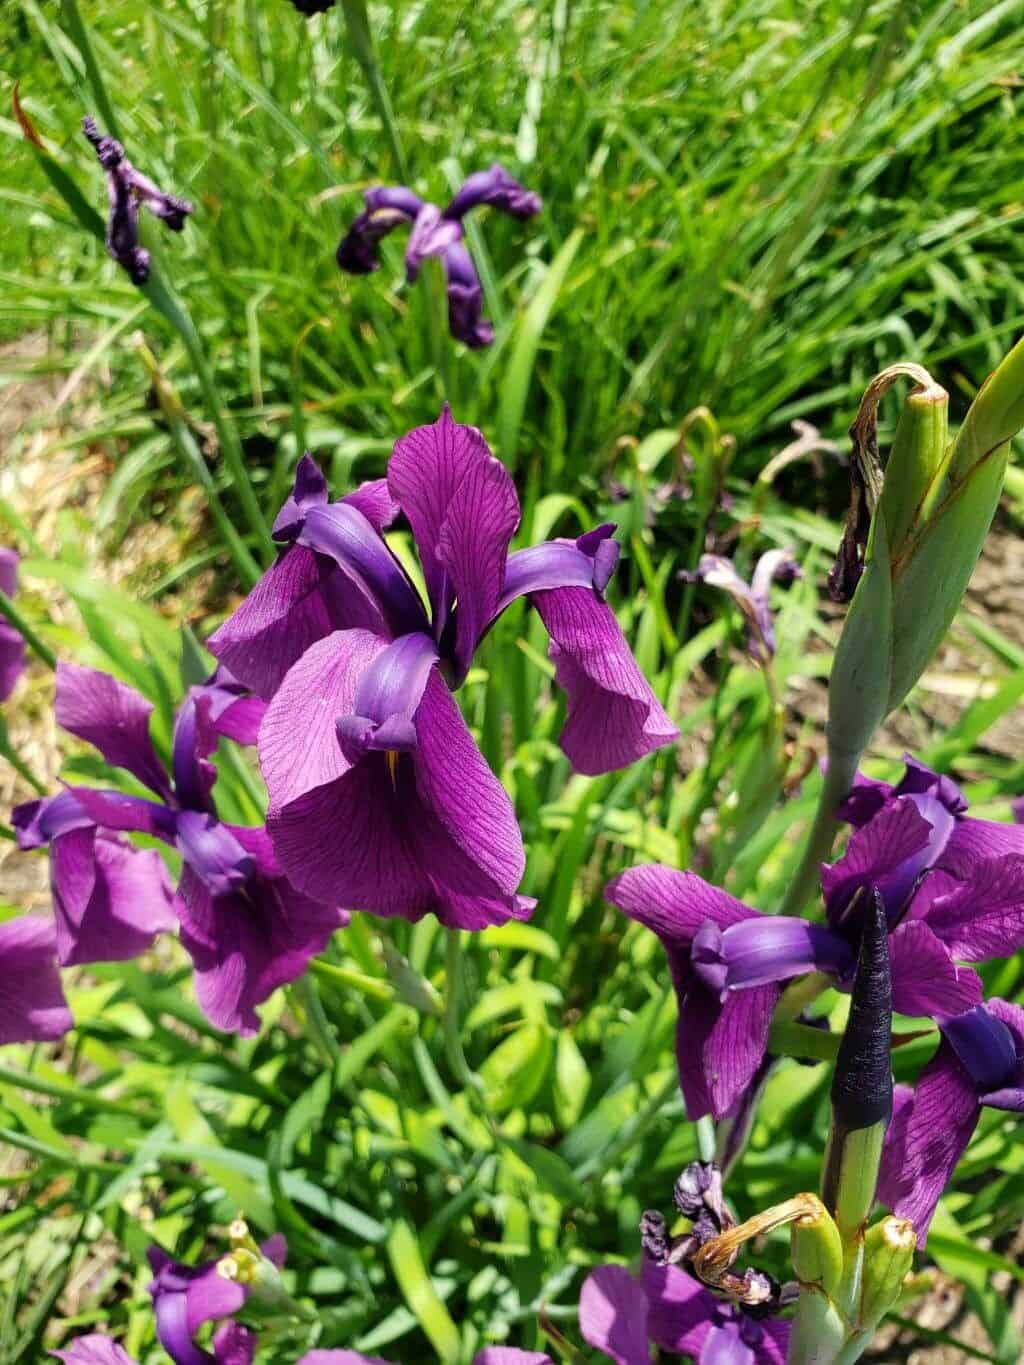
The Japanese Iris, scientifically known as Iris ensata, is a sight to behold. With its elegant, cascading petals and vibrant hues, it’s no wonder gardeners are eager to multiply these beauties. Luckily, propagating Japanese Iris, while requiring a touch of patience, is a rewarding endeavor achievable through various methods.
Let’s explore the two most common ways to propagate Iris ensata – division and seed propagation.
Division: The Gift that Keeps on Giving
Division reigns supreme as the most popular and effective method for propagating Japanese Iris. This method involves separating and replanting sections of established iris clumps, ensuring healthy growth and continued blooming.
Here’s a step-by-step guide:
- Timing is key: The ideal time to divide your Japanese Iris is late summer or early fall, after the blooming period. This allows the plants ample time to establish roots before winter sets in.
- Digging deep: Carefully dig around the entire iris clump, ensuring you go deep enough to avoid damaging the rhizomes (the thick, horizontal stems).
- Gentle separation: Remove the clump from the ground and gently shake off excess soil. Using a clean, sharp knife or garden shears, divide the rhizome into sections. Each section should ideally have a fan of leaves and a healthy rhizome segment with roots.
- Preparation is key: Trim the leaves to about 6 inches to reduce water loss and encourage root development. Choose a new planting location with well-draining soil and full sun to partial shade.
- Replanting for success: Amend the soil with compost and plant the divided rhizomes shallowly, ensuring the top of the rhizome is slightly exposed above the soil level. Water thoroughly.
Seed Starting: Embracing the Element of Surprise
While division offers quick results, propagating Japanese Iris from seed can be an exciting adventure. Keep in mind that this method takes longer and may not always result in plants identical to the parent plant.
Here’s a glimpse into seed propagation:
- Seed collection: After the flowers fade, seed pods will form. Allow these pods to fully mature and dry on the plant. Collect the seeds once the pods turn brown and begin to split open.
- Stratification for success: Japanese Iris seeds benefit from a period of cold stratification to break dormancy. Place the seeds in a moistened paper towel, seal them in a plastic bag, and store them in the refrigerator for 4-6 weeks.
- Time to sow: In early spring, sow the stratified seeds in seed trays filled with a well-draining seed starting mix. Lightly cover the seeds with soil and water gently.
- Nurturing the seedlings: Place the seed trays in a bright location out of direct sunlight. Keep the soil consistently moist but not waterlogged. Once the seedlings develop a few sets of true leaves, transplant them into individual pots.
- Gradual Acclimatization: Slowly introduce the seedlings to outdoor conditions for a week or two before planting them in their permanent location in the garden.
Patience Rewards: While it may take a year or two for your seed-grown Japanese Iris to bloom, the anticipation and eventual display of unique blooms make it a worthwhile endeavor.
Whether you choose to divide your existing treasures or embark on the journey of seed starting, propagating your Japanese Iris allows you to create a breathtaking tapestry of colors and elegance in your garden year after year. So, delve into the world of plant propagation and watch your floral passion flourish!