
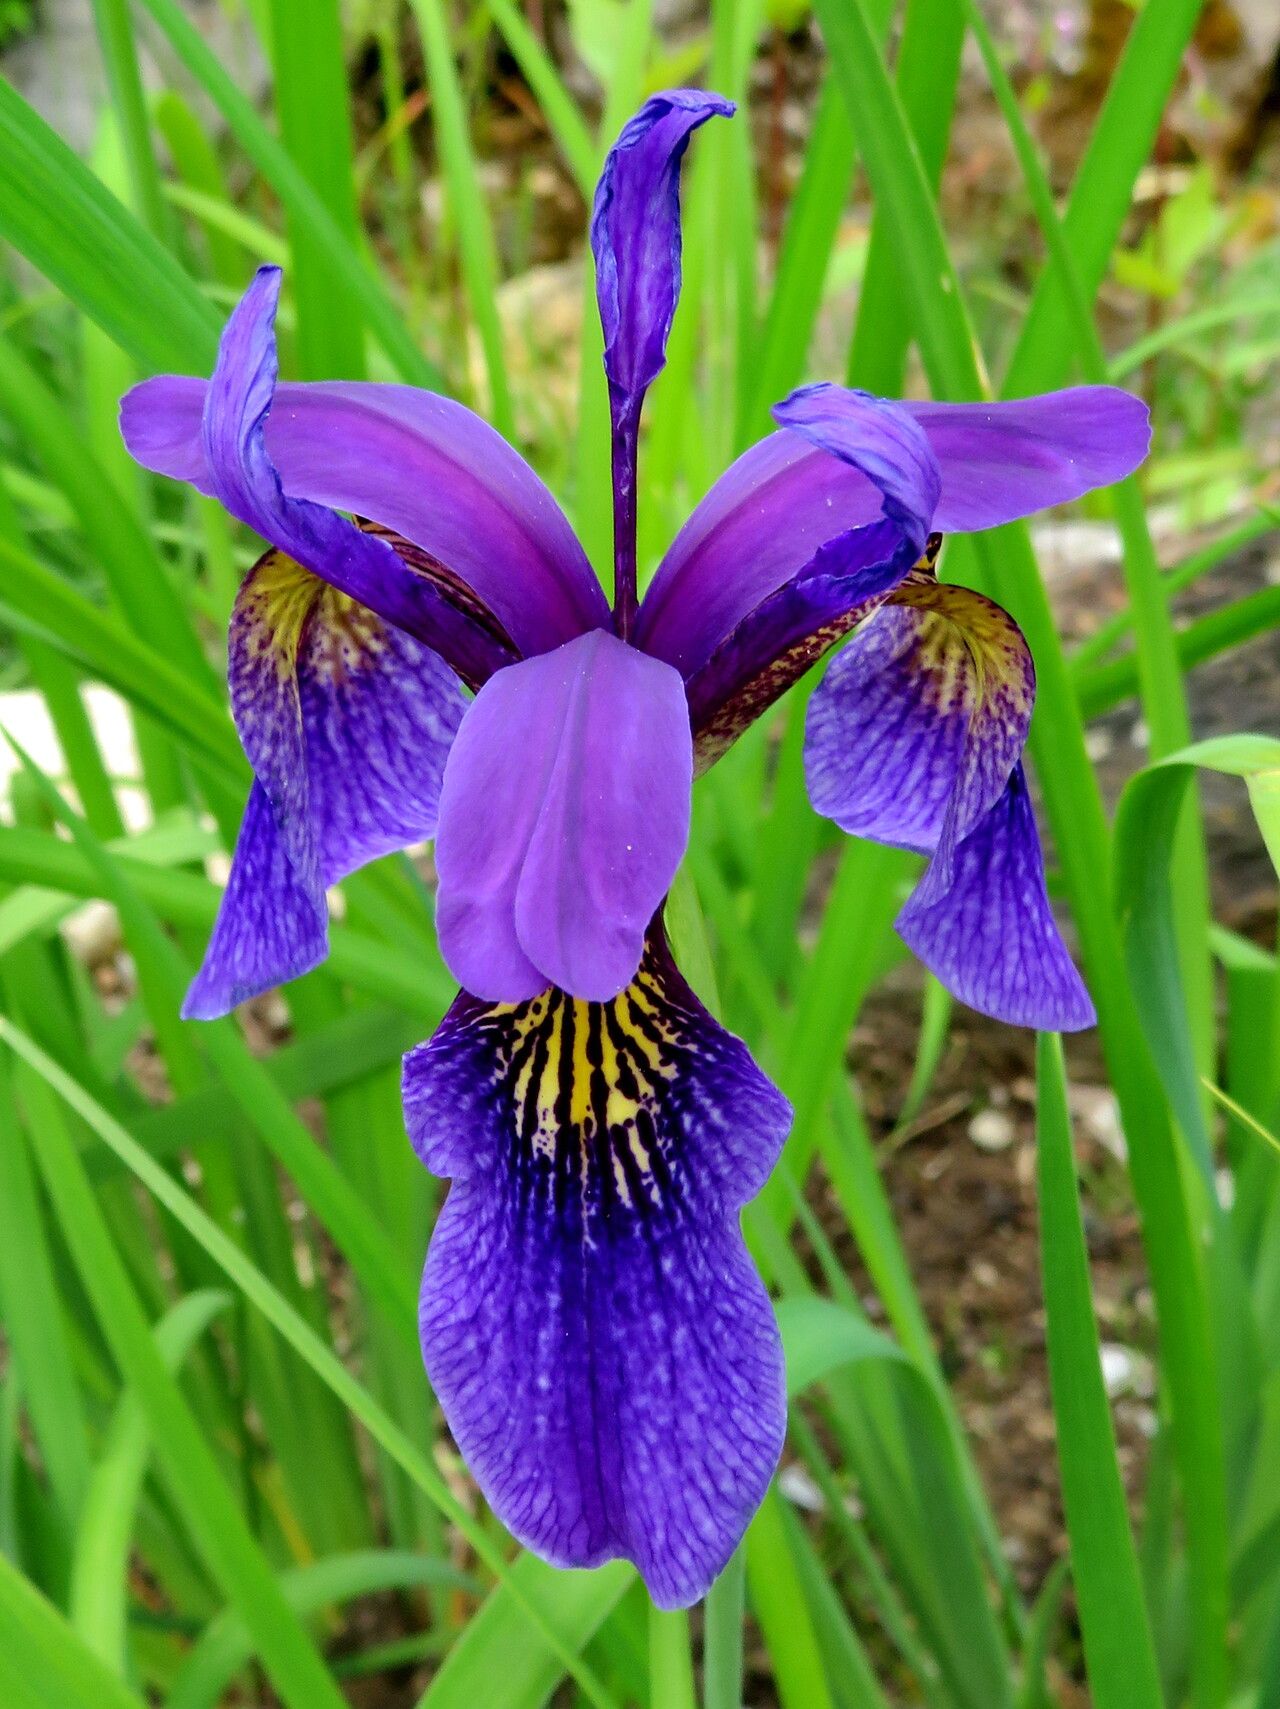
Unlocking the Secrets of Iris forrestii Propagation: A Guide to Multiplying Your Mountain Treasure
The Iris forrestii, with its charming yellow blooms and elegant, sword-like leaves, brings a touch of Himalayan magic to any garden. But did you know that this enchanting perennial can be easily multiplied, allowing you to expand your collection and share its beauty?
This guide dives into the art of propagating Iris forrestii, empowering you to create more of these floral gems.
Two Paths to Propagation Success:
There are two primary methods for propagating Iris forrestii:
Division: This technique involves separating mature plants to create new ones. It’s the most common and arguably easiest method.
- Seed Propagation: While slightly more challenging and time-consuming, growing from seed offers a rewarding experience and the potential for unique variations.
Division: Multiplying Your Iris Army
The optimal time for dividing Iris forrestii is late summer or early fall, after the flowering period. Here’s how:
Prepare the Ground: Choose a new location with well-drained soil and partial shade. Amend the soil with compost for optimal drainage and nutrition.
Lift the Clump: Carefully dig around the base of the parent plant, ensuring you don’t damage the rhizomes (thick, horizontal roots). Gently lift the entire clump out of the ground.
Divide and Conquer: Use a sharp, clean knife or garden shears to divide the clump into smaller sections. Each section should have at least three healthy rhizomes and a fan of leaves.
- Replant and Water: Replant the divisions at the same depth they were previously growing, spacing them approximately 12-18 inches apart. Water thoroughly to encourage establishment.
Seed Propagation: A Journey of Patience and Reward
Starting Iris forrestii from seed requires more time and attention but offers a chance to witness the entire life cycle of the plant. Here’s the process:
Collect Seeds: After flowering, Iris forrestii produces seed pods. Allow the pods to dry on the plant, then collect and store them in a cool, dry place.
Break Dormancy: Iris forrestii seeds often exhibit dormancy and benefit from stratification (cold treatment) to encourage germination. In late fall or winter, sow the seeds in a seed tray filled with a well-draining seed mix. Place the tray in a fridge for 4-6 weeks.
Warmth and Light: After stratification, move the seed tray to a bright location with temperatures around 65-70°F (18-21°C). Keep the soil consistently moist but not waterlogged.
Transplantation Time: Germination can take several weeks to months. Once seedlings develop a few true leaves, transplant them into individual pots filled with a well-draining potting mix.
- Acclimatize and Plant: Gradually acclimatize the seedlings to outdoor conditions before planting them in their final location in late spring or early summer.
Sharing the Beauty:
Propagating Iris forrestii not only allows you to expand your own garden but also provides an opportunity to share this captivating plant with others. Gift divisions to fellow gardeners or exchange seeds with enthusiasts across the globe, spreading the floral magic far and wide.
With a little patience and care, you can master the art of Iris forrestii propagation, creating a vibrant tapestry of these mountain treasures in your garden and beyond.