Whispy Wonders: Multiplying the Magic of Juncus Cooperi
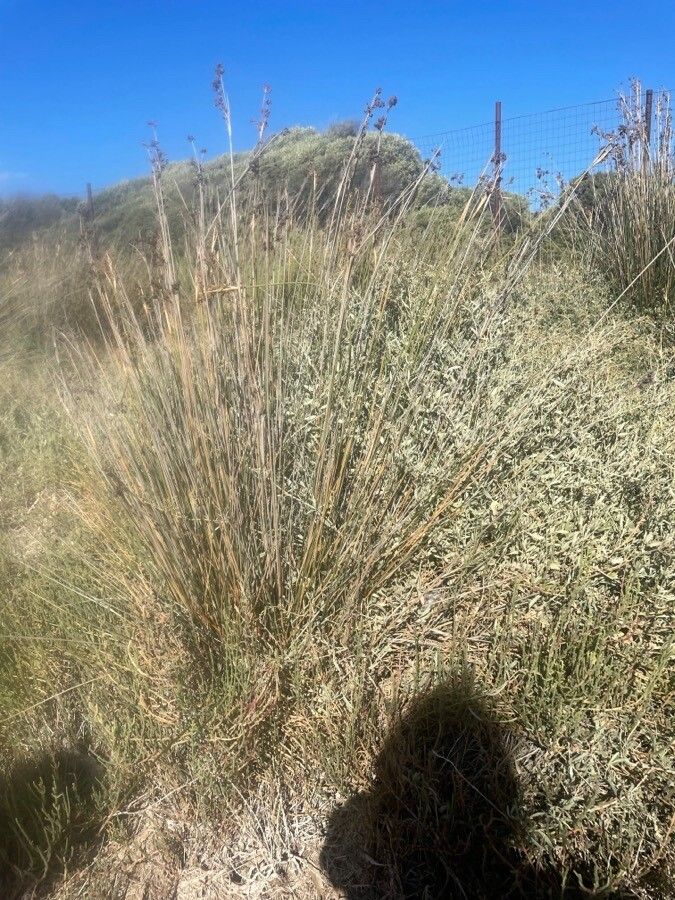
Juncus cooperi, also known as Cooper’s rush or common rush, brings a touch of airy elegance to gardens and landscapes. Its fine, hair-like foliage adds texture and movement, creating a calming and natural aesthetic. If you’re smitten with this whispy wonder and want to expand its presence in your outdoor space, you’re in luck! Propagating Juncus cooperi is relatively straightforward, and this guide will illuminate the two most effective methods: division and seed propagation.
Division: The Simplest Route to Replication
For established clumps of Juncus cooperi, division reigns supreme as the easiest and fastest propagation method. This technique is best done in early spring, just as new growth begins to emerge.
Here’s how to divide and conquer:
- Prepare the Ground: Water the Juncus cooperi clump thoroughly a day or two before division to minimize stress. Choose a new planting location with similar growing conditions—ideally sunny to partly shaded with moist, well-drained soil.
- Divide and Conquer: Using a sharp spade or garden knife, carefully dig around the clump, lifting it from the ground. Depending on the size, you can divide the clump into sections, ensuring each section has a healthy root system.
- Replant and Nourish: Replant the divisions at the same depth they were previously growing. Water them in well and mulch around the base to retain moisture and suppress weeds.
Seed Propagation: A Journey of Patience and Reward
While slightly more time-consuming, propagating Juncus cooperi from seed offers a unique sense of accomplishment and is especially useful if you’re looking to establish a large planting.
Follow these steps for seed starting success:
- Seed Collection: Collect seeds from mature Juncus cooperi plants in late summer or early fall. The seed heads will turn brown and release the seeds readily when gently rubbed.
- Sowing the Seeds: Sow the seeds in a seed starting mix, lightly pressing them into the surface. Mist with water and cover the tray with a plastic dome or wrap to maintain humidity.
- Patience is Key: Place the seed tray in a bright location but out of direct sunlight. Germination can be erratic, taking anywhere from a few weeks to a couple of months. Keep the soil consistently moist but not waterlogged.
- Transplanting Time: Once the seedlings have developed a few true leaves and are large enough to handle, transplant them into individual pots or directly into the garden, spacing them according to the mature size of the plant.
Tips for Success:
- Regardless of the propagation method, Juncus cooperi thrives in moist soil. Ensure adequate watering, especially during dry spells.
- Fertilize established plants with a balanced fertilizer in spring to promote healthy growth.
- Juncus cooperi is a relatively pest and disease-free plant, but regular monitoring is always recommended.
By embracing the simplicity of division or embarking on the gratifying journey of seed propagation, you can confidently multiply the charm of Juncus cooperi in your garden. This versatile plant’s delicate texture and graceful movement will transform your landscape into a haven of serenity and natural beauty.