Taming the Miniature Marvel: Propagating Junellia minima
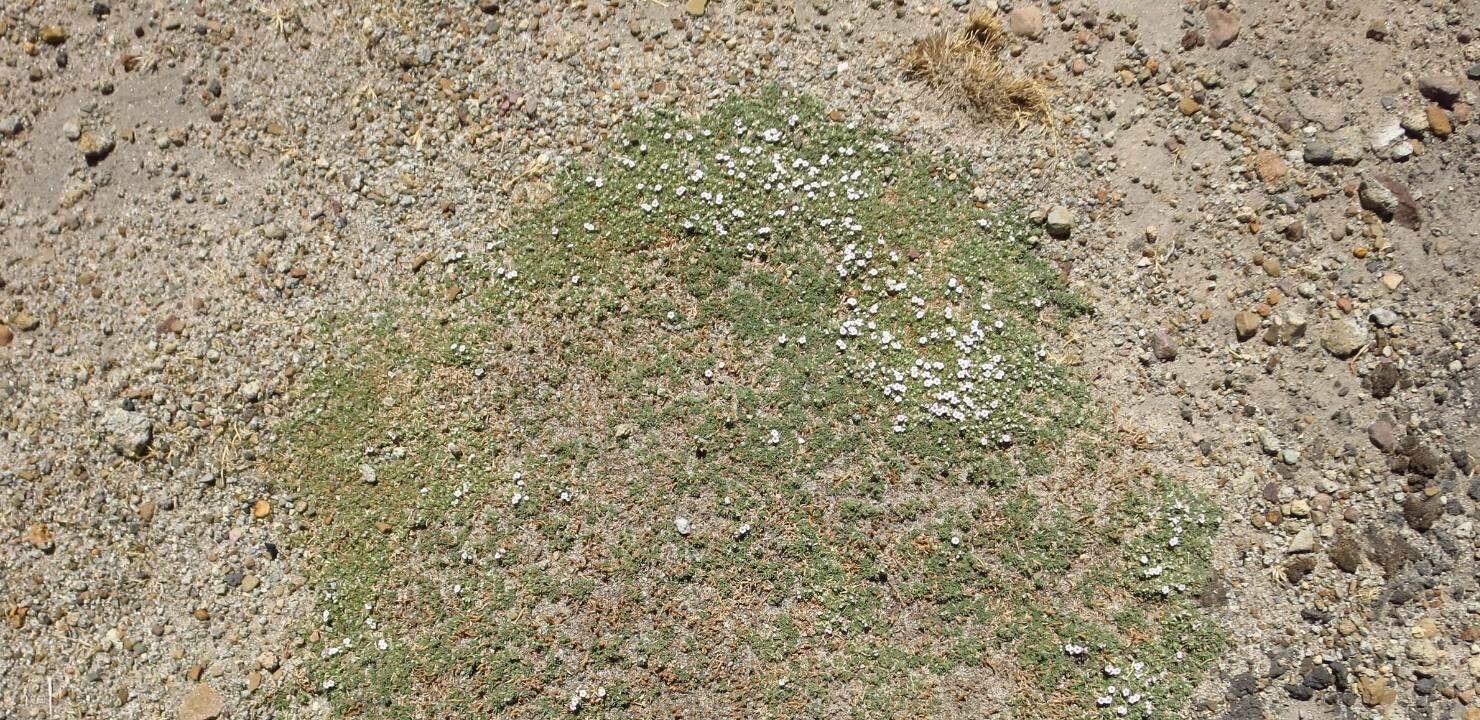
Junellia minima, also known as the miniature mat junellia, is a captivating groundcover treasured for its resilience and delicate beauty. This tiny powerhouse, with its petite gray-green foliage and explosion of vibrant purple flowers, offers an enchanting appeal to any landscape. While readily available in nurseries, wouldn’t it be amazing to multiply this miniature marvel yourself? Let’s dive into the world of propagating Junellia minima, demystifying the process and arming you with the know-how to cultivate your very own carpet of purple.
Understanding the Fundamentals
Before embarking on this propagation journey, it’s essential to understand that Junellia minima can be propagated through two primary methods:
Seed Propagation: This method involves sowing seeds collected from mature plants. While achievable, it’s crucial to note that Junellia minima seeds can be quite fine and require specific conditions for successful germination.
- Cuttings: This technique, considered the more reliable and faster route, involves taking cuttings from established plants and encouraging them to develop roots.
Conquering Cuttings: A Step-by-Step Guide
Our focus will be on propagating Junellia minima through cuttings, given its higher success rate. Here’s a detailed guide to make the process smooth sailing:
1. Timing is Key: The optimal time for taking cuttings is during the active growing season, ideally in late spring or early summer. Look for healthy, non-flowering stems for the best results.
2. Tools of the Trade: Gather your propagation essentials: a sharp, sterilized pruning shear or knife, a small pot or tray, a well-draining potting mix (ideally a mix formulated for cuttings), and rooting hormone (optional but recommended).
3. Taking the Cutting: Select a healthy stem and make a clean cut about 3-4 inches long, just below a leaf node. Remove the lower leaves from the cutting, leaving only a few at the top.
4. Rooting Hormone Power: While optional, dipping the cut end of the stem in rooting hormone encourages faster and more robust root development.
5. Planting the Cutting: Gently insert the treated cutting into the pre-moistened potting mix. Ensure the leaf nodes are covered, as roots will sprout from these points.
6. Creating a Humid Haven: Cover the pot with a clear plastic bag or use a humidity dome to create a warm, moist environment crucial for root development. Place the pot in a well-lit area, avoiding direct sunlight.
7. Patience is a Virtue: It may take a few weeks for the cuttings to root. Check the soil moisture regularly, ensuring it remains consistently damp but not waterlogged.
8. Signs of Success: Once you notice new growth, it’s a sign that the cutting has successfully rooted. Gradually acclimate the young plant to outdoor conditions before transplanting it to its final location.
Transplanting and Beyond
After the last frost, your rooted cuttings can be planted in their permanent location in your garden. Choose a spot that receives full sun to partial shade and enjoys well-drained soil. Water regularly, especially during dry spells, until the plants are well-established.
Propagating Junellia minima isn’t just about multiplying your plant collection; it’s about cultivating a sense of accomplishment and connecting with nature’s intricate processes. So, gather your tools, channel your inner gardener, and witness the magic of propagation unfold before your eyes. Your reward will be a stunning tapestry of miniature purple blooms, a testament to your green thumb and this remarkable plant’s adaptability.