From One to Many: Propagating Your California Juniper
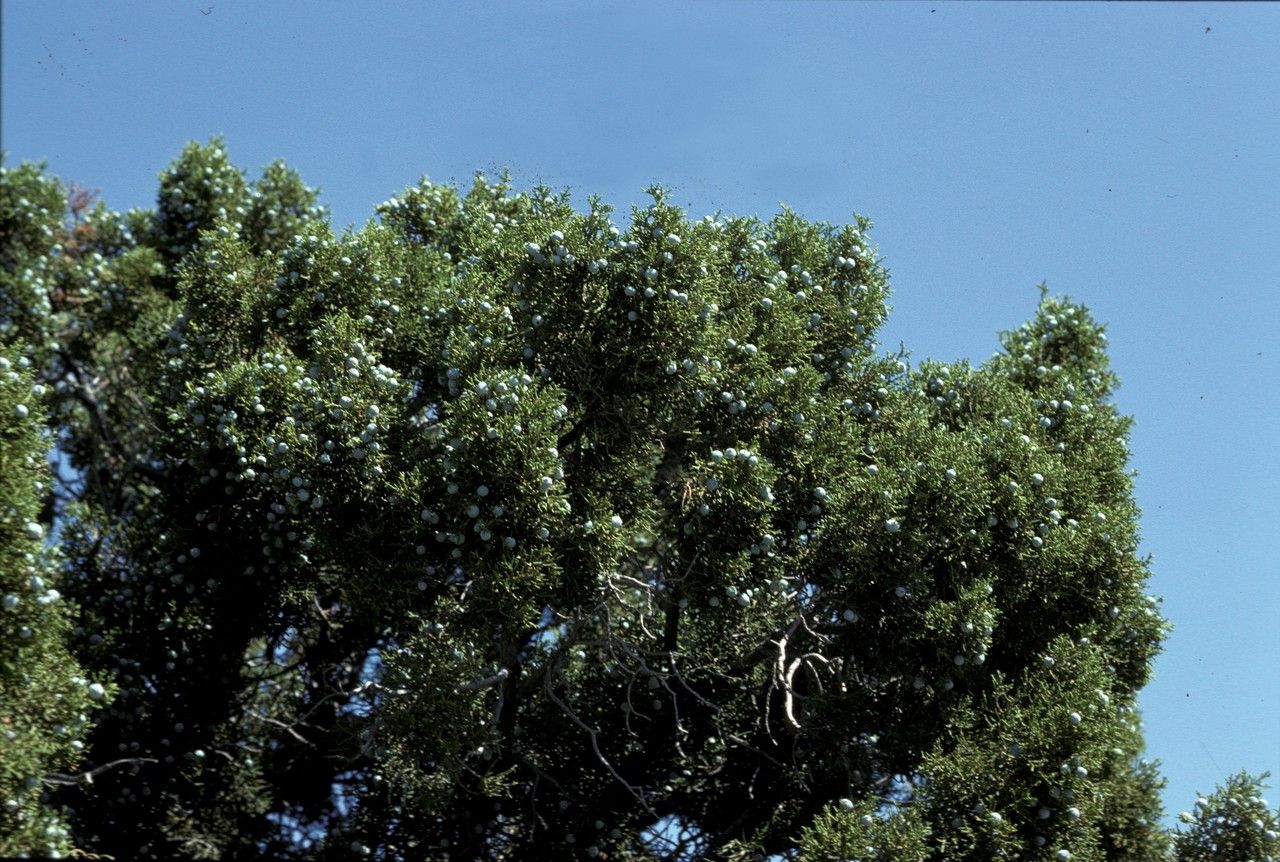
The California juniper, or Juniperus californica, is a stunning evergreen that adds a touch of rugged beauty to any landscape. Its graceful, spreading branches and vibrant blue-green foliage make it a favorite for rock gardens, drought-tolerant plantings, and cascading over walls. But did you know that you can easily create more of this beauty by propagating your own California junipers?
While you can purchase new plants from nurseries, propagating your own offers the satisfaction of growing something from scratch, and it allows you to easily increase your stock of this adaptable and low-maintenance shrub.
The Power of Cuttings:
The most common and successful method for propagating California junipers is through cuttings. Taking cuttings involves snipping off a section of healthy, mature growth from the parent plant, and encouraging it to develop roots. Here’s how you can do it:
- Timing is Key: The best time to take cuttings is during the late spring or early summer when the plants are actively growing. Choose a healthy, non-flowering shoot with firm, mature wood.
- Make the Cut: Using sharp pruning shears, make a clean cut just below a node – the small bump on the stem where leaves or branches sprout. The cutting should be approximately 4-6 inches long.
- Remove Lower Leaves: Strip off the lower leaves from the cutting, leaving the top few inches of foliage intact. This helps prevent rot and encourages root development.
- Induce Rooting: To encourage root growth, dip the cut end of the cutting into a rooting hormone powder or gel. This promotes root development and protects the cutting from fungal infections.
- Potting Up: Plant the treated cutting in a pot filled with a well-draining rooting mix. Don’t bury the foliage, just the cut end of the stem deep enough to provide stability.
- Create a Greenhouse Effect: To help retain moisture and humidity, cover the pot with a plastic bag or dome. This creates a mini-greenhouse environment, boosting chances of success. Place the pot in a bright, indirect light location.
- Patience is Virtue: It can take several weeks or even months for roots to develop on your California juniper cuttings. Be patient, keep the soil slightly moist, and provide sufficient light. Eventually, you’ll see new growth, signifying successful rooting.
Beyond Cuttings:
While cuttings are the most commonly used approach, you can also propagate California junipers through seed. However, this method is less reliable and involves a longer timeframe.
Key Tips to Keep in Mind:
- Sanitation is Essential: Always sterilize your tools before and after taking cuttings to prevent the spread of diseases.
- Water Wisely: Keep the soil consistently moist, but not soggy. Overwatering can lead to root rot.
- Don’t Be Afraid to Experiment: There’s no single formula that perfectly suits every California juniper variety. Experiment with different rooting mediums, humidity levels, and light conditions to find what works best for you.
Propagating your own California junipers is a rewarding experience, allowing you to cultivate this beautiful evergreen and create a flourishing garden, one cutting at a time. It’s a fun, hands-on method to connect with nature and create a personal touch in your landscape. So, why not give it a try? Who knows, you might just become a budding plant propagation aficionado!