Conquering the Canary Islands: Propagating Your Own Juniperus Canariensis
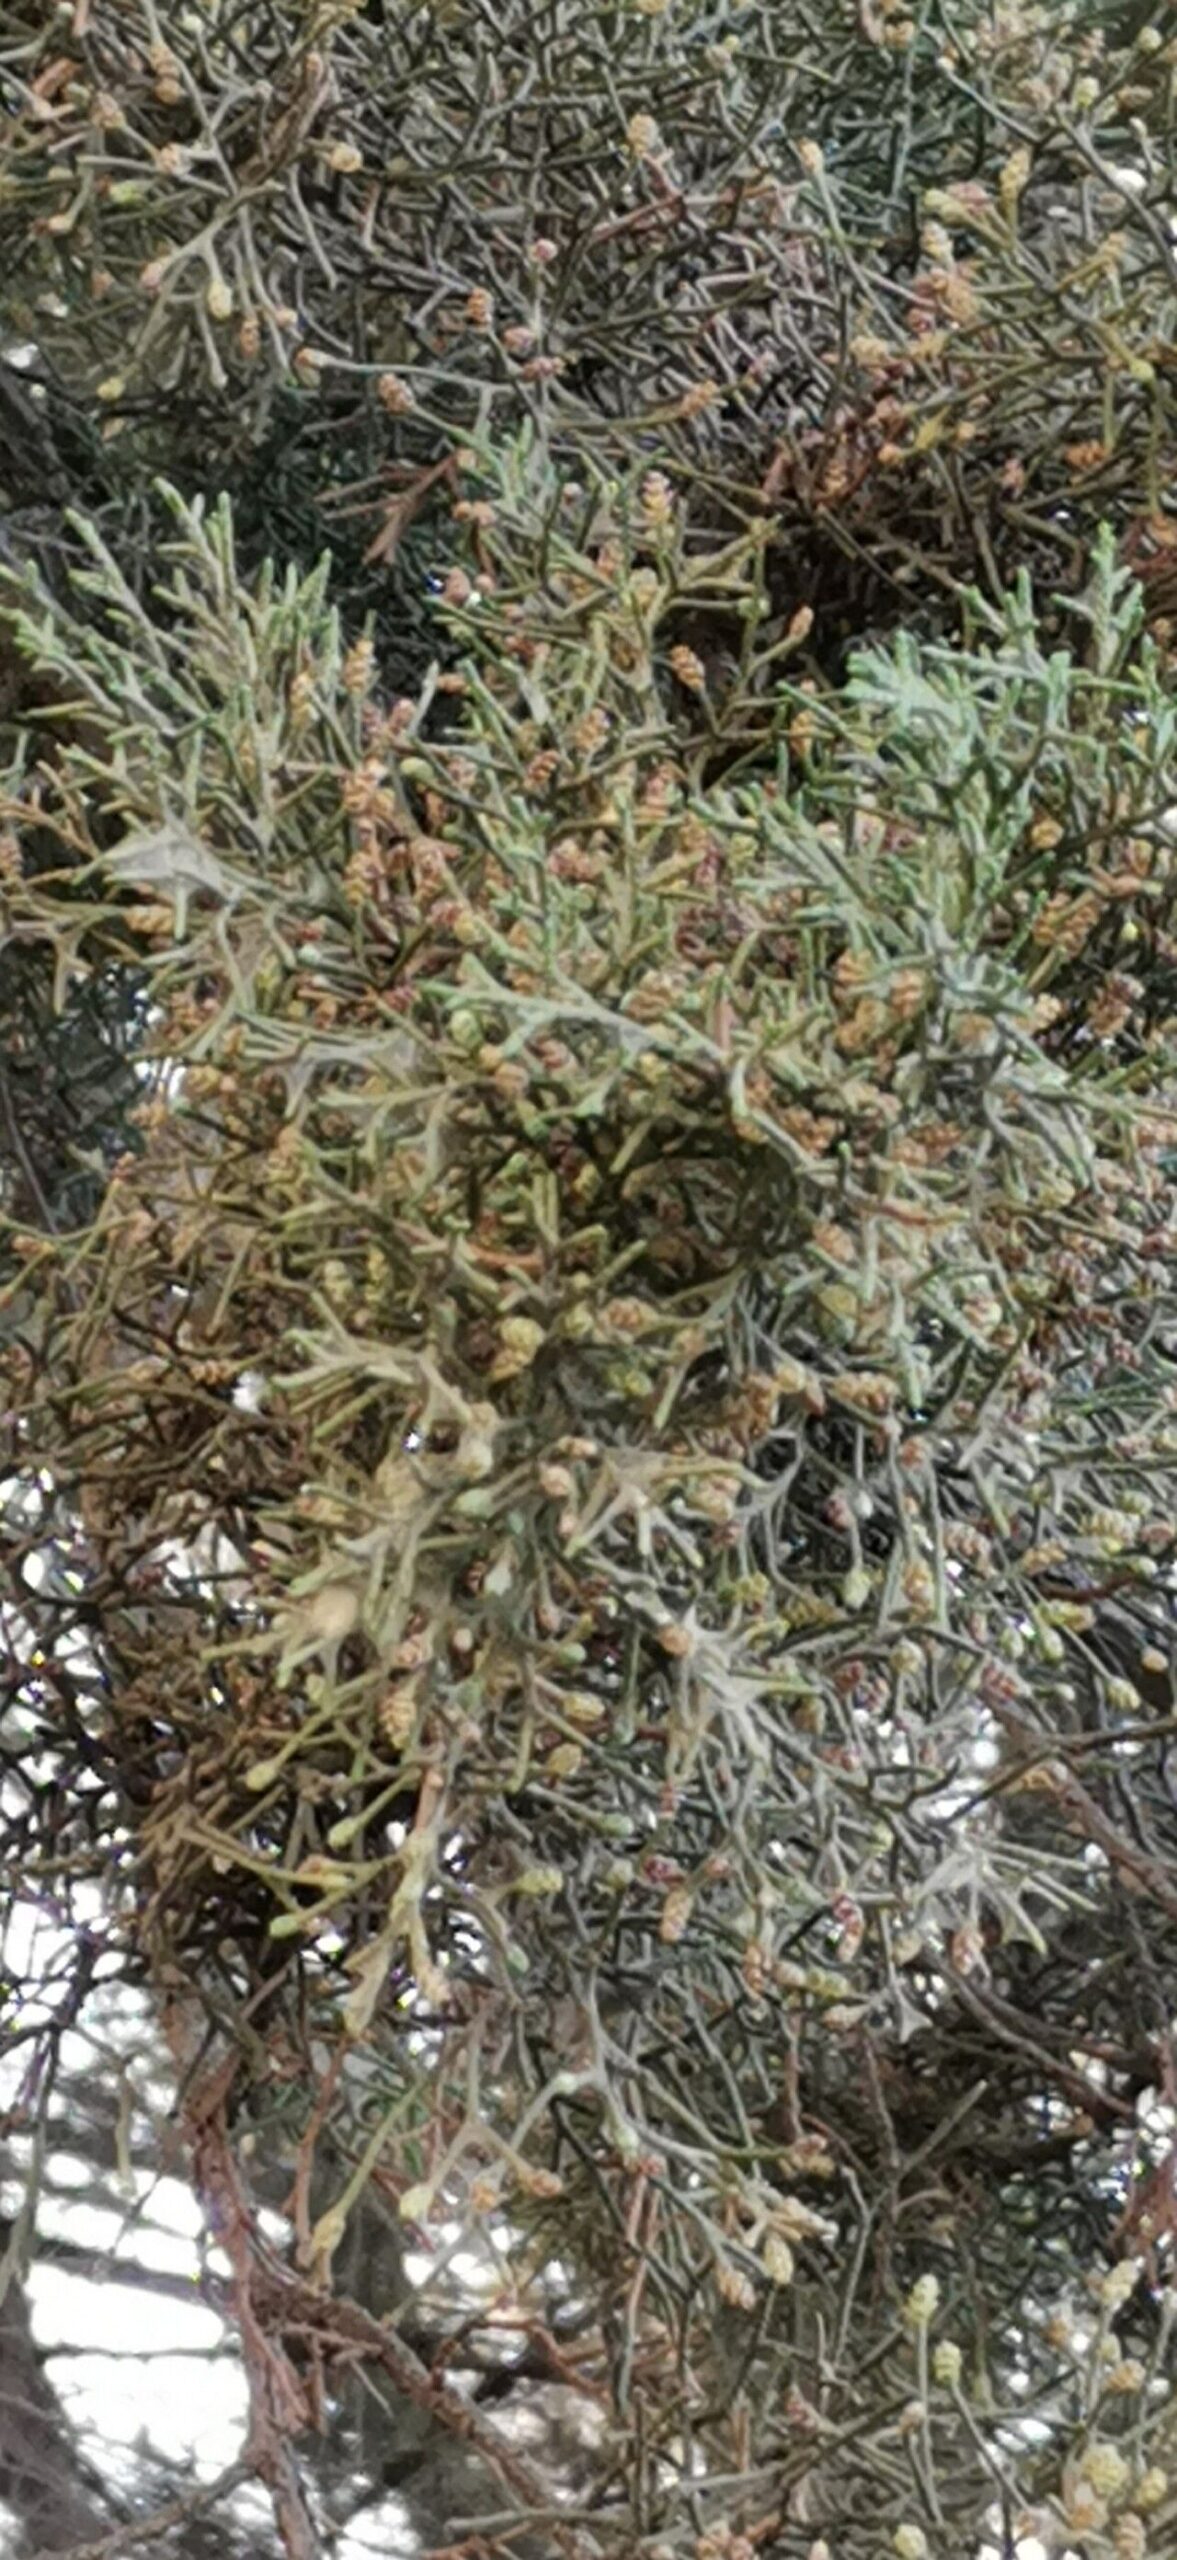
The Canary Island Juniper, with its graceful, feathery foliage and rugged beauty, is a captivating sight. This evergreen shrub, native to the volcanic islands of the Canaries, can be a standout addition to any garden. But what if you could share its charm by propagating your own?
While it might seem daunting at first, propagating Juniperus canariensis is surprisingly achievable. With a little patience and the right techniques, you can enjoy the satisfaction of growing your own miniature Canary Islands in your backyard.
Understanding the Basics:
Juniper canariensis can be propagated by both seed and cuttings.
- Seeds: This method takes time, but with proper preparation and care, you can cultivate a new generation of these hardy evergreens. Start by collecting ripe cones from a mature plant. Extract the seeds and sow them in well-draining soil, keeping the soil evenly moist. Remember, germination can take months; be patient and persistent.
- Cuttings: This method provides a faster way to expand your Juniper canariensis collection.
- Timing is Key: The best time to take cuttings is in the early spring or late summer, when the plant is actively growing.
- Selecting the Cuttings: Choose healthy, non-flowering, young shoots from the current year’s growth. Aim for a section that’s about 4-6 inches long, with a “heel” (a small sliver of old wood attached).
- Preparing the Cuttings: Gently remove the lower leaves from the base of the cutting. Dip the cut end in a rooting hormone powder to promote root formation.
- Planting: Insert the cutting into a pot filled with a well-draining potting mix. Water thoroughly, making sure the soil is moist but not soggy.
- Patience is a Virtue: Cover the pot with a plastic dome or bag to help retain moisture and humidity. Maintaining optimal conditions will encourage root development, which can take anywhere from a few weeks to several months.
Key Factors to Consider:
- Sunlight is Essential: Both seeds and cuttings need ample sunlight to thrive. Place them in a bright location, but avoid scorching direct sunlight, especially during the hot summer months.
- Soil Matters: Use a well-draining potting mix to prevent root rot. A mixture of peat moss, perlite, and sand is ideal.
- Watering is Vital: Water your cuttings and seedlings regularly, ensuring the soil stays consistently moist. However, avoid overwatering, which could lead to fungal diseases.
- Patience is Key: Propagation, especially with Juniperus canariensis, requires patience. Don’t be discouraged if you don’t see immediate results; it might take longer for roots to develop.
Beyond the Basics:
Once your Juniperus canariensis cuttings or seedlings have established roots, you can gradually acclimate them to outdoor conditions.
- Hardening Off: Before transplanting them into your garden, gradually harden off the young plants by introducing them to short periods of outdoor conditions each day. This helps them adjust to the sun, wind, and temperature changes.
- Choosing the Right Spot: These junipers prefer well-drained soil and a sunny location. However, they can tolerate some shade, especially in warm climates.
- Care and Maintenance: Once established, Juniperus canariensis is relatively low-maintenance. They require regular watering, especially during dry periods. Pruning can help maintain their shape and encourage bushier growth.
By following these tips and exercising a little patience, you can successfully propagate your own Juniperus canariensis. Enjoy the satisfaction of nurturing these unique evergreens and witnessing their transformation from small cuttings into magnificent specimens. The process is just as rewarding as watching them grace your garden with their signature beauty.