Conquering the One-Seeded Juniper: A Guide to Propagating Juniperus monosperma
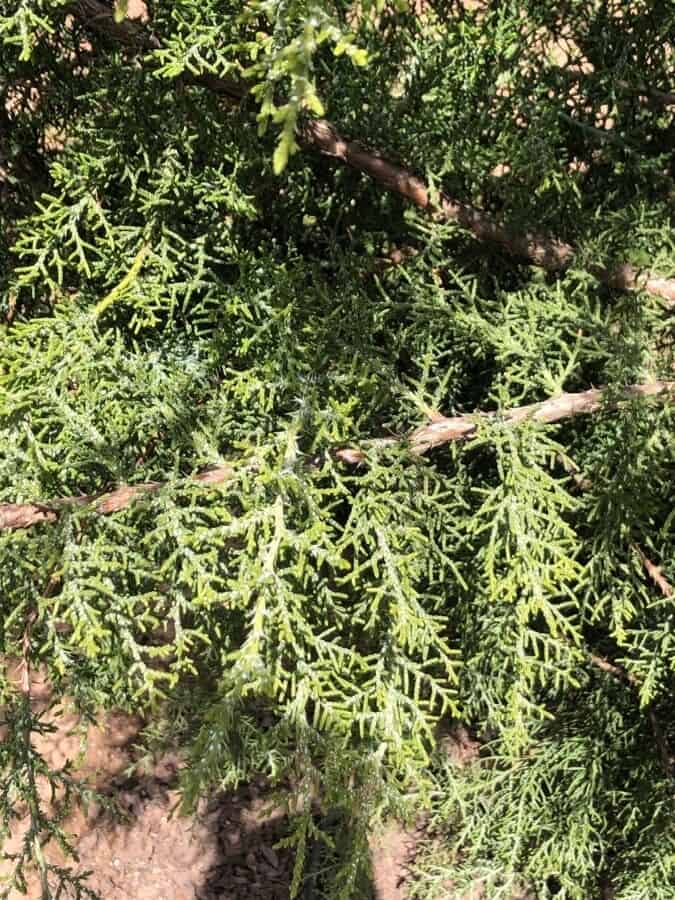
The One-Seeded Juniper, or Juniperus monosperma, is a resilient evergreen native to North America, prized for its drought tolerance, hardiness, and unique beauty. Whether you’re looking to add privacy to your landscape, control erosion, or simply introduce the rugged charm of the southwest to your garden, propagating your own One-Seeded Juniper can be a rewarding endeavor. But be warned, this juniper can be stubborn! This guide will delve into the intricacies of propagating Juniperus monosperma to help you succeed:
Method 1: Seed Propagation (The Test of Patience):
Propagating from seed is the most economical method but requires significant patience as One-Seeded Junipers have slow germination rates. Here’s how to brave the challenge:
- Seed Collection: Collect ripe, bluish-purple berries in late summer or fall.
- Cleaning and Stratification: Remove the fleshy pulp and soak the seeds in water for 24 hours. Then, mix the seeds with moist sand and store them in the refrigerator (around 40°F) for 90-120 days to simulate winter dormancy (stratification).
- Sowing: In spring, sow the stratified seeds in a well-draining seed starting mix, covering them lightly with soil.
- Patience is Key: Keep the soil consistently moist and be prepared to wait. Germination can take anywhere from several months to a year or more.
Method 2: Semi-Hardwood Cuttings (The Rewarding Shortcut):
Taking semi-hardwood cuttings offers a quicker and more reliable way to propagate Juniperus monosperma:
- Timing is Everything: Take cuttings in late summer or early fall when the current season’s growth has started to harden.
- Cut and Prepare: Select healthy, pencil-thick stems from the current year’s growth. Make a clean cut about 4-6 inches long, removing the lower needles to expose the stem.
- Hormone Boost: Dip the cut end in rooting hormone to encourage root development.
- Potting Up: Plant the cuttings in a well-draining potting mix (a mix of perlite, peat moss, and vermiculite works well).
- Creating a Humid Environment: Cover the pot with a clear plastic bag or use a propagation dome to trap moisture.
- Patience, Again: Keep the soil consistently moist and provide bright, indirect light. Rooting can take 6-8 weeks.
Tips for Success:
- Well-Draining Soil: One-Seeded Junipers are highly susceptible to root rot, so well-draining soil is crucial for both seed starting and cuttings.
- Avoid Overwatering: Water deeply but infrequently, allowing the soil to dry slightly between waterings.
- Bright, Indirect Light: Choose a location with bright, indirect light for both seedlings and cuttings.
- Transplanting: Once your new juniper has developed a strong root system, transplant it to a larger container or directly into the ground in spring or fall.
Propagating Juniperus monosperma requires patience and dedication, but the reward of successfully nurturing a new life is well worth the effort. Whether you choose the patient route of seed starting or the more predictable method of semi-hardwood cuttings, remember to provide these rugged plants with the well-draining soil and minimal water they need to thrive.