From Pinching to Planting: Propagating Your Own Red Cedar (Juniperus pinchotii)
Ever dream of growing your own Red Cedar (Juniperus pinchotii) from scratch? This stunning native evergreen is prized for its beautiful foliage and drought tolerance, making it a popular choice for landscaping. But did you know you can easily propagate your own Red Cedar using cuttings? Let’s dive into the world of propagation and empower you to create your own Red Cedar haven.
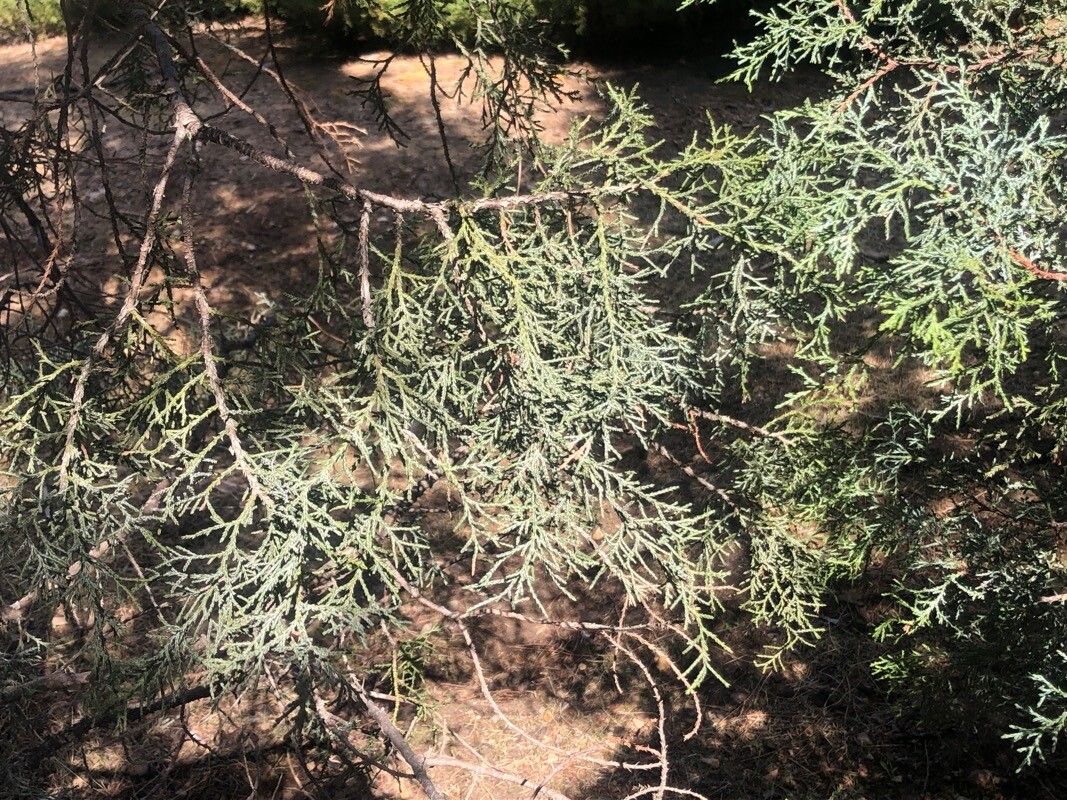
The Art of Taking Cuttings
Propagating Red Cedar through semi-hardwood cuttings is a relatively straightforward process. The best time to take these cuttings is during late summer or early fall, when the new growth has hardened but the wood is still somewhat pliable.
Here’s the step-by-step process:
- Choose your donor: Select a healthy Red Cedar with desirable traits, like vibrant foliage or compact growth habit.
- Make the cut: Using sharp, sterilized pruning shears, take 4-6 inch cuttings from the current year’s growth. Cut just below a node (the point where branches or leaves grow out).
- Prepare your cutting: Remove any lower leaves from the bottom 2 inches of your cutting to allow for root development. If your cutting is woody, gently scrape a thin layer of bark from the bottom inch to help root growth.
- Dip it in rooting hormone: Dust the exposed base of the cutting with rooting hormone. This encourages root formation.
- Potting up: Fill a small pot with a well-draining potting mix. Make a small hole in the center and gently insert your cutting. The bottom leaves should be above the soil line.
- The warm and fuzzy: To encourage rooting, cover your potted cutting with a clear plastic bag or dome. This creates a humid microclimate that will retain moisture and warmth.
- Patience is key: Place your potted cutting in a bright, indirect light spot. Your Red Cedar may take several months to produce roots. Keep the potting mix slightly moist but not waterlogged.
A Little Tender Loving Care
Once your cutting has established roots, you can gradually acclimate it to its new location. Here are a few tips for success:
- Regular watering: Ensure the soil stays consistently moist, but avoid overwatering.
- Fertilizing: Feed your young Red Cedar with a balanced fertilizer a few times a year to promote healthy growth.
- Hardening off: Slowly acclimate the young Red Cedar to the outdoors before planting it permanently.
A Rewarding Experience
With careful attention and patience, you can successfully propagate your own Red Cedar. Not only will this save you money, but it will also provide you with a sense of accomplishment, knowing you have nurtured life from scratch. As your Red Cedar grows and thrives, you can enjoy the beauty of this native evergreen for years to come.
Remember, propagation is a rewarding experience, allowing you to develop a strong connection with nature and witness the magic of growth.